10 July Nails 2026 Ideas That Wow: 10 Bold, Trendy Looks for Pinterest
You want nails that match your July vibe—bright days, pool hangs, backyard parties, and a few fireworks nights. This guide gives you ten fresh, wearable July nail ideas and the tips you need to pick colors and techniques that actually last through sun, sand, and celebrations.
Think of this as a pro friend who knows trends and knows what works: you’ll learn simple ways to wear patriotic accents, neon tips, soft pastels, and chic chrome without overdoing it. Expect quick how-tos, common mistakes to avoid (like skipping base coat or choosing high-maintenance finishes for vacation), and easy swaps so you can tailor each look to your skin tone and schedule.
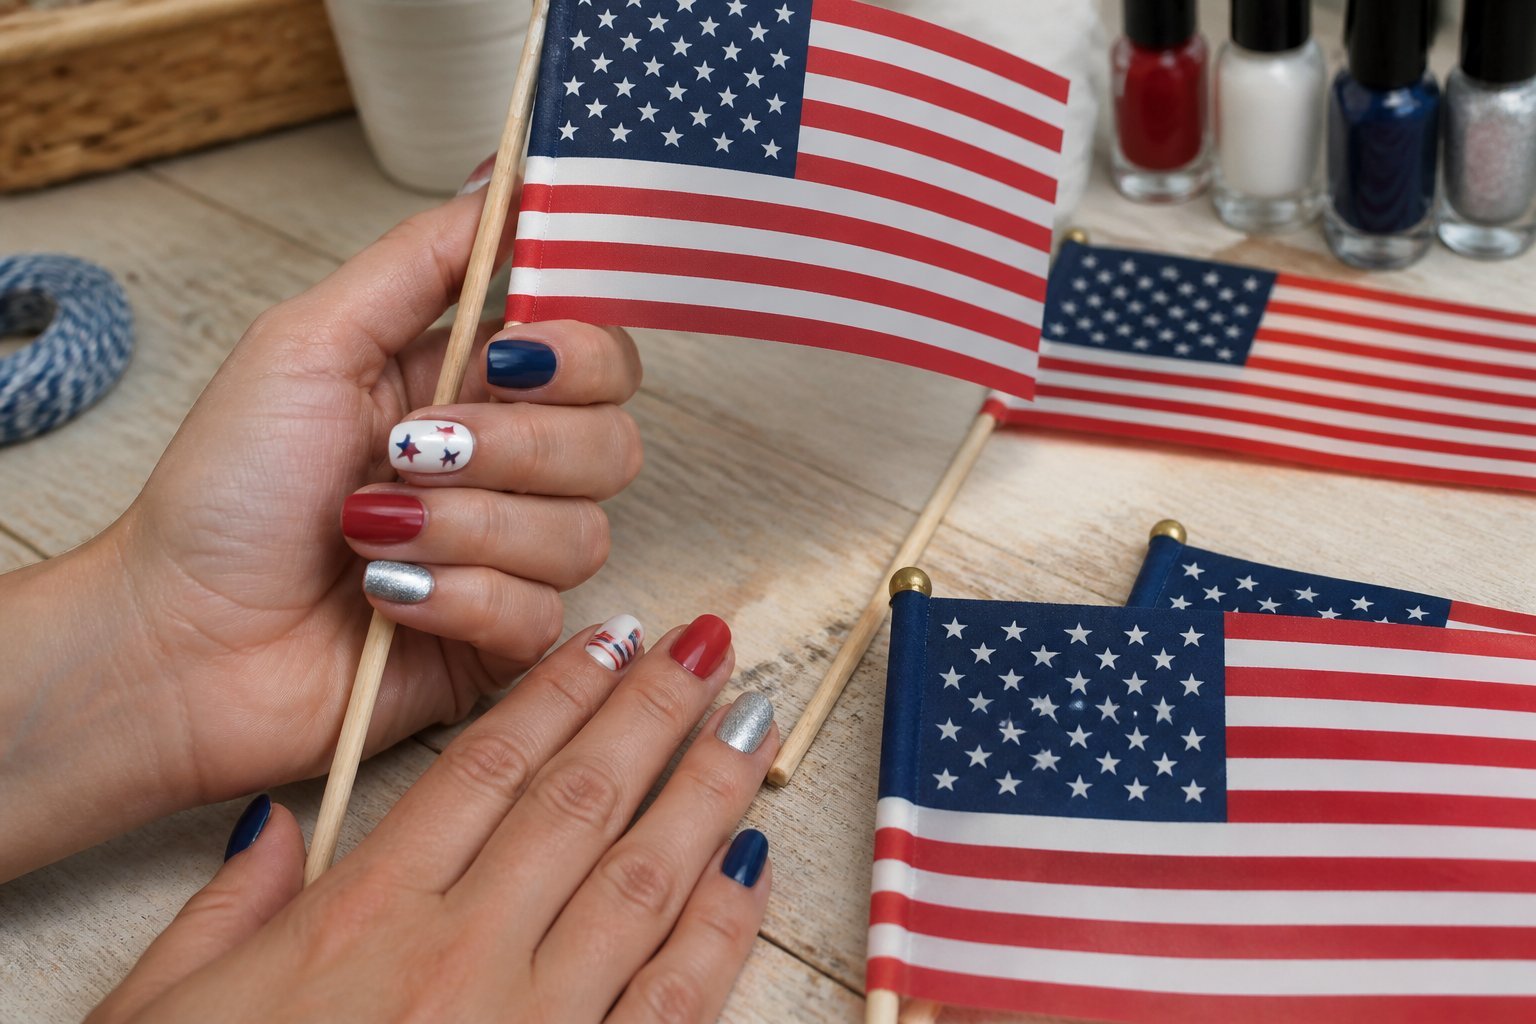
1) Classic Red, White & Blue 4th of July Mini Flag Accents
Intent: idea and quick tutorial for a timeless patriotic look.
Choose one or two accent nails for tiny flag art while keeping the rest a clean color. Use a thin brush or a star stencil to add crisp stripes and a small navy field with dots for stars.
Try a glossy cherry red, a bright true white, and a deep navy for the sharpest contrast. Short nails work great—details read better on a smaller canvas and last longer without chipping.
Common mistake: overloading every nail with tiny details. Less is stronger. Focus on neat edges and thin stripe spacing for a pro finish. If you mess up, swipe with acetone and repaint the base; small corrections beat bulky cleanup.
Wear this with casual outfits or dressy sleeves—mini flags pair with any look. Give it a try on one hand before committing to the full set.
2) Neon French Tips with Gradient Orange-to-Pink Base
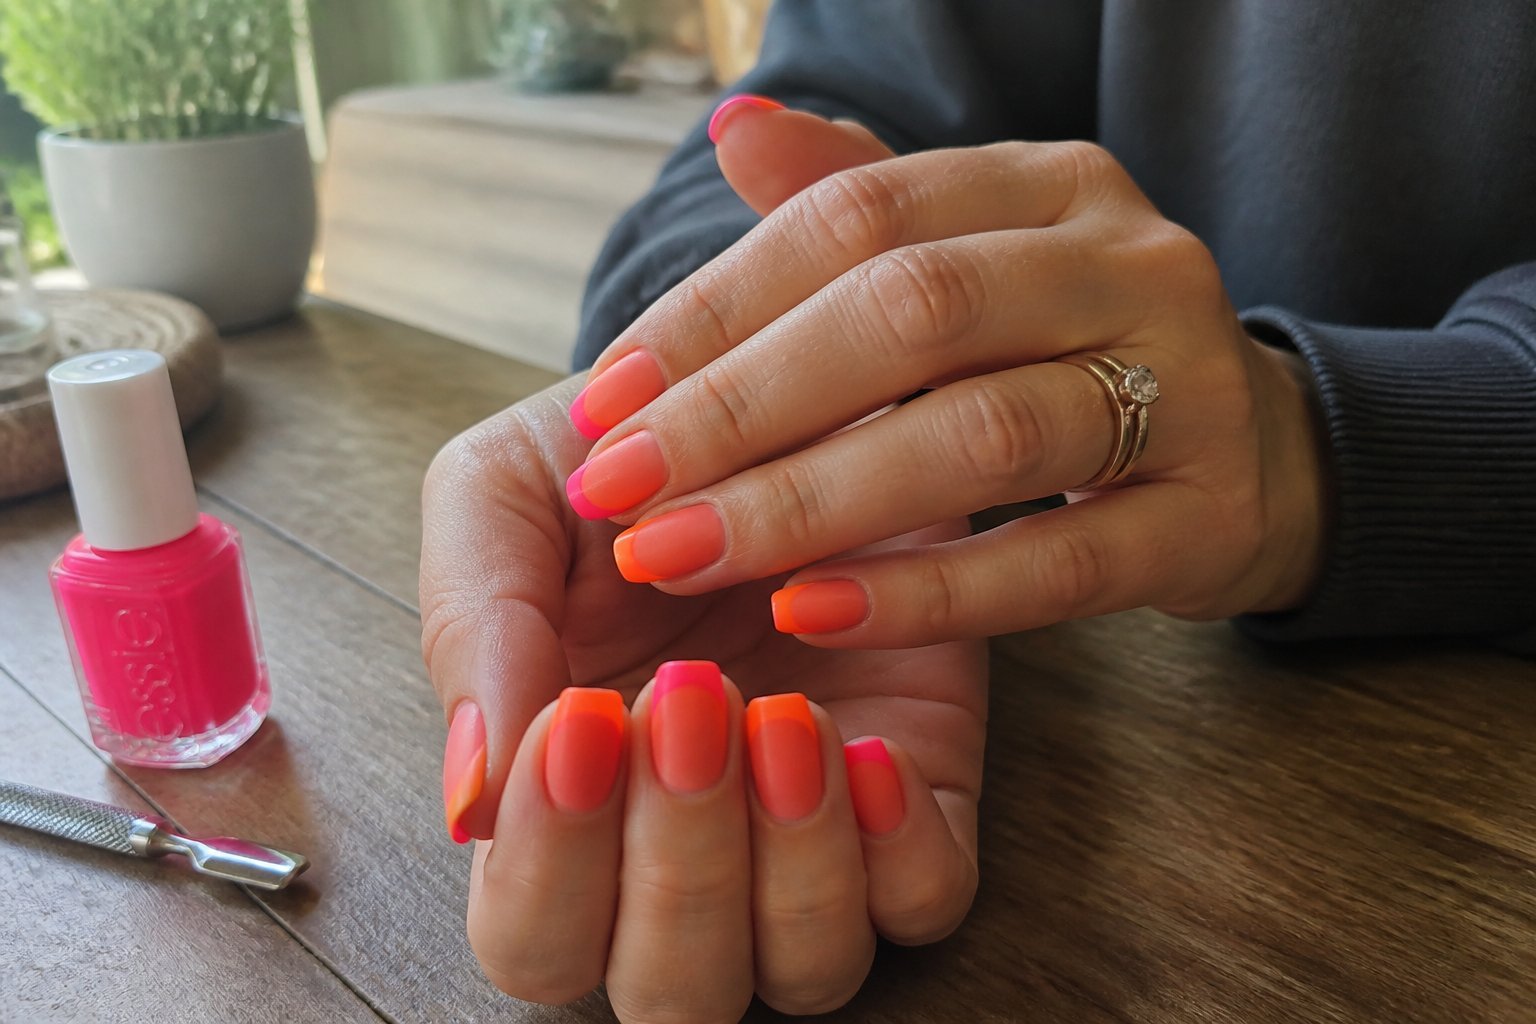
Idea: a bold neon tip over a soft orange-to-pink gradient base. You’ll start with a sheer white or nude base, then blend a warm orange into hot pink across the nail for a sunset fade.
Use a sponge for the gradient and clean the edges with a small brush and remover. For the neon tips, pick a flexible gel or polish so the curve stays crisp. Keep the tip thinner on short nails to avoid a crowded look.
Common mistakes: over-saturating the sponge (fades look muddy) and drawing tips too close to the cuticle. If you hit that problem, file the edge slightly and retouch the gradient.
Try a single accent nail with tiny white dot details to modernize the style. Show this picture to your tech for an exact neon shade match.
3) Garnet Chrome with Matte Cuticle Crescent
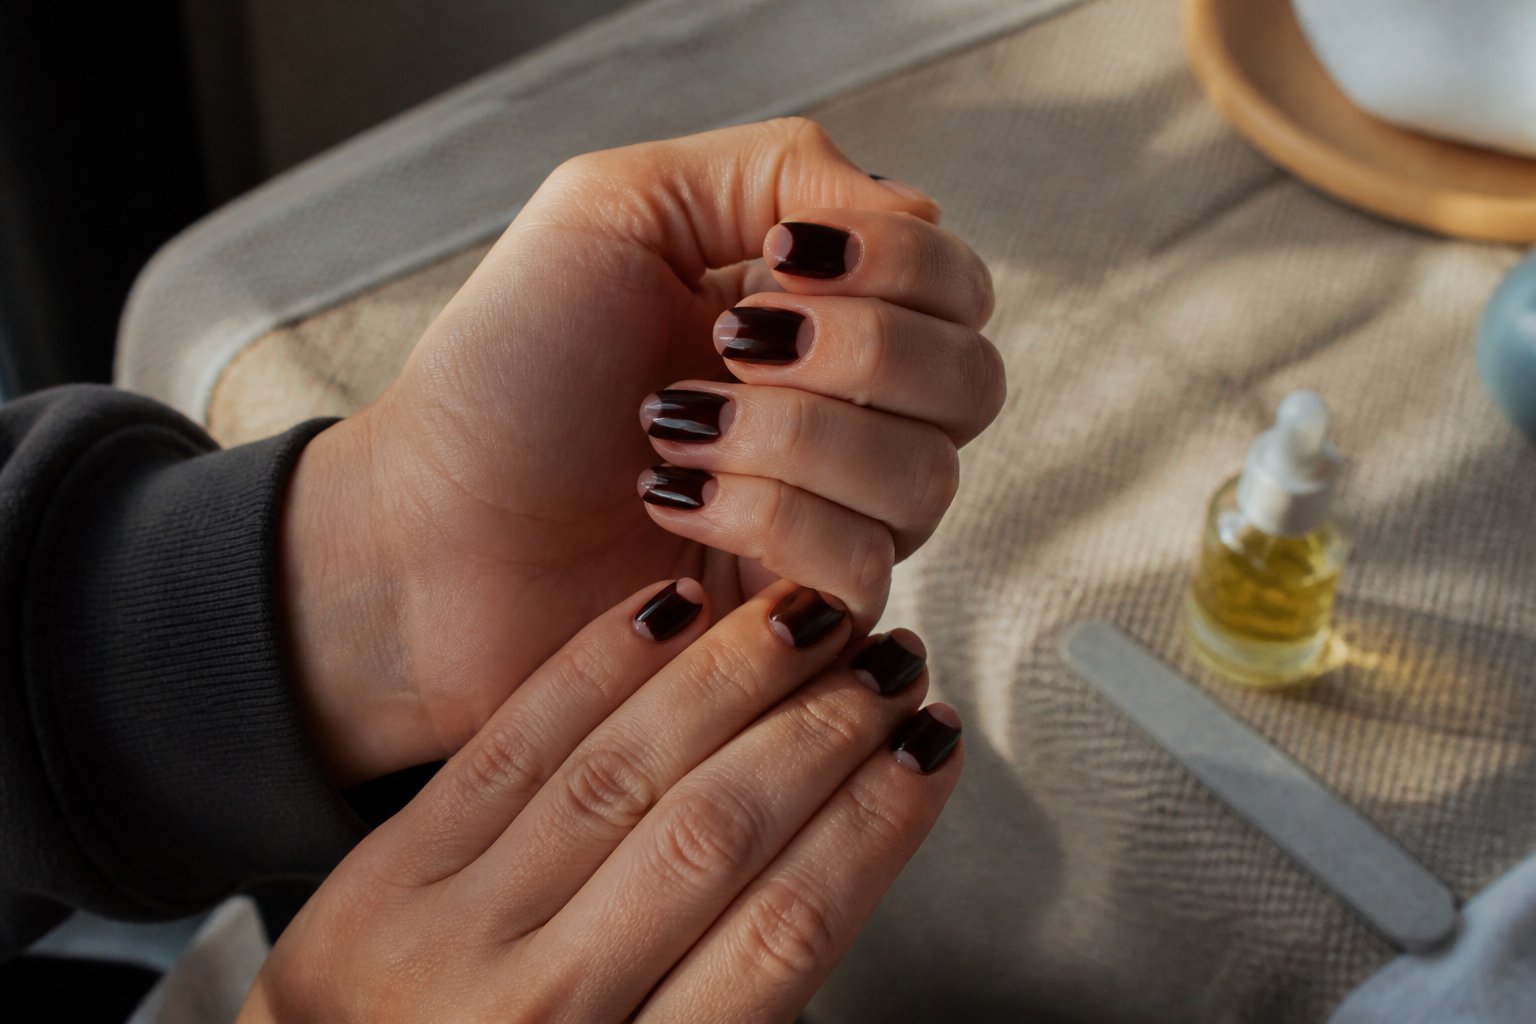
This idea is a tutorial for a bold, polished look that balances shine and restraint. Paint most nails in deep garnet chrome for mirror-like depth, then add a small matte crescent at the cuticle on one or two accent fingers.
Start by prepping nails smooth and applying a black or deep-red base to boost chroma. Apply chrome powder carefully; buff uneven spots to avoid streaks. For the matte cuticle crescent, mask a tiny half-moon with a sticker, dull the chrome with matte top coat, then remove the sticker for a crisp edge.
Common mistakes include using too thick chrome layers and cutting the crescent too large. Keep the crescent narrow—about 10–15% of the nail—so the contrast reads modern, not cluttered. Try this for a night out, and bring the image to your tech: showing a clear photo helps get the crescent size right.
4) Butter Yellow Chrome with Tiny White Daisy Accent
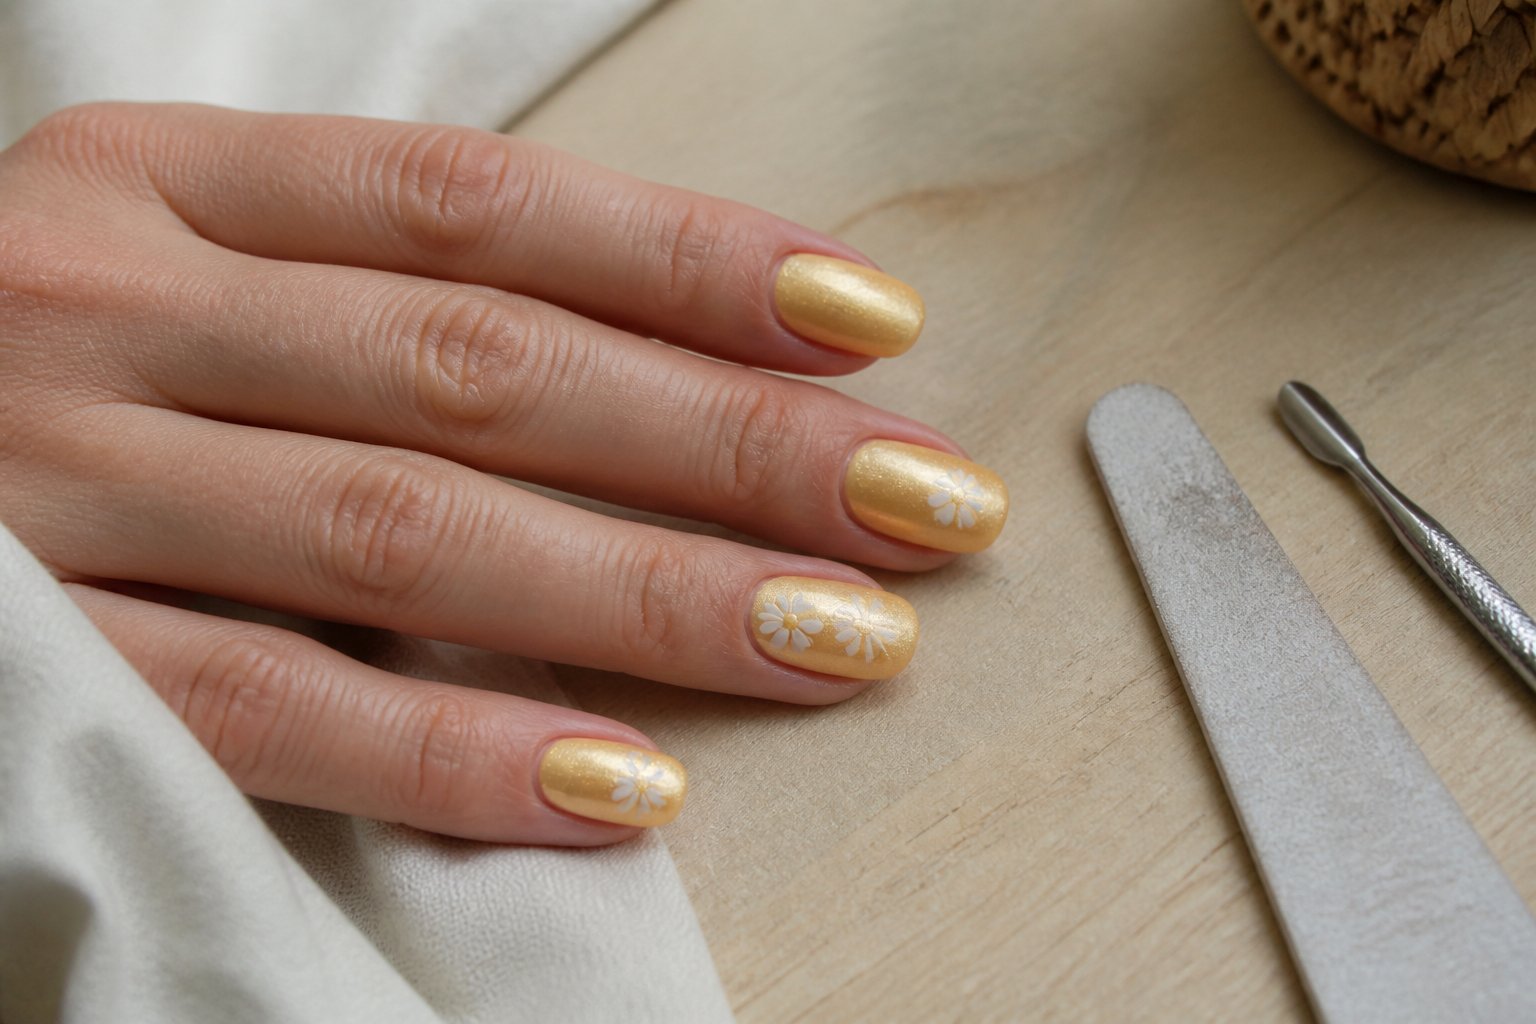
Idea: a glossy butter-yellow chrome base with one or two tiny white daisy accents on accent nails. You get a bright, modern look that still feels soft and wearable for July.
Start by applying a smooth chrome butter-yellow polish. Use thin layers and cure or dry fully to avoid streaks. Add a matte topcoat on one nail, then paint tiny white daisies with a dotting tool for contrast.
Common mistake: placing large flowers that crowd the nail. Keep daisies small near the cuticle or tip for balance. Try one daisy per nail or a tiny cluster on an accent finger to keep the design chic.
If you do it at home, practice the daisy dot pattern on paper first. For salon work, show your tech a photo of butter-yellow chrome to match the right shade.
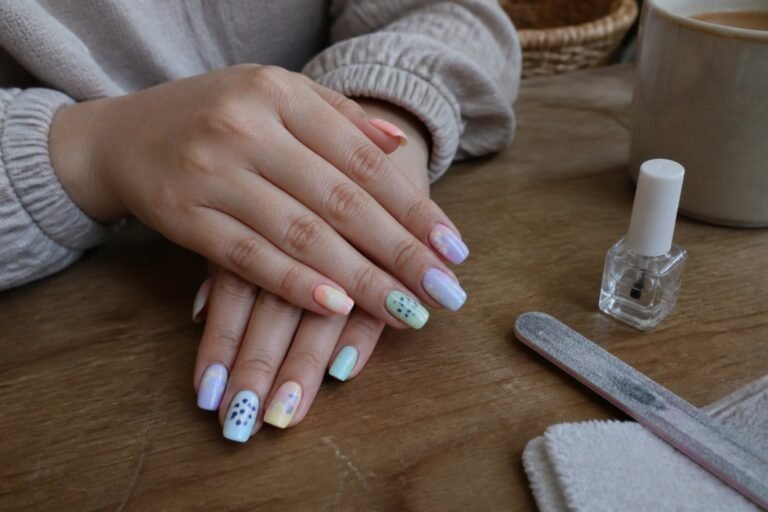
5) Pastel Aura Marble in Lavender and Mint
Intent: tutorial and idea.
Try a pastel aura marble when you want a soft, modern manicure that still feels special. Start with a milky white base, then swirl lavender and mint together using a thin brush or a dotting tool. Work quickly so the colors blend but don’t become muddy.
A common mistake is overworking the marble; stop when you see soft veins and gentle fades. Add a tiny gold or white line near the cuticle for polish without busying the design. Finish with a glossy top coat to deepen the colors and protect the art.
If you do this at home, use thin layers and cure each coat if you use gel. Book a salon visit if you want precise veins or chrome highlights. Try one accent nail first to test the color mix.
6) Fruity Cherry Accent on Sheer Pink Almonds
Intent: tutorial and idea. You’ll get a soft, wearable mani with a playful twist that suits July events and everyday wear. Start with a sheer pink base to keep nails elegant and light.
Paint your almonds in two thin coats of milky pink. Let each coat dry fully to avoid bubbling. Add tiny cherry pairs on one or two accent nails using a dotting tool or a toothpick.
Keep stems and leaves minimal—thin dark-green strokes and a short brown stem look best. A small white dot on each cherry adds shine without polish topcoats that hide detail. Common mistake: overloading the nail; cherries should be small so the design reads from a distance.
Seal with a glossy topcoat and cure if using gel. Book a touch-up if chips appear after a week. Try one accent nail per hand for balance and ease.
7) Tropical Palm Leaf Stencil on Seafoam Base
Tutorial: create a fresh, beachy look using a seafoam base and a palm leaf stencil. Start with two thin coats of seafoam polish for smooth, even color that lets the stencil pop.
Use a fine stencil and a slightly darker green for the leaves. Tap paint gently with a sponge; don’t brush, or the lines will blur. Practice on a nail wheel to avoid smudges during your first try.
Place leaves off-center for a modern feel, or repeat small leaves for a tropical pattern. Common mistake: removing the stencil too late—lift it within seconds to keep edges crisp. Seal with a glossy topcoat to protect the art and add depth.
Try one accent nail with gold foil for contrast. If you want more inspo, see palm leaf design ideas at Tropical Palm Leaf Nail Designs: Chic Island-Inspired Nails (https://nailzinbloom.com/tropical-palm-leaf-nail-designs/).
8) Negative Space Swirl with Metallic Rose Gold Lines
Intent: tutorial and idea. Try a sheer or nude base and leave crescent-shaped negative spaces near the cuticle. A soft swirl over the free edge gives movement without covering your natural nail.
Use a thin brush and rose gold metallic polish to trace fine lines along the swirl. Keep the strokes light; steady, short pulls prevent blobs. If you’re new, practice the line on a plastic tip first.
Common mistake: using thick metallic polish. That makes lines bumpy and chips faster. Thin coats and a quick-dry top coat keep the metallic smooth and lasting.
For variety, alternate full swirls with minimalist dots on other nails. If you want visual examples and more ideas, look at curated galleries of negative space manicures at Byrdie.
9) Frosted Pearlescent French with Pearl Studs
Intent: tutorial and idea. Try a frosted pearlescent French for a clean, modern twist on classics. Start with a sheer milky base to keep the glow soft, then buff a pearl chrome powder lightly for that glazed sheen.
Place tiny pearl studs near the cuticle or along the French tip for a luxe touch. Use different stud sizes for balance — one larger pearl plus two micro pearls looks intentional, not cluttered. A common mistake is overloading nails; less is usually more.
Seal with a matte or satin topcoat to keep the frosted effect. If you prefer shine, use a glossy topcoat but press studs down firmly before curing. Practice on one accent nail first, then copy the layout for a polished result.
10) Tortoiseshell Accent Nail on Warm Nude Base
Intent: tutorial and idea.
Try a single tortoiseshell accent on a warm nude hand to add quiet glam without overdoing it. Paint most nails in a creamy warm nude, then pick one nail for a translucent amber and chocolate marbled tortoiseshell.
Use thin layers of brown and amber, then soften edges with a small brush or a dotting tool. A common mistake is overworking the pattern; stop once you see depth and variation. Add a glossy topcoat for shine and a slim gold line if you want a polished edge.
This look suits short and almond shapes and keeps attention on one polished detail. If you’re new to tortoiseshell, practice the spots on a nail wheel first. Try it at home or ask your tech to copy the pattern from a photo for a flawless finish.
Choosing the Right Summer Nail Colors
Pick shades that match your plans and skin tone, balance bold and neutral options, and think about finish—glossy, sheer, or matte—before you book.
Color Theory for July Designs
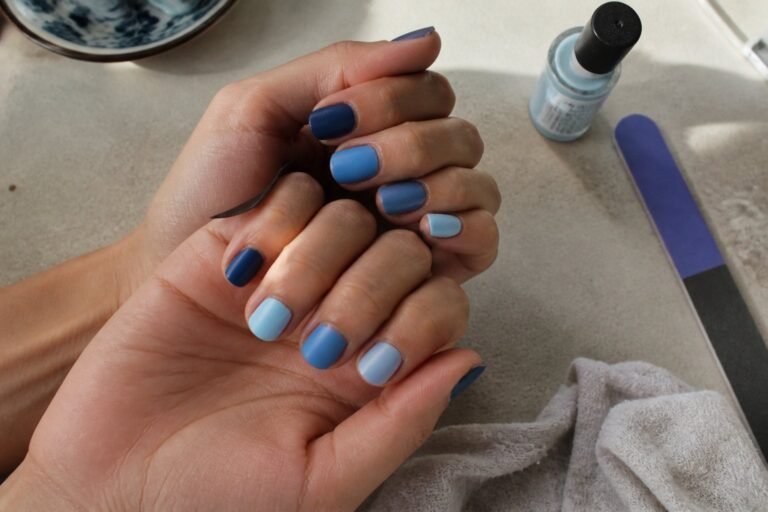
Guide: tutorial. Start by matching undertones. If your skin has warm undertones (yellow, gold), choose colors like marigold, coral, or toasted almond. For cool undertones (pink, blue), reach for sky blue, soft matcha green, or cloud white. Neutral undertones work well with clementine or muted mauve.
Think about contrast. Bright colors pop on short nails; pale or sheer shades lengthen the look of your nail. Use complementary accents—tiny navy dots on orange polish or thin white stripes on neon—to create interest without full nail art.
Common mistake: picking a trendy neon without testing it against your skin in natural light. Try two swatches on your thumb and ring finger before committing. Finish choice matters: a glossy topcoat boosts color intensity, while matte tones read softer in photos.
Popular Shades for Warm Weather
Guide: idea. July leans toward saturated and glowy tones this year. Book appointments for marigold, sky blue, soft matcha, cloud white, clementine, and neon accents that designers list as summer hits. Each shade pairs differently with outfits—marigold and clementine suit warm neutrals; sky blue and matcha pop with denim and white.
Wearability tips: choose one bright nail per hand as an accent if you want color without overwhelm. For a polished look, combine a sheer nude base with one colorful tip or small geometric accent on the ring finger. Avoid dark, heavy hues on hot days; they show chips more and can make hands look smaller.
If you want visual examples, screenshot manicures combining marigold with tiny white dots or sky blue with thin gold stripes before your salon visit. Book a short gel if you expect pool days; it holds up better against water and sunscreen.
Nail Art Techniques to Try
These techniques will help you get bold July looks: learn which application methods give the cleanest lines, longest wear, and brightest colors, and how to do them safely at home.
Trending Application Methods
Intent: tutorial — Learn salon-level techniques you can request or try.
Start with a gel base for long-lasting color and crisp detail. Gel polish cures under an LED lamp, so lines stay sharp for techniques like negative space and color blocking. Use a thin striper brush or a nail art pen for precise stripes and dots. For chrome or mirror finishes, apply a no-wipe top coat, cure, then rub in chrome powder with a sponge applicator; finish with a strong gel top coat.
Foil and flake effects need tacky adhesive or special foil glue applied only where you want the metallic patch. For ombré gradients, sponge thin layers of two colors in light dabs; work slowly to build smooth blends. Common mistakes: overloading the brush, skipping base coat, and curing too briefly — these cause bubbling, lifting, or smudging.
Safe At-Home Tips
Intent: guide — Protect nail health while getting pro results.
Always start with clean, dry nails and push back cuticles gently; avoid cutting live skin. Use a dehydrator and a bonded base coat if your nails lift easily. When you buff, keep strokes light and avoid aggressive filing of the nail plate to prevent thinning.
Limit UV/LED exposure by curing only the time recommended and wearing a broad-spectrum SPF on hands if you do repeated sessions. Disinfect tools with 70% isopropyl alcohol after each use. If you smell strong chemical fumes or feel burning while curing, stop and remove the product — that can signal an allergic reaction or improper application. Try one new technique at a time to learn control; practice on tips or a nail wheel before doing a full set.