10 Micro French Nail Ideas for August That Look Expensive — Luxe Minimalist Inspo
You want nails that look curated and costly without spending hours in the salon. These 10 micro French ideas for August show you how thin lines, soft hues, and tiny accents create a luxe look you can wear every day.
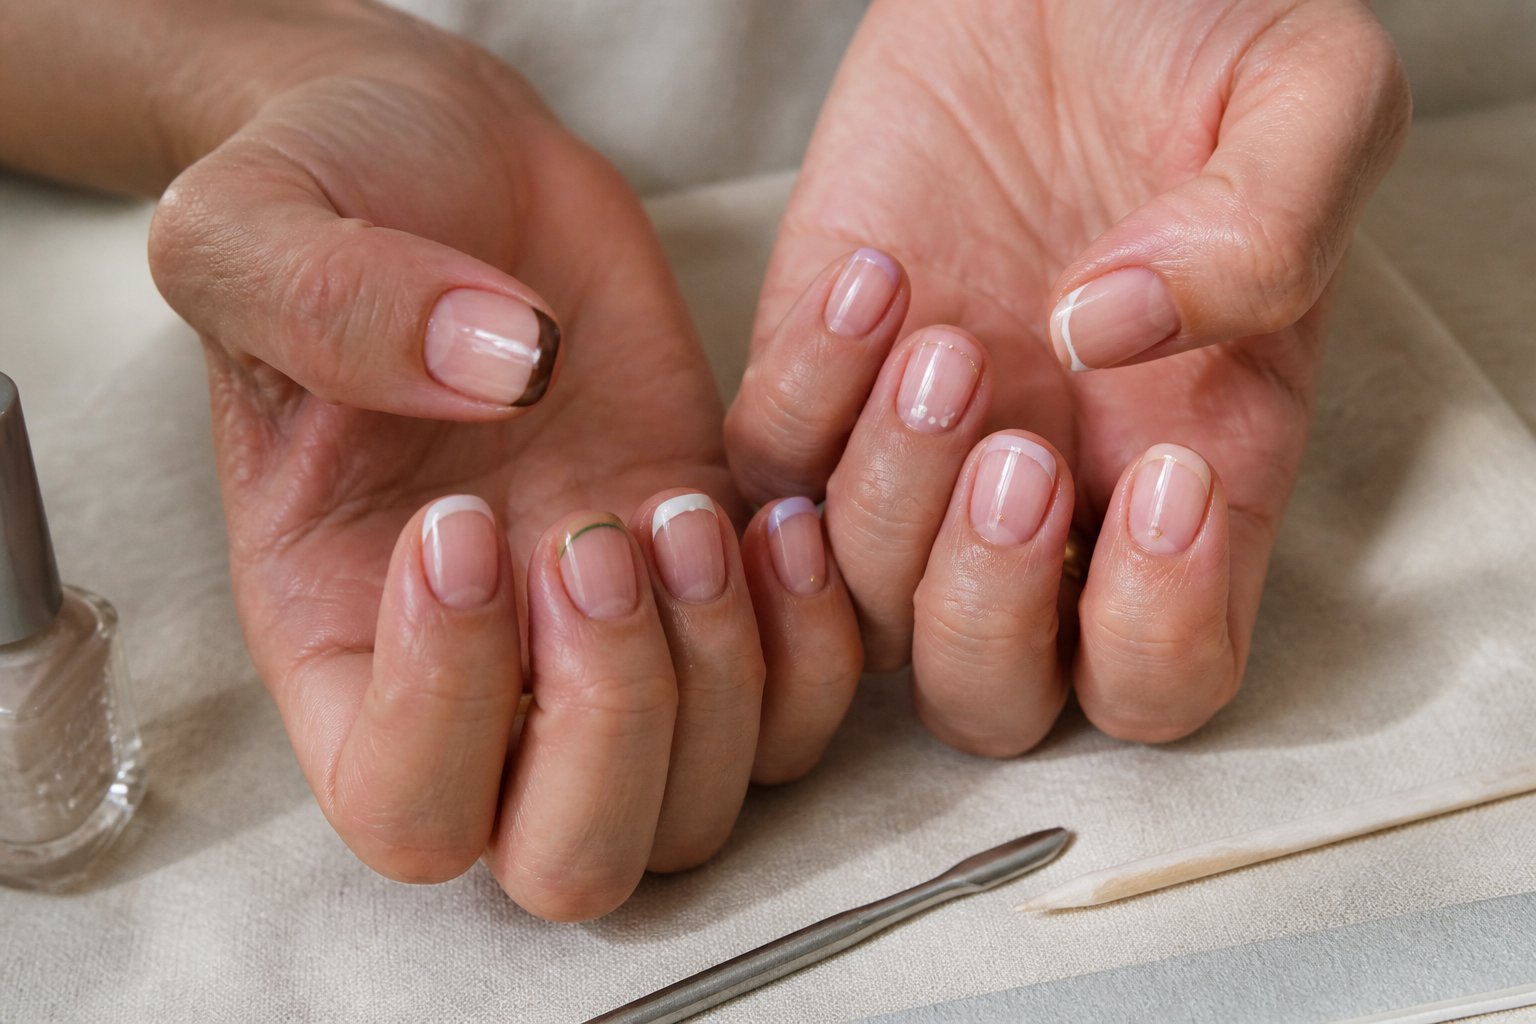
You’ll find practical inspiration and simple tips so you can pick a style that fits your plans—whether you like barely-there nudes, soft pearlescent blues, or a subtle chrome edge. Expect clear guidance on finishes, small mistakes to avoid, and easy ways to get a salon-worthy result at home or with your tech.
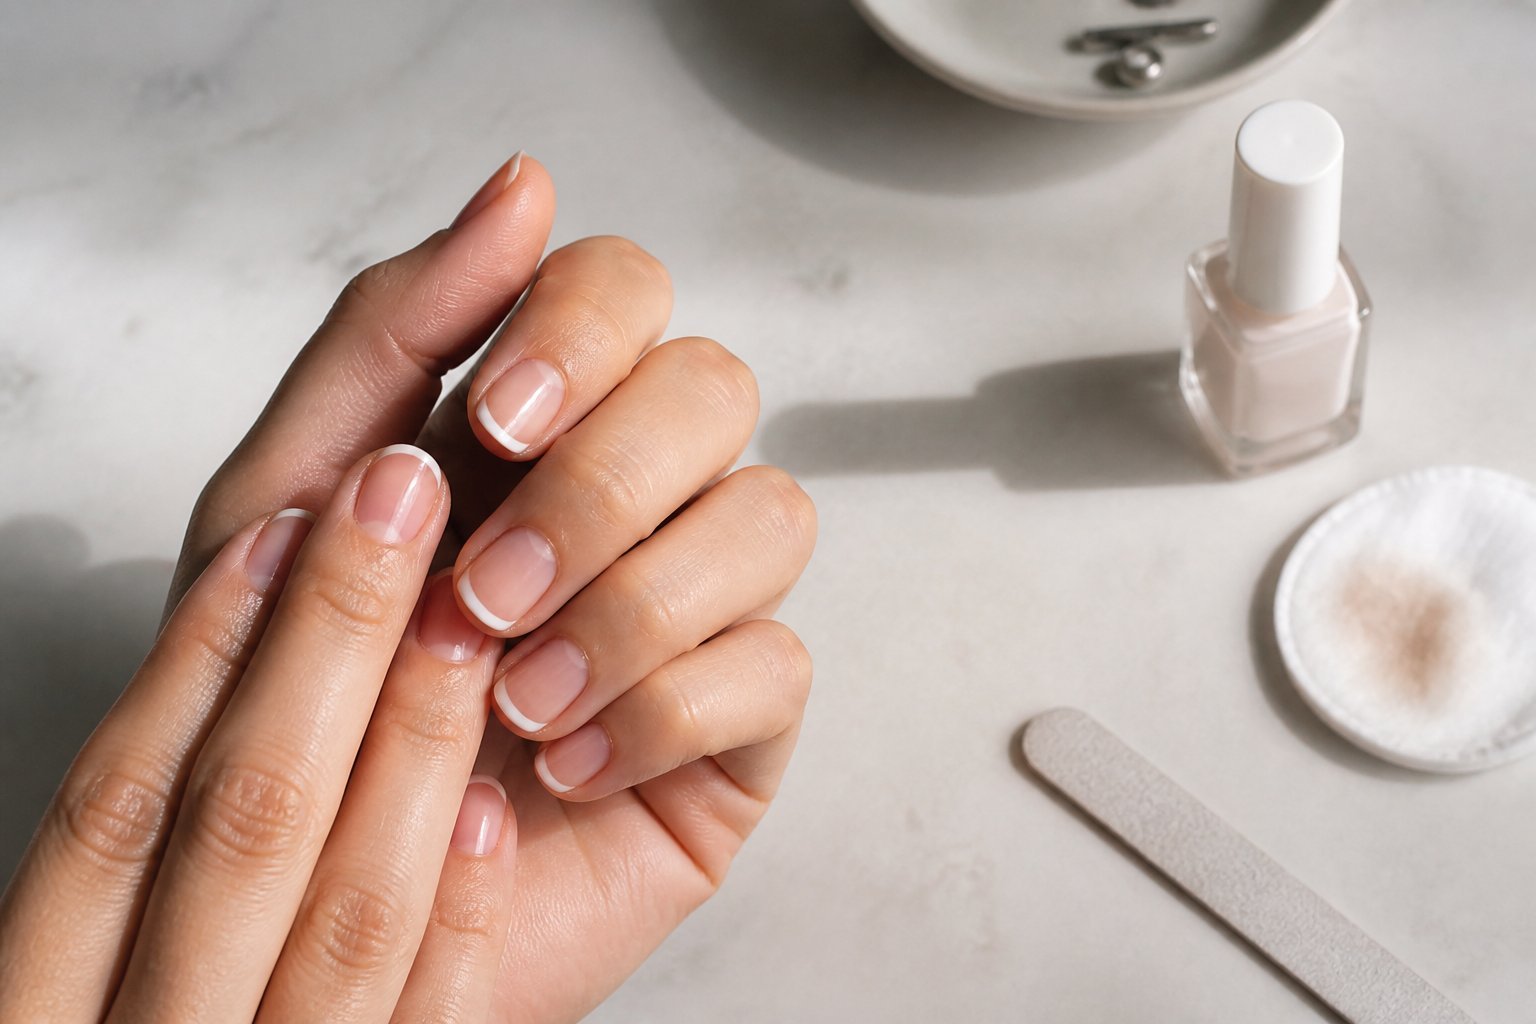
1) Barely-There Nude Micro French with Ultra-Thin White Line
Intent: tutorial and idea. You’ll get a polished, expensive look with almost no fuss.
Start with a sheer nude base that matches your skin tone. Apply two thin coats for even coverage, then cure if using gel.
Use a fine liner brush or a micro-tip pen to paint a whisper-thin white line at the free edge. Keep your hand steady by resting your wrist; one confident stroke is better than many shaky ones.
Common mistake: making the line too thick. If that happens, gently lift color with a clean brush dipped in remover and redraw.
Finish with a glossy topcoat to seal and lengthen wear. Try this on short nails to make them appear longer—your nails will look chic and effortless.
2) Sheer Pink Base with Gold Foil Micro French Tips
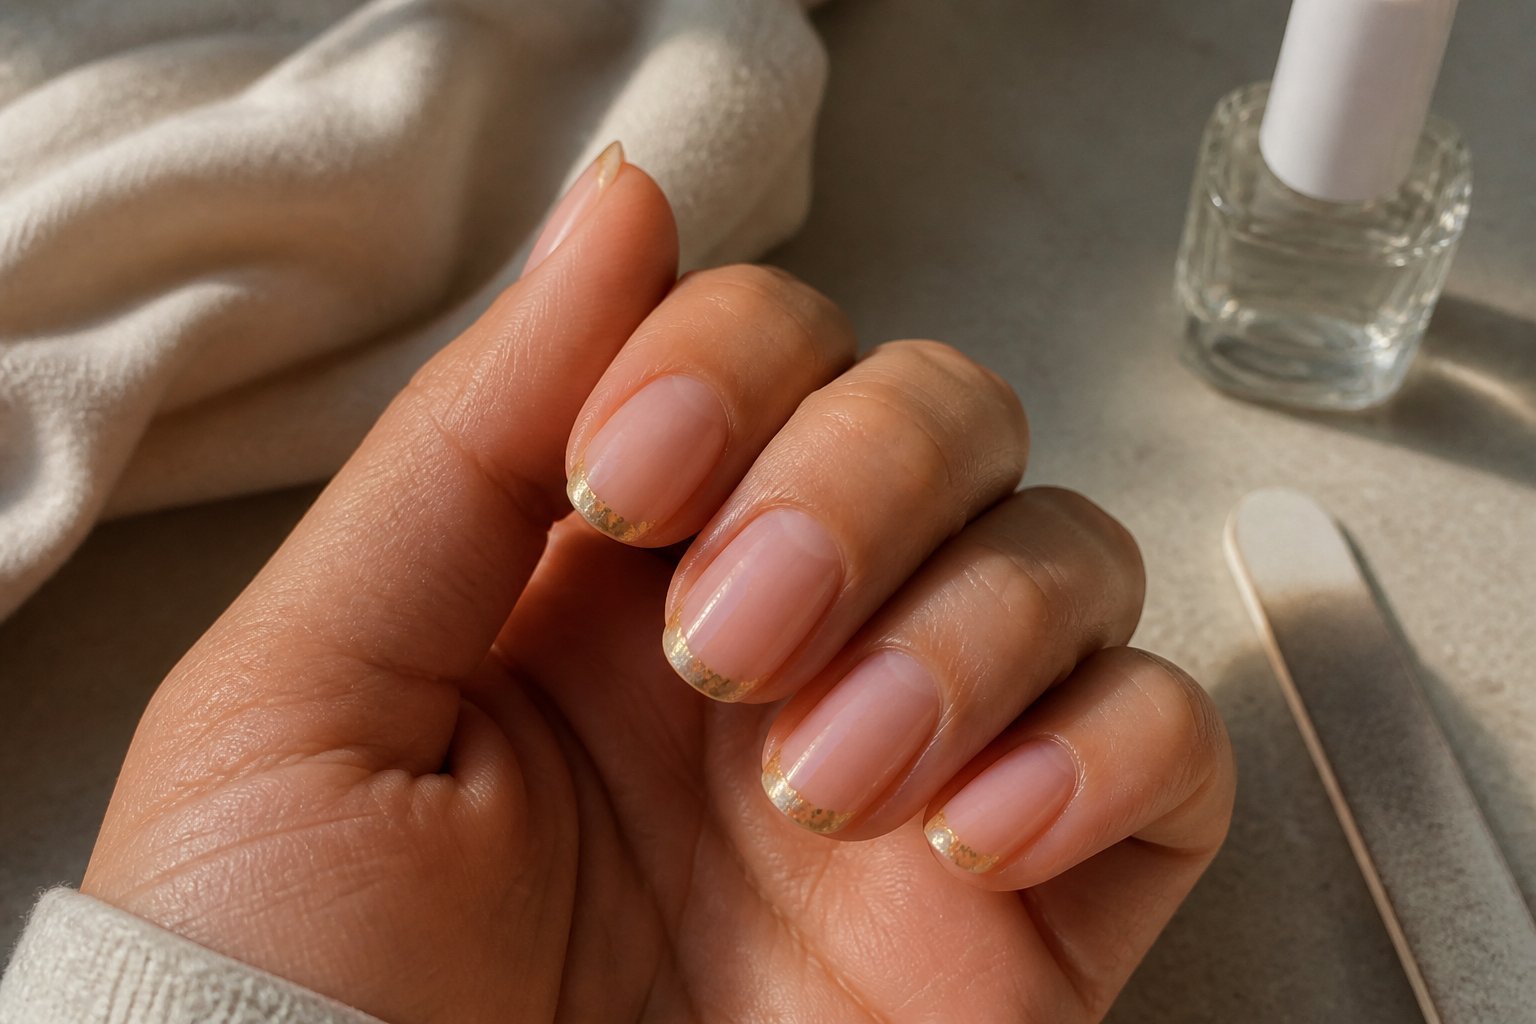
Intent: tutorial and idea. Try a sheer pink base to make nails look clean and fresh while keeping attention on the tiny gold foil smile line.
Start with a thin, milky-pink polish. Apply two sheer coats for even coverage, letting each dry fully to avoid bubbling. Use a steady hand or nail guide to paint a micro French tip about 1–2 mm wide.
Press tiny pieces of metallic gold foil onto slightly tacky topcoat, then seal with two thin layers of glossy topcoat. A common mistake is using big foil flakes; they can overwhelm the micro line. Opt for fine gold shards.
This combo reads luxe without shouting. If you want variations, try angled micro tips or a single accent nail with denser foil. Test on one nail first, then repeat across your set.
3) Matte Ivory Micro French with Glossy Crescent Accent
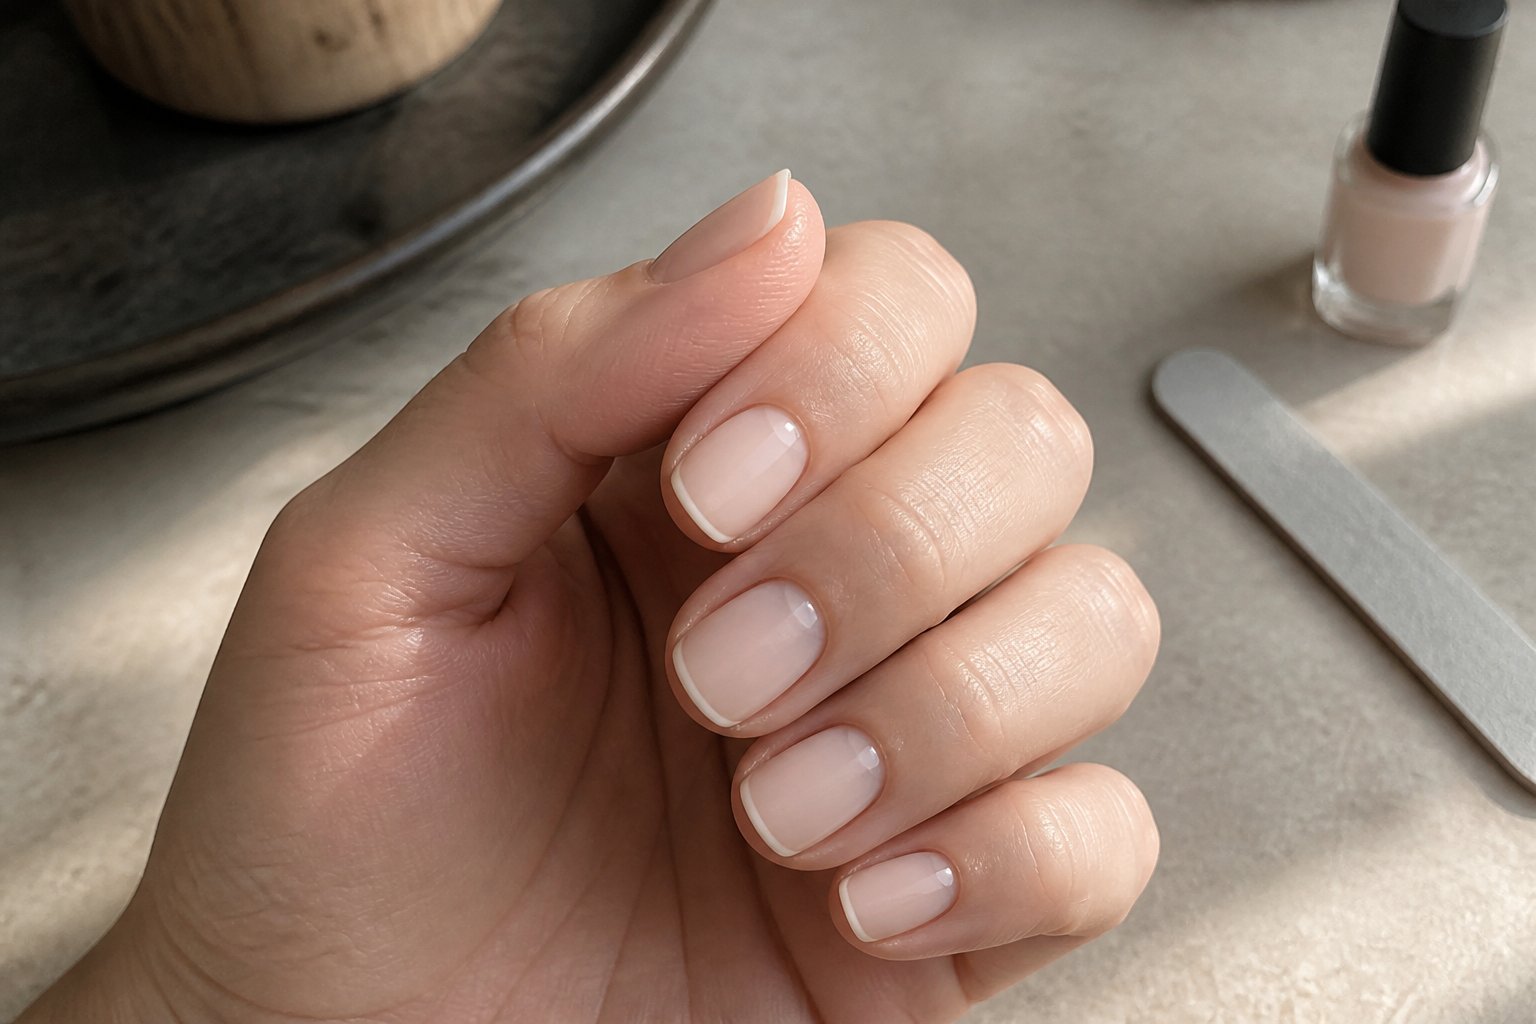
Intent: tutorial and idea.
Choose matte ivory as a soft base to make tiny details pop. Paint a thin glossy line at the very edge for the micro French, then add a small glossy crescent at the cuticle for a modern twist.
Work slowly with a fine brush. A common mistake is pressing too hard and widening the micro tip; keep light, steady strokes. If your polish drags, wipe the brush on a paper towel and reload.
For longer wear, cure with a quick topcoat over the glossy accents only, leaving the matte field untouched. Try a nude or pale pink underlayer for added depth. This look suits short and medium nails and pairs well with simple gold rings. Try it next salon visit or practice once at home to master the crisp lines.
4) Translucent Beige Micro French and Tiny Rhinestone at Cuticle
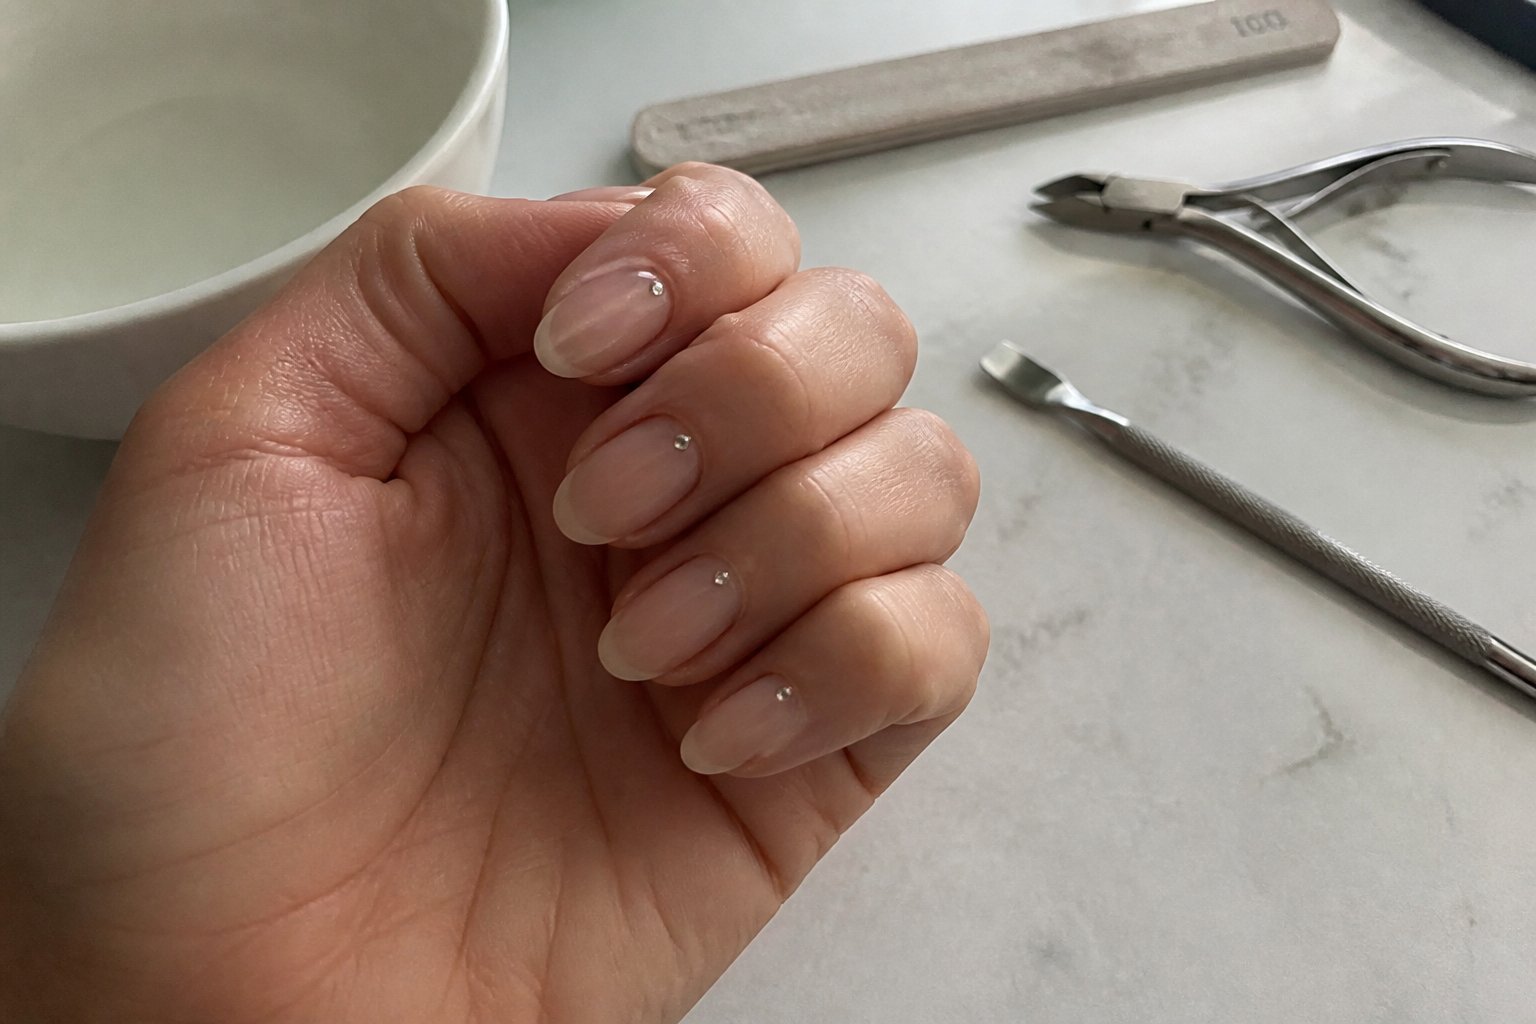
Intent: tutorial and idea. Use a sheer beige base that melts into a 0.5mm micro French tip for a soft, editorial look. Thin brushes or a nail art pen keep that tiny line crisp; practice on a nail wheel first to avoid shaky tips.
Add a single small clear rhinestone at each ring-finger cuticle for a quiet accent. Press the gem into tacky gel or use a tiny dot of nail glue, then seal with a glossy top coat so the stone stays put and the transition stays blurred.
Common mistake: using oversized gems or thick tips that break the subtle effect. Keep lengths short to medium and choose squoval or short almond shapes for the most natural finish.
Try pairing this with a glazed pearl chrome top coat for extra depth, and test one nail before committing to the full set.
5) Smoky Gray Micro French with Silver Chrome Edge
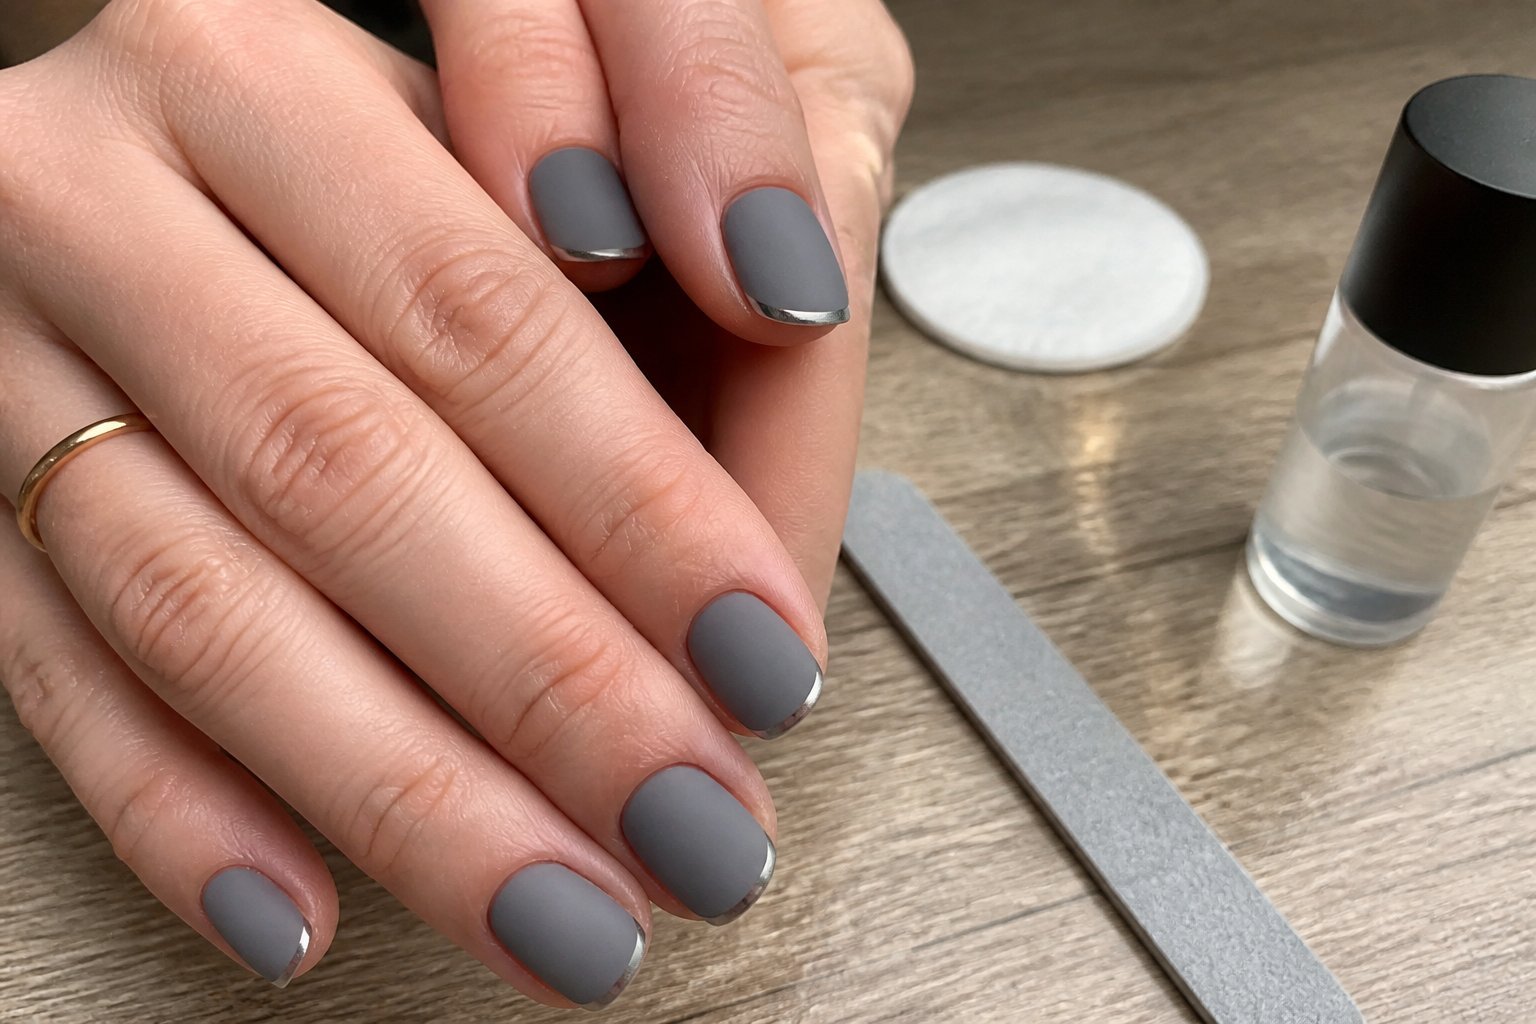
Intent: tutorial and idea. Try a smoky gray base with a hairline silver chrome tip for a luxe, low-key look you can wear every day.
Start with a sheer gray builder gel so the color reads soft, not flat. Draw the micro tip at about 0.5mm; steady your hand and use a thin sable brush to keep the line crisp.
For chrome, buff the tip lightly and apply a very thin chrome powder only on the edge. Too much powder blurs the micro line; less is always cleaner. Seal with a glossy topcoat and cure fully to lock the mirror shine.
Common mistake: drawing the white too thick or using opaque gray. That kills the delicate contrast. If a tip slips, wipe and redraw before curing. Try one accent nail with a reversed chrome crescent for subtle interest.
6) Butter Yellow Micro French with Minimal White Smile Line
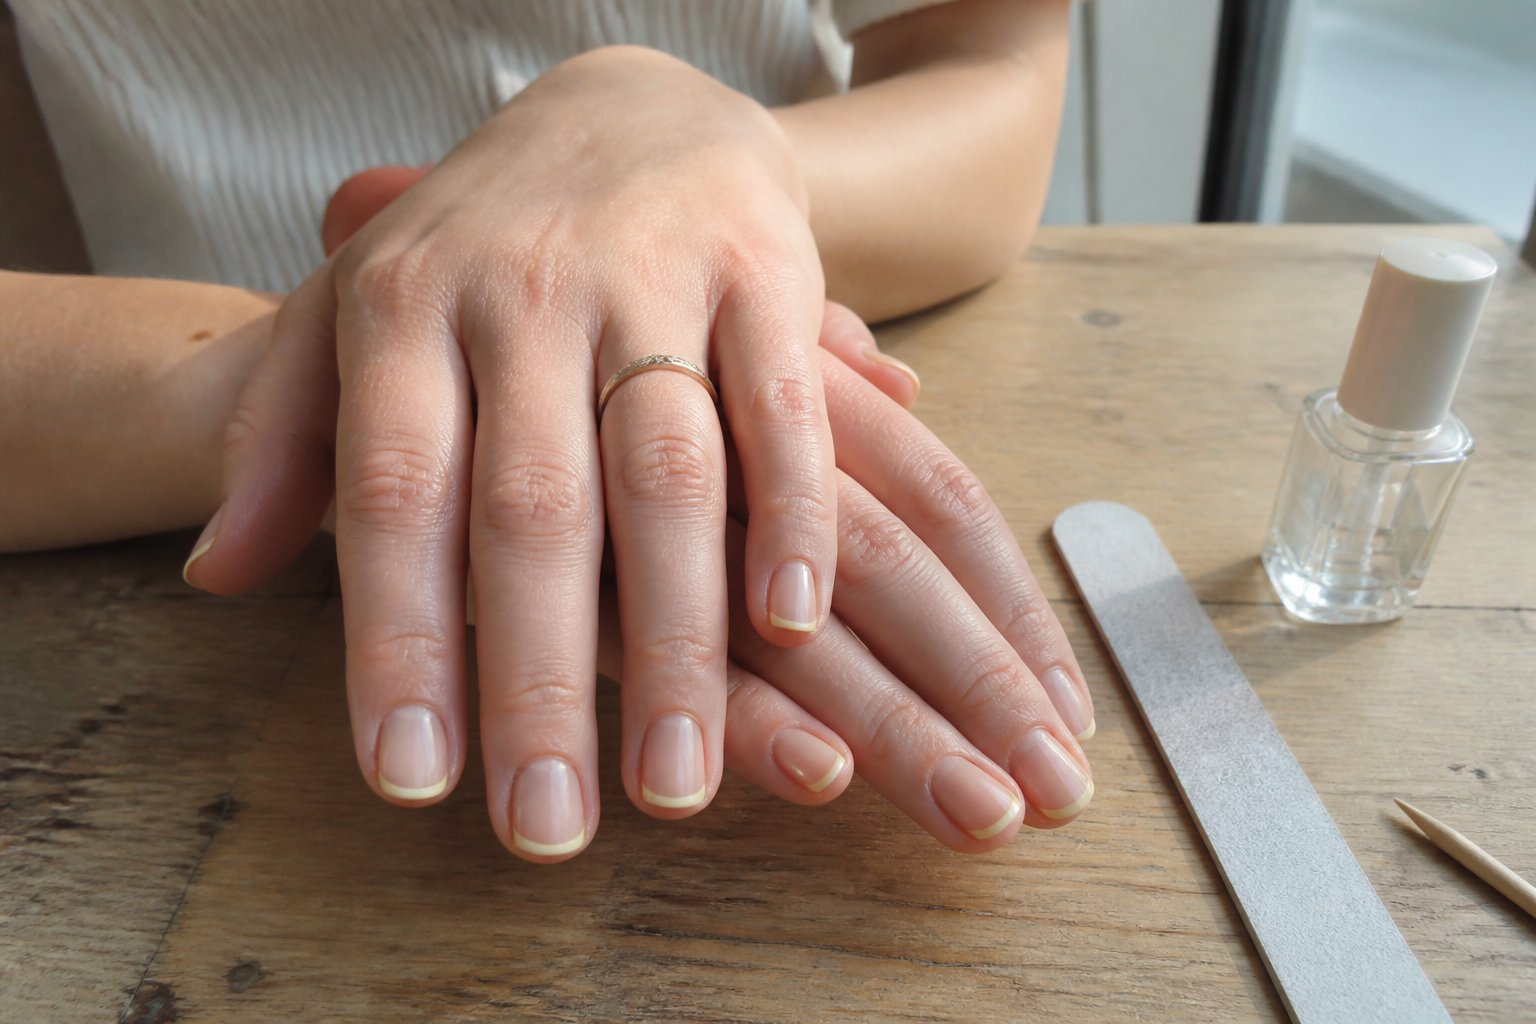
Intent: tutorial. Try a butter yellow base with a tiny white smile line for a clean, luxe look you can wear every day. Apply a sheer butter yellow polish, thin and even, so the color reads soft and creamy rather than bright.
Keep the white smile line very small—think 1–2 mm. Use a fine brush or a dotting tool and steady your hand on a flat surface to avoid wobbles. A common mistake is making the white too thick; that makes the manicure look busy instead of refined.
If your nails are short, this style lengthens them visually. For extra polish, finish with a thin glossy top coat and cure fully. Want a subtle twist? Add a single tiny gold dot near the cuticle on one nail for an upscale detail. Try it at home or ask your tech for micro precision.
7) Olive Green Micro French with Thin Black Outline
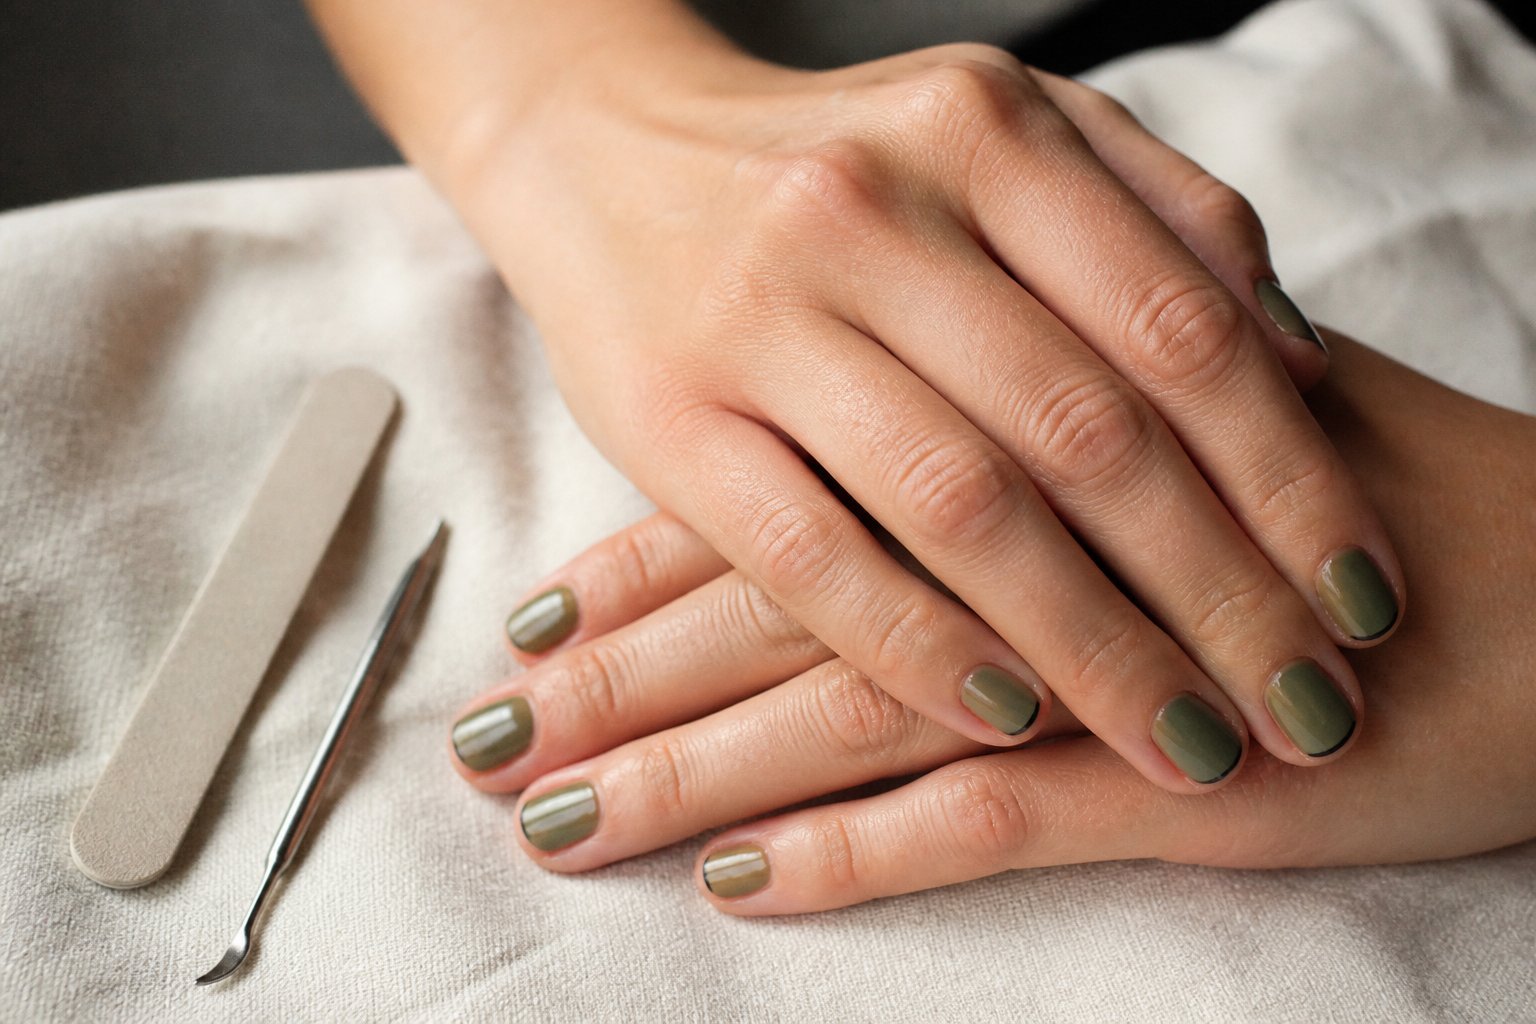
Intent: tutorial and idea. Try this when you want a chic, modern twist on a classic French.
Pick a muted olive as your base tip. Keep the tip line ultra-thin so it stays delicate and elongates your nail. Thin lines read expensive, not loud.
Add a fine black outline just beneath the olive edge. Use a steady hand or a striping brush. A common mistake is making the black too thick — that flattens the look.
For short nails, place the olive tip slightly higher to create the illusion of length. For longer nails, let the olive cover less of the free edge to keep it refined.
Pair with a glossy topcoat for polish and durability. If you want inspo, see olive-green nail ideas that mix chrome and gold accents for luxe finishes (https://thepinkissue.com/olive-green-nails/). Try this at home or ask your tech to execute the thin black line for best results.
8) Micro Ombre French (Sheer Peach to Cream)
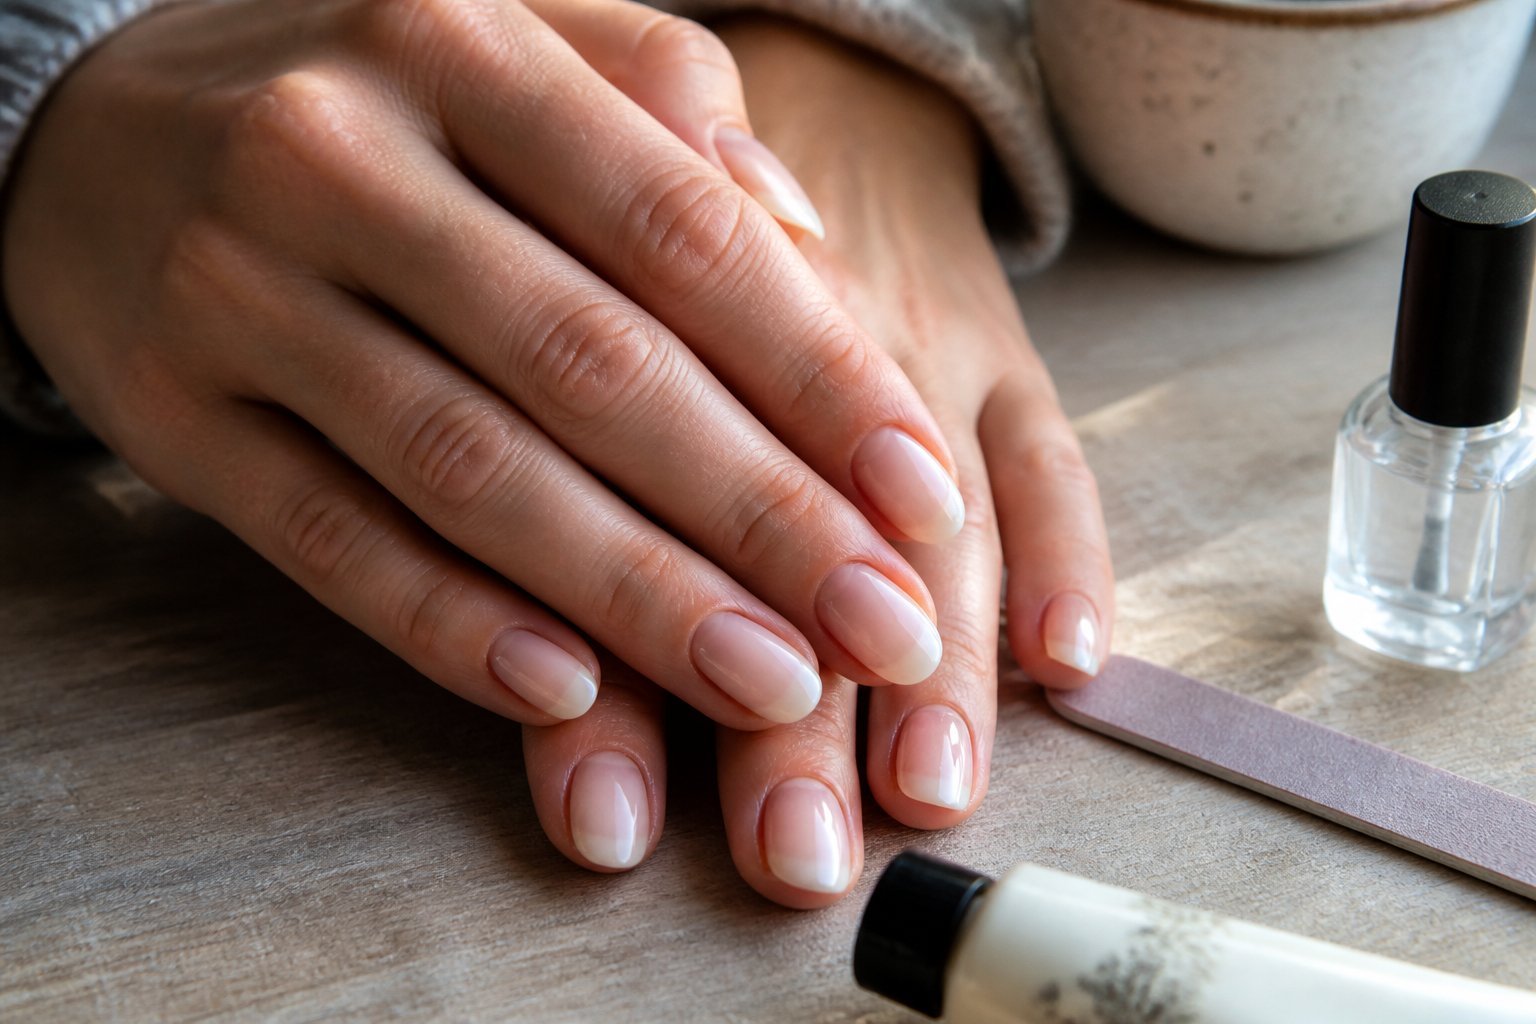
Intent: tutorial and idea. Try a sheer peach base that fades into a soft cream tip for a luxe, quiet look. This micro ombre reads fresh and lengthening without the stark white of a classic French.
Apply a thin translucent peach first. Use a small sponge or brush to gently blur the line where peach meets cream. Keep the tip very narrow — about 1–2 mm — so it stays micro and modern.
Common mistake: over-saturating the sponge. That creates a chunky edge. Light, repeated dabs build a seamless gradient and feel more expensive.
For maintenance, top with a thin, high-shine gel or fast-dry lacquer. If you want ideas, see elegant ombré styles like the ones in this round-up of ombre French manicure designs. Try one nail with a tiny metallic pinstripe for a subtle signature.
9) Licorice Micro French on Short Square Nails
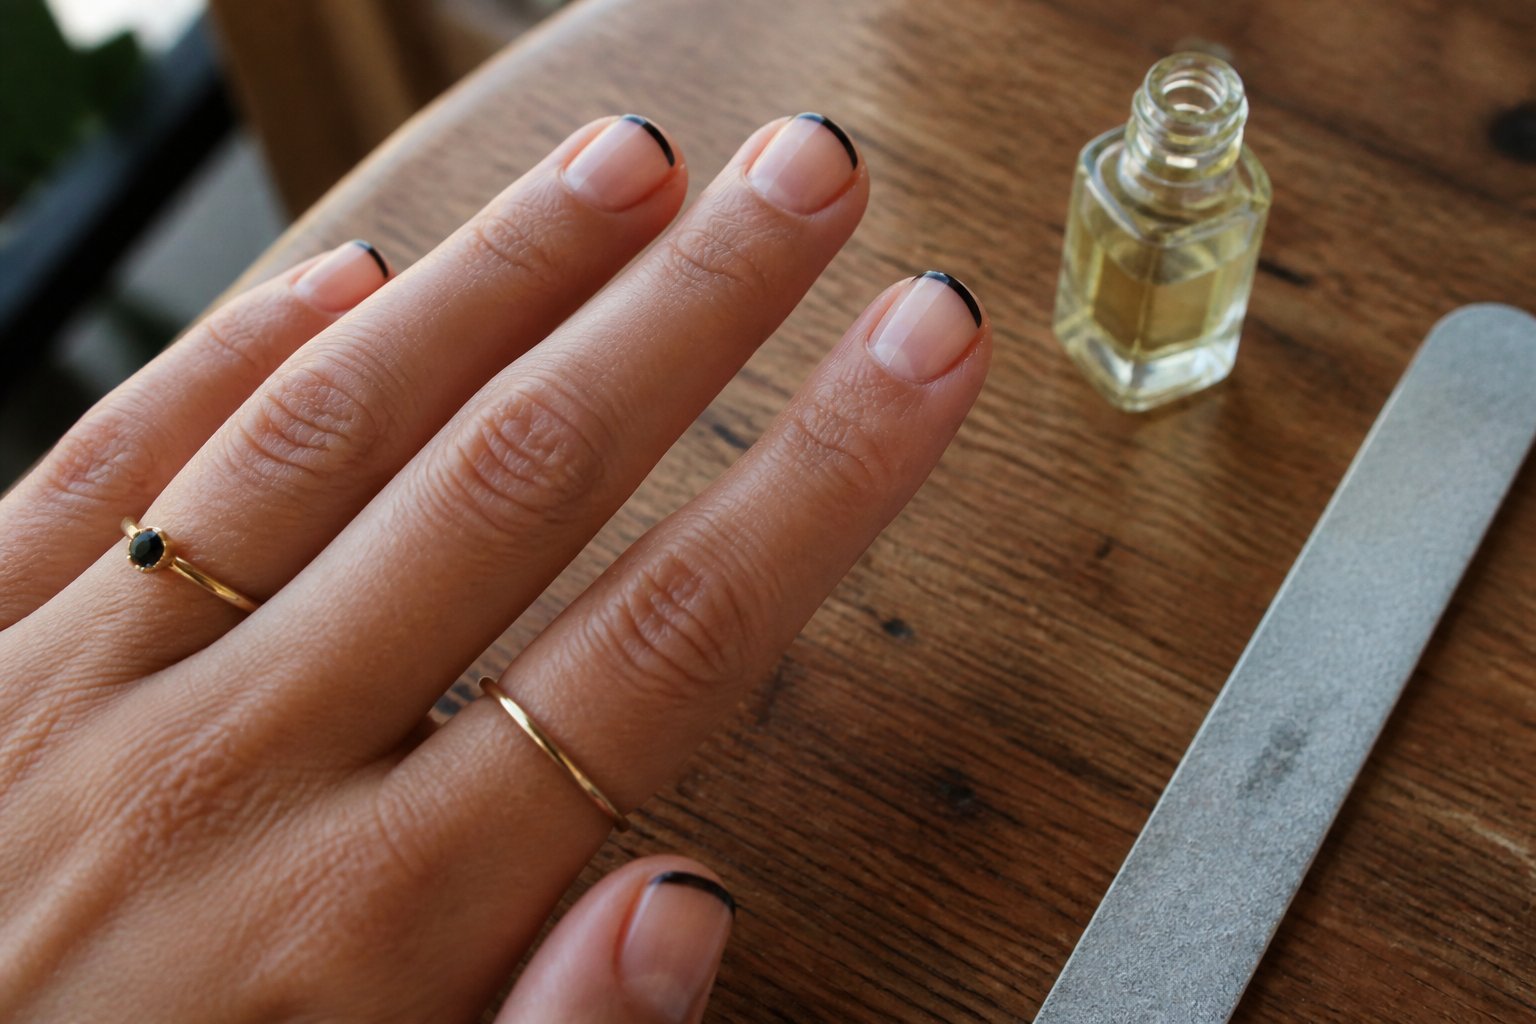
Intent: tutorial and idea.
Try a licorice micro French when you want a bold, elegant update that still reads minimal. Paint a thin jet-black line at the very edge of short square nails and pair it with a sheer nude base to keep the look refined.
Start by buffing the free edge slightly so the black tip sits cleanly. Use a fine brush or a striping brush and steady your hand on a table to draw the micro line. A common mistake is pressing too hard—this makes the stripe thick and loses the micro effect.
For variety, add a tiny dot or negative-space crescent on one accent nail. If polish smudges, clean with a small angled brush dipped in remover; then seal everything with a glossy top coat. Try this for work or a night out and adjust contrast to suit your wardrobe.
10) Pearlescent Baby Blue Micro French with Micro Glitter Fade
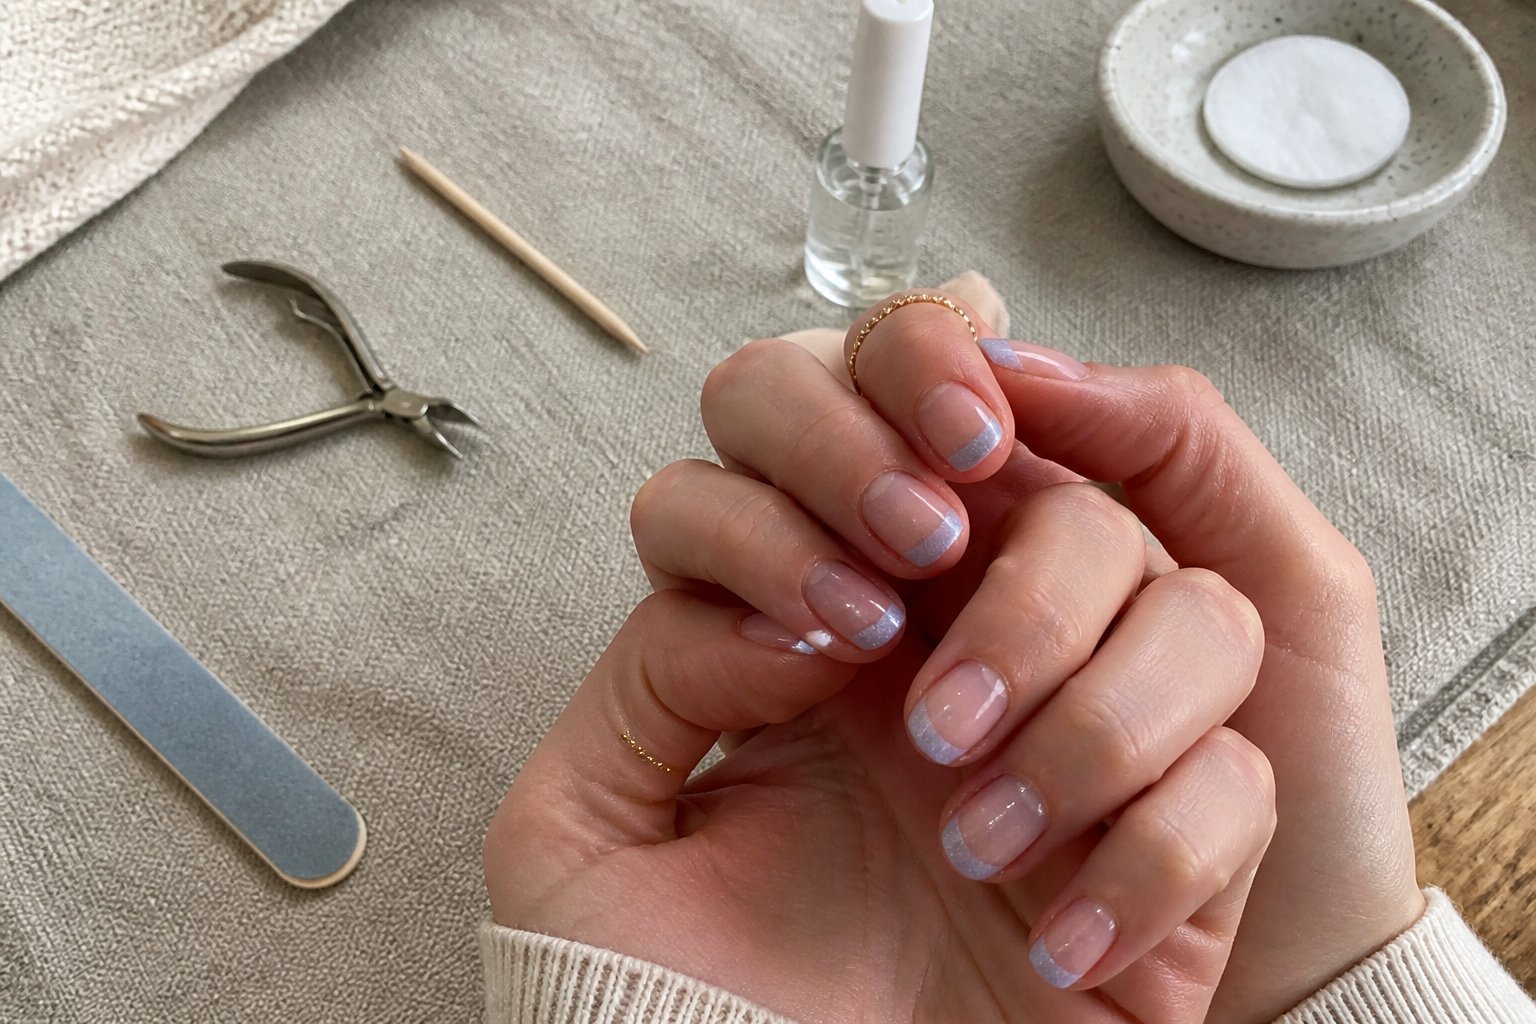
Intent: tutorial and styling idea.
Try a pearlescent baby blue micro French for a soft, luxe look that still reads modern. Start with a sheer nude base so the pearlescent blue pops without overpowering your nail shape. Keep the arcs tiny—about 1–2 mm—for a chic micro French that works on short and long nails.
Add a micro glitter fade from the tip inward to catch light without looking heavy. Use fine silver or iridescent glitter and feather it toward the center; avoid chunky glitters that ruin the smooth fade. A gel top coat seals the shimmer and boosts wear time.
Common mistake: making the blue too thick. Thin layers give a glassy, pearl finish. If you want examples and step photos, check this round-up of blue French styles for ideas. Try it on one hand first, then match the other when you love it.
Why Micro French Manicures Stand Out
Micro French tips make nails look deliberate and cared-for without shouting for attention. They sharpen your hands, suit every nail length, and pair easily with color or bare nails for a polished result.
The Allure of Minimalist Nail Art
Intent: idea — show why less equals luxe.
Micro French focuses on a thin, precise line at the tip. That small line creates contrast that draws the eye to your nails without overpowering an outfit. Choose a near-sheer base like nude or cream to keep the look elegant; bright or pastel tips add personality while staying refined.
Common pro tip: use a fine brush or nail tape to keep edges razor-sharp. A shaky hand? Ask your tech for a dot-and-join method—place small dabs along the free edge and connect them for a neater curve. Avoid thick tips; they read dated and make nails look shorter.
Try mixing finishes: matte base with glossy tip or vice versa. This little tweak adds depth and makes the minimal design feel intentional and high-end.
Elevating Everyday Style
Intent: guide — how to wear micro French for daily looks.
Micro French fits work meetings, weddings, and weekend errands because it reads tidy and intentional. Match tip color to a handbag or lipstick for a coordinated look. For a subtle upgrade, add a single metallic dot or a translucent glitter streak on one nail—keeps it obvious, not busy.
If you wear short nails, keep the tip thinner to lengthen the nail visually. On longer nails, widen the micro line slightly so it reads from a distance. Avoid overly busy nail art next to micro French; the strength is in restraint.
Common mistake: over-layering colors or thick topcoat. Use two thin coats and a single glossy topcoat for durability and a salon-sleek finish. Try this approach next time you book a mani and notice how small details lift your whole look.
Tips for Achieving a Luxe Finish
These tips focus on color pairing, edge precision, and a high-shine top coat to make micro French nails read expensive. Small choices—shade depth, tip width, and curing—change how polished your hands look.
Choosing the Right Color Combinations
Intent: tutorial.
Pick a base and tip that create contrast without shouting. For a quiet-luxe look, use a sheer nude base (think soft beige or warm pink) with an ultra-thin tip in creamy off-white or muted taupe. That keeps nails looking natural and elevated. For a modern twist, swap the off-white tip for a micro line in soft gold or pale gray on short nails; the metallic or cool neutral reads intentional, not flashy.
Common mistake: choosing a base that’s too opaque. Thick, cakey bases make the thin tip look heavy and amateur. Use two thin coats of a translucent base and let each dry fully. If you want color, pair a dusty rose base with a near-white tip for summer-to-fall versatility.
Top Coating Techniques for a Glossy Effect
Intent: guide.
A glass-like shine depends on technique as much as product. Apply a thin, even gel or high-gloss top coat starting from the center of the nail and pulling to the free edge in one smooth stroke. Seal the tip by brushing the edge horizontally to prevent chipping.
If you use regular polish, finish with a quick-dry glossy top coat, then wait five minutes before light activity. For gel, cure under an LED lamp the full recommended time—under-curing causes tacky, dull spots. Avoid over-brushing the top coat; excess movement creates streaks. For extra longevity, add a second thin top coat after 24 hours and buff lightly with a soft microfiber cloth for a mirror finish.