10 Back to School Nail Ideas 2026 That Are Cute, Trendy & Easy to Wear
You want nails that look polished and classroom-ready without taking hours to do. These 10 back-to-school nail ideas for 2026 give you easy, trendy looks you can wear all semester without distracting from class or homework.
You’ll find simple styles, smart prep tips, and finish choices that suit every mood—from soft neutrals to playful accents. Expect clear how-tos, common mistakes to avoid, and quick swaps so you can customize each look to match your school colors or after-school plans.
1) Neutral French with sheer nude base and crisp white tips
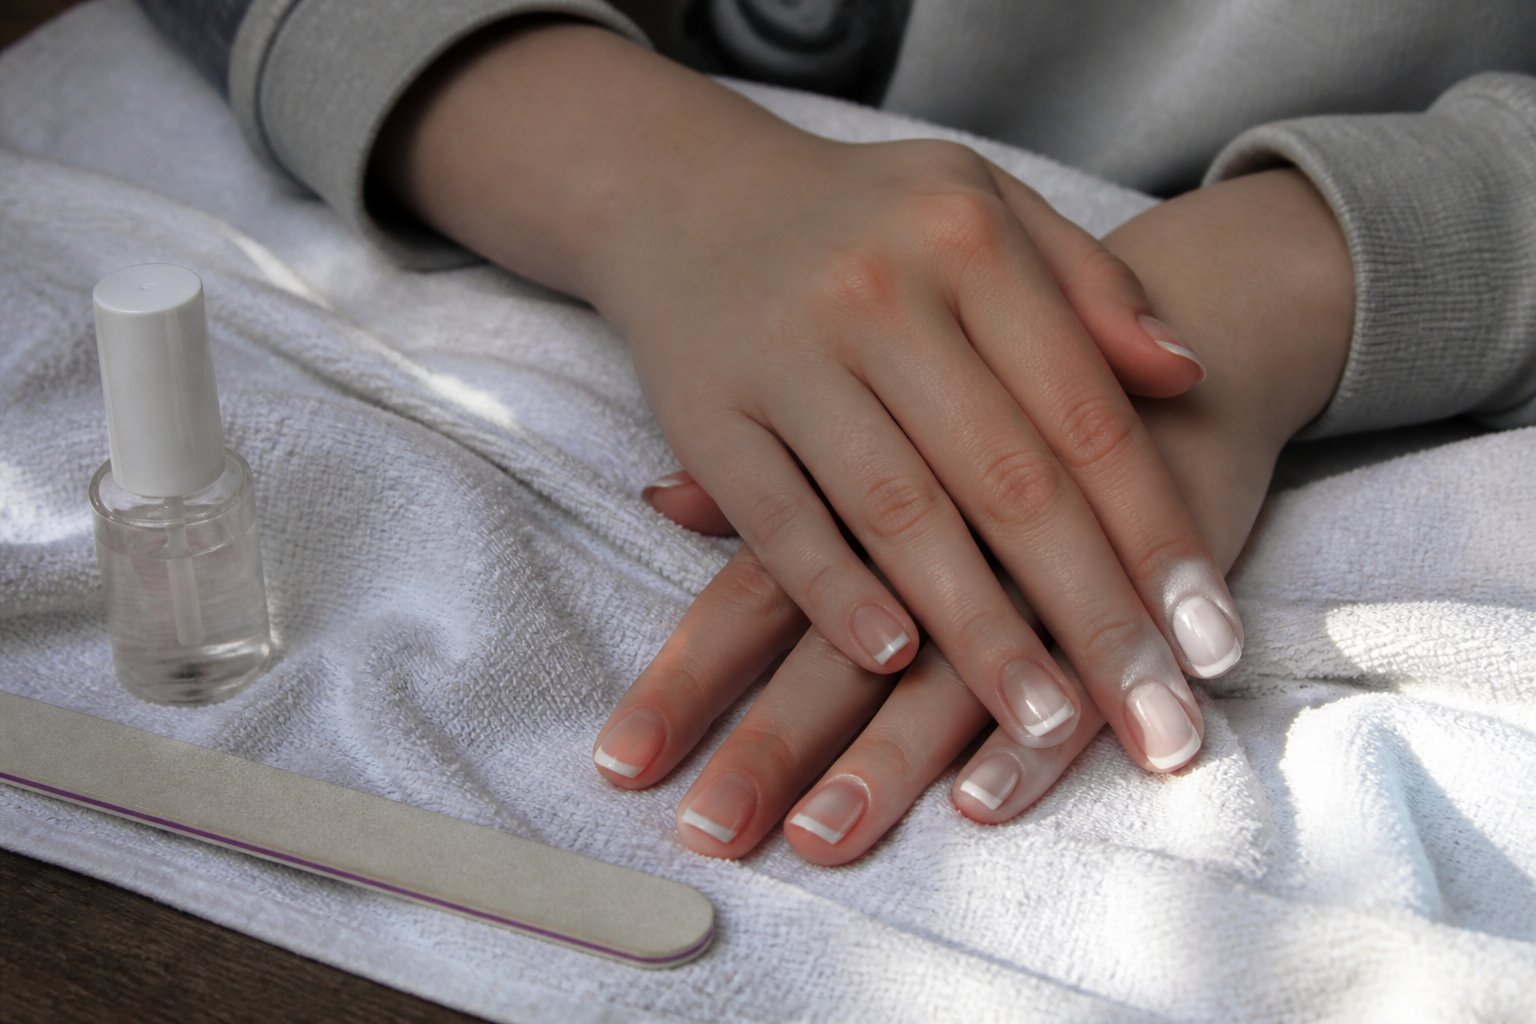
Intent: tutorial. This classic look keeps your nails school-ready and polished without drama.
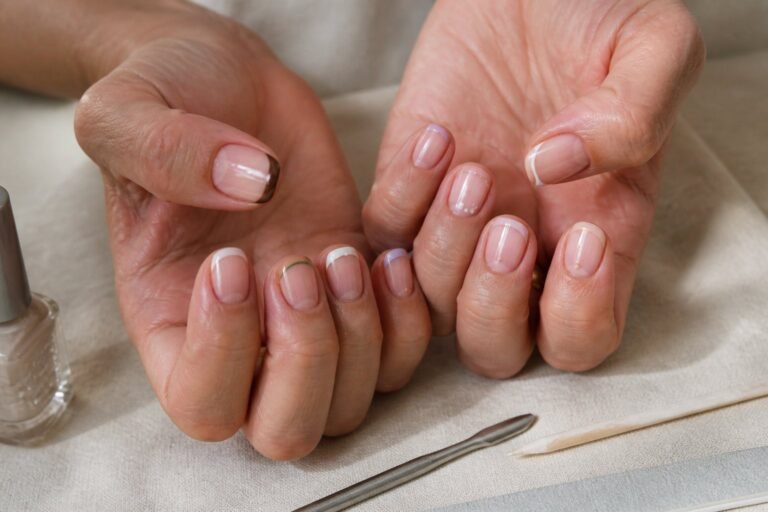
Start with a sheer nude base that matches your skin tone. Apply thin coats so the finish stays translucent and natural; too many layers make the tips look heavy.
Use a steady hand or a nail guide to paint thin, crisp white tips. Keep the line just shy of the free edge for longevity. If you mess up, a small brush dipped in remover fixes it fast.
Common mistake: thick white tips that overwhelm the nail. Aim for a whisper-thin smile line to make fingers look longer and rings pop.
Finish with a glossy topcoat to seal the design and prevent chipping. Try this for a week of low-maintenance polish that moves from class to events with ease—give it a try this week.
2) Pastel ombré (lavender to mint) with matte topcoat

Intent: tutorial and idea. You’ll get a soft gradient that reads fresh and school-appropriate.
Start with trimmed, buffed nails and a white or sheer base. Use a makeup sponge to dab lavender at the cuticle, then mint at the tip, blending where they meet. Work in thin layers so the colors fade smoothly; let each layer dry to avoid streaks.
Finish with a matte topcoat for a modern, velvety look that hides small chips. Common mistake: overloading the sponge—too much polish makes blobs instead of a smooth ombré. If edges look harsh, soften them with a clean brush dipped in acetone.
Try tiny silver dots or a single glitter accent nail if you want subtle flair. Practice once or twice on fake nails to get the blend right before doing your full set.
3) Tiny pencil-accent nail art on almond-shaped nails
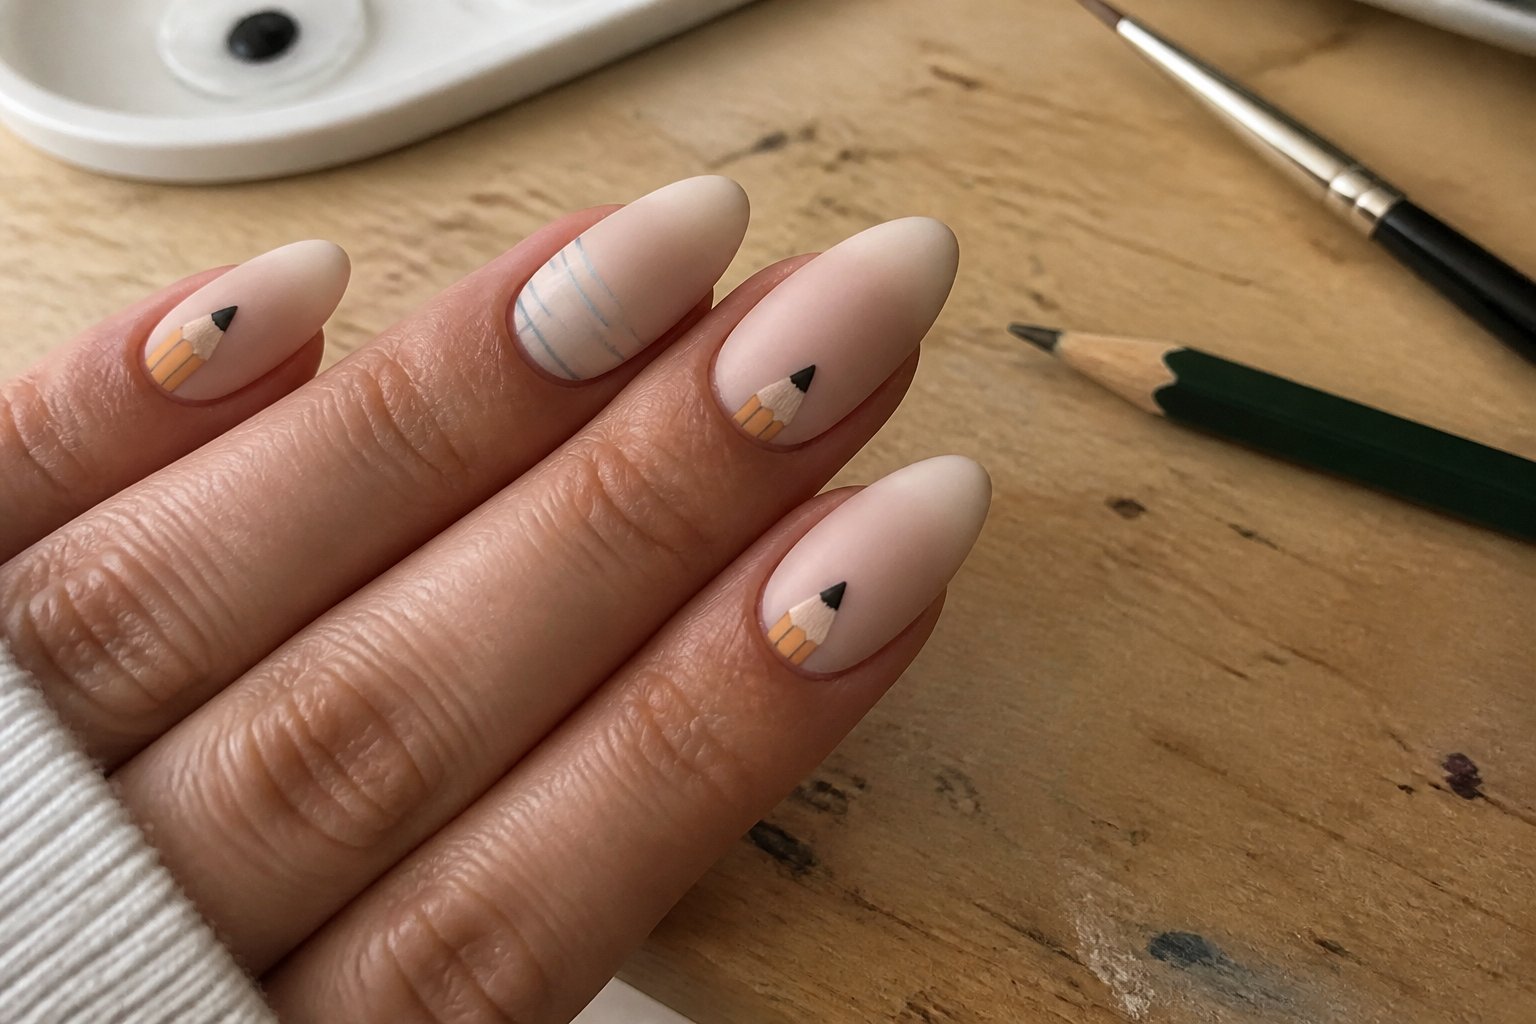
Intent: idea and quick tutorial for a cute, classroom-ready mani.
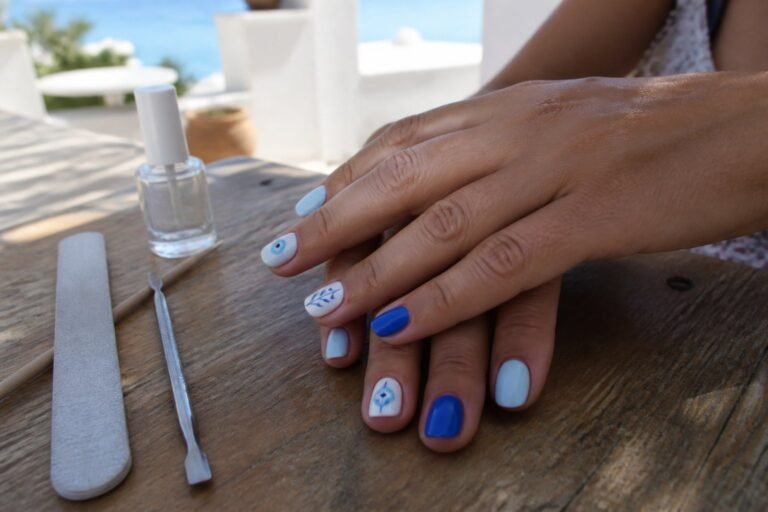
Try a tiny pencil accent on almond nails for a playful, low-key look. Paint a neutral base, then use a thin brush to draw a slim yellow pencil with a pink eraser on one or two accent nails.
Keep lines clean and small so the art stays wearable between classes. Use a dotting tool for the eraser and a tiny gold or black tip for the metal ferrule. Seal with a glossy top coat to protect detail and add shine.
Common mistake: making the pencil too large or using thick strokes; that makes the nail look crowded. If you’re new to nail art, practice the shape on a plastic tip or a paper strip first.
For more ideas and variations, see a round-up of fresh back-to-school nail designs for 2026 (https://vogueradiance.com/28-back-to-school-nail-ideas-for-2026/).
4) Checkerboard accent nail with glossy black and cream squares
This idea is a how-to and style guide for a classic accent nail that feels modern and wearable. You’ll paint one or two nails with sharp black and cream squares while keeping the rest glossy or neutral.
Start with a smooth base coat and use a thin brush or striping tape for crisp squares. Pick a high-gloss top coat to make the contrast pop. Common mistakes include uneven squares and overworking wet polish; let each color dry before adding the next.
Try one glossy black accent on your ring finger and cream squares on the middle nail for balance. If you’re short on time, use a dotting tool to map corners before filling them in. Want a softer look? Swap cream for nude to keep the checkerboard subtle but still eye-catching.
5) Micro-floral ditsy pattern on a soft pink base
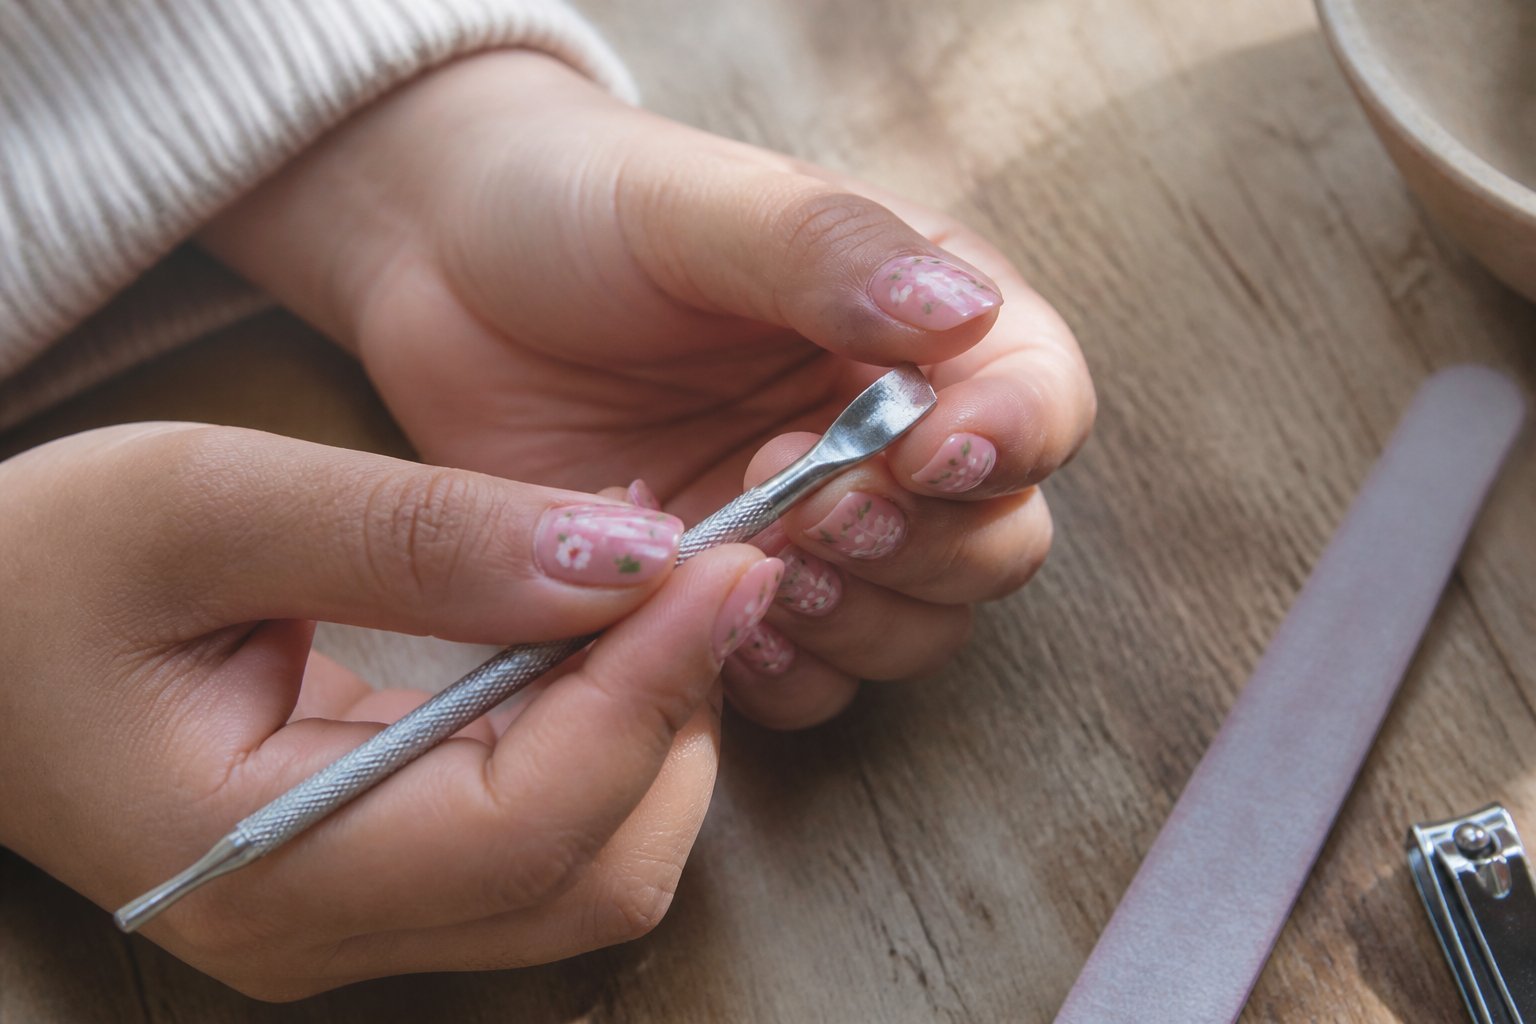
Idea: a tiny ditsy floral pattern keeps your nails cute and school-friendly. Start with a soft baby-pink base for a clean, neutral look that pairs with uniforms or casual outfits.
Tutorial: use a fine dotting tool or a toothpick to place little flowers—three dots for petals and a center dot. Vary petal sizes across nails for a natural feel. Keep spacing loose to avoid a crowded look.
Common mistakes: painting flowers too close together or using colors that clash with your skin tone. If details blur, let each layer dry fully before adding the next.
Try one accent nail with slightly larger blooms to add balance. Practice on a nail wheel first, then paint confidently for a polished, wearable mani.
6) School-color French tips (two-tone thin stripes)
This idea is a tutorial for making neat, two-tone French tips using your school colors. Pick a neutral base, then paint a thin stripe of one color at the tip and a thinner contrasting stripe just below it for a clean, layered look.
Use a thin brush or striping tape to keep lines steady. A common mistake is pressing too hard with the brush—light strokes give crisper edges. Try navy with gold or burgundy with cream to show school spirit without looking loud.
If you mess up one nail, wipe the tip with a small brush dipped in remover and redo that nail only. For longer wear, finish with a glossy topcoat and cap the tip. Try this for spirit week or a meet-up to keep your nails polished and coordinated.
7) Pearl-embellished nude mani with single pearl on each ring finger
This is a tutorial-style idea you can wear to class without fuss. Paint nails a sheer nude or milky base, then add a subtle pearlescent topcoat for soft shine.
Place one small flat-back pearl on each ring finger near the cuticle. Use nail glue or a drop of thick topcoat to secure it; press gently and cure if you have a lamp.
Common mistake: using pearls that are too large — they catch on backpacks. Pick 2–3 mm pearls for comfort. If one pops off, reattach with glue instead of filing the whole nail.
Try a tiny white contour line or gold micro-stud next to the pearl for a polished finish. If you want photos, shoot in natural light to show the pearl’s glow.
8) Classic glossy cherry-red rounded nails
Guide: a timeless, glossy cherry-red rounded manicure that fits school dress codes and weekend plans. Start with short-to-medium rounded tips to keep nails practical and less likely to chip.
Prep matters. File into a soft curve, push back cuticles gently, and buff lightly so polish glides on smooth. Use a ridge-filling base coat to avoid streaks.
Pick a rich cherry-red with a creamy finish for the cleanest look. Apply two thin coats, letting each dry fully, then seal with a high-shine top coat to extend wear and prevent scuffs.
Common mistake: painting thick layers that bubble or peel. Thin coats cure faster and last longer. Add a tiny accent—one hand with a single white dot or a micro cherry—if you want subtle flair.
Try this when you want a neat, classic mani that reads put-together without being fussy.
9) Minimalist negative-space geometric lines on clear gel
Intent: tutorial and idea.
You get a clean, modern look with thin geometric lines on a clear gel base. Place a single diagonal, two parallel slashes, or a tiny triangle near the cuticle to keep the design school-appropriate and low-key.
Use a fine brush or striping tape for crisp lines. Try white, black, or muted metallics; they contrast well without shouting. Common mistakes include overloading the nail with shapes or using a too-thick brush that makes lines look clumsy.
If you do it at home, cure thin layers to avoid smudging. At the salon, ask for “micro-line negative space” so the artist knows you want delicate, precise strokes. Wear time: clear gel hides chips, so chips are less obvious and the style grows out neatly—perfect for busy school weeks.
10) Sheer glitter gradient from cuticle to midpoint
Intent: tutorial. Try a sheer glitter gradient that starts at your cuticle and fades at the nail midpoint for a fresh, school-friendly shine.
Begin with a sheer nude or pale pink base. Apply a fine clear glitter near the cuticle, then use a small sponge to gently dab the glitter outward toward the midpoint. This keeps the sparkle soft and classroom-appropriate.
Common mistake: piling glitter on the tips. That makes nails look heavy and chip faster. Light layers dry faster and let you control the fade better.
For longer wear, seal with a glossy top coat and press a micro-brush along the cuticle line to smooth edges. Try rose-gold or holo micro-glitter for a subtle pop that still reads neutral in class.
Nail Prep Essentials for Long-Lasting Wear
Get nails clean, smooth, and oil-free before polish goes on. Proper prep—filing, cuticle care, and base coat—prevents chipping and keeps manicures looking fresh for days.
Step-by-Step Prep Routine
Intent: tutorial. Start by removing old polish with an acetone-free remover to avoid drying the nail plate. Trim or file to your desired length, then shape with a fine-grit file using light, one-direction strokes to prevent splitting.
Soak hands in warm water for 1–2 minutes to soften cuticles. Gently push cuticles back with a wooden stick; avoid cutting unless you know how—nicks lead to infection. Buff lightly with a 180–240 grit buffer to smooth ridges; don’t over-buff or nails will thin.
Wipe nails with a lint-free pad soaked in rubbing alcohol to remove oils. Apply a thin layer of base coat—one that advertises adhesion or ridge-filling. Let it dry fully before color to avoid lifting. Common mistake: slapping on thick coats; thin, even layers last longer.
Recommended Tools and Products
Intent: guide. Invest in a few reliable tools: a glass or fine-grit file, wooden or metal cuticle pusher, 180–240 grit buffer, lint-free wipes, and small manicure scissors or nippers if you cut hangnails.
Pick a base coat designed for adhesion (look for “bond” or “peel-prevent”). For polish, choose thin, pigmented formulas to reduce layers. Use a fast-dry top coat that says “long-wear” and reapply the top coat every 2–3 days to seal edges.
Example kit: glass file + wooden pusher + 180 buffer + lint-free wipes + adhesion base coat + fast-dry top coat. Store products upright in a cool, dark place. If your nails are oily, add a nail dehydrator step before base coat to improve bonding. Try these small changes and test one at a time to see the biggest jump in wear.
Color Trends and Finish Options for 2026
Expect calm, wearable shades and small pops of detail that fit class rules and after-school plans. Choose palettes that match your wardrobe and pick finishes that last through homework, sports, and study sessions.
Trending Palettes for the School Year
Intent: idea — pick palettes that look polished and last in daily school life.
Soft neutrals lead the year: glazed nudes, milky whites, and warm beige tones work for short or slightly longer nails. Pair a glazed nude base with a single berry or chrome accent nail to add personality without breaking dress codes. Preppy two-tone French tips—think cream with thin navy or forest-green lines—give a neat, put-together look for teachers and students alike.
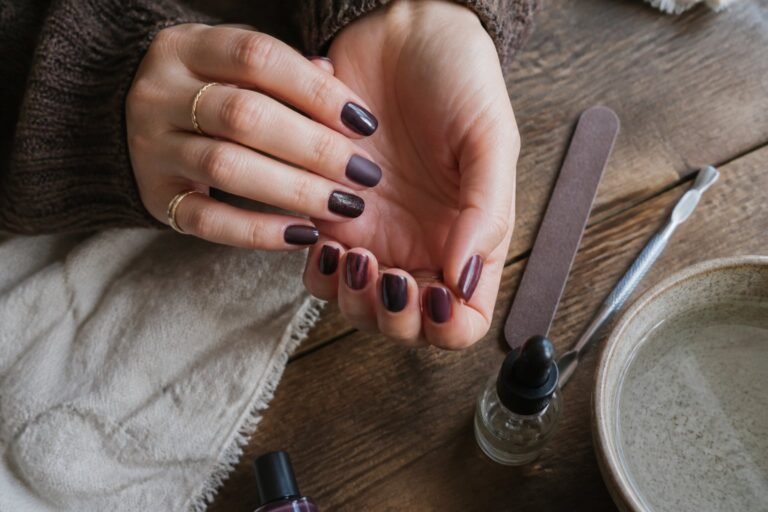
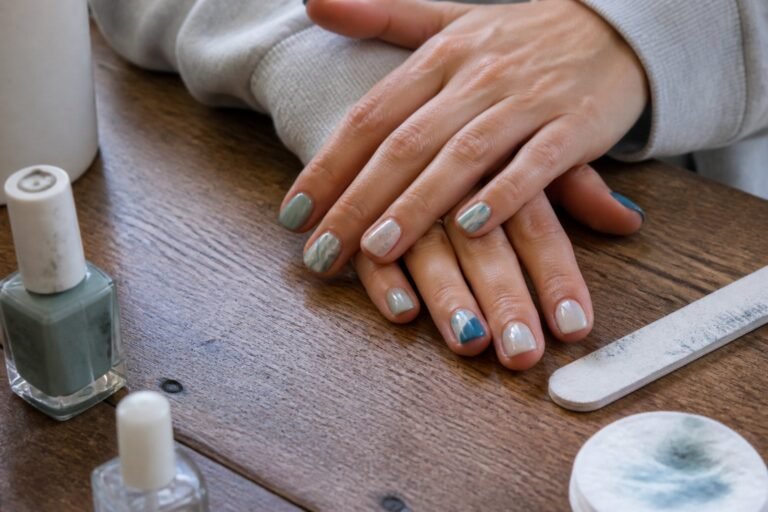
If you like color, choose muted pastels (sage, dusty lavender, and sky blue) rather than neon. These read as intentional and photograph well. For college, try a single deep accent—plum or oxblood—on the ring finger to elevate an otherwise neutral set. Common mistake: layering too many bright colors. Stick to one accent per hand to stay classroom-ready.
Best Finishes: Matte, Glossy, and More
Intent: guide — pick a finish that fits your routine and keeps your manicure looking fresh.
Glossy finishes remain classic and resist stains better, so they work well if you type, handle textbooks, or use art supplies. A high-shine topcoat also makes simple colors look more polished. Matte looks feel modern and soft, especially on muted palettes, but they show chips faster. If you choose matte, keep a small clear polish for quick touch-ups.
Sheer glazed finishes and translucent “cloud” whites hide regrowth and look natural while lasting longer between fills. For fun nights, add a single chrome or micro-glitter accent on one nail—these details last if you seal them with a durable gel topcoat. Avoid layering incompatible topcoats; glossy over matte can flake. Try a test nail first to check durability and shine.