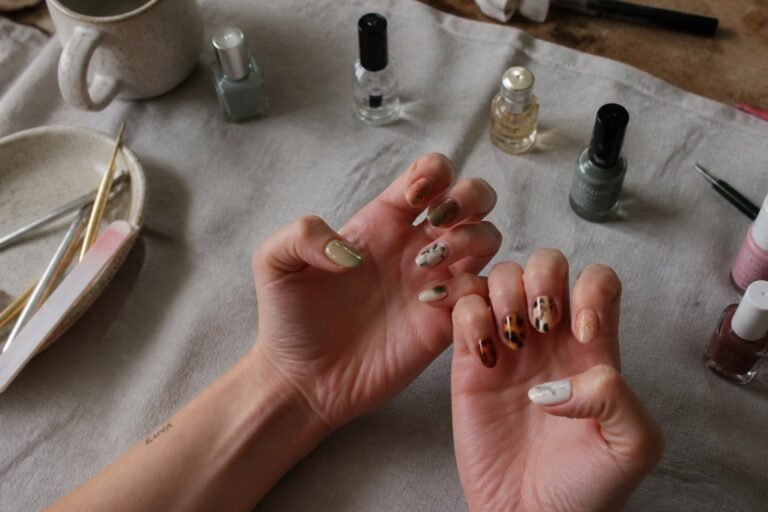
10 Naked Nail Art Ideas for a Chic Minimalist Manicure
You want nails that look polished without shouting. Whether you prefer a barely-there gloss or a tiny, striking accent, these naked nail ideas give you a clean, modern look that fits work, weekend, and everything between. You’ll learn simple, wearable designs and prep tips so your minimalist manicure lasts longer and looks salon-fresh.
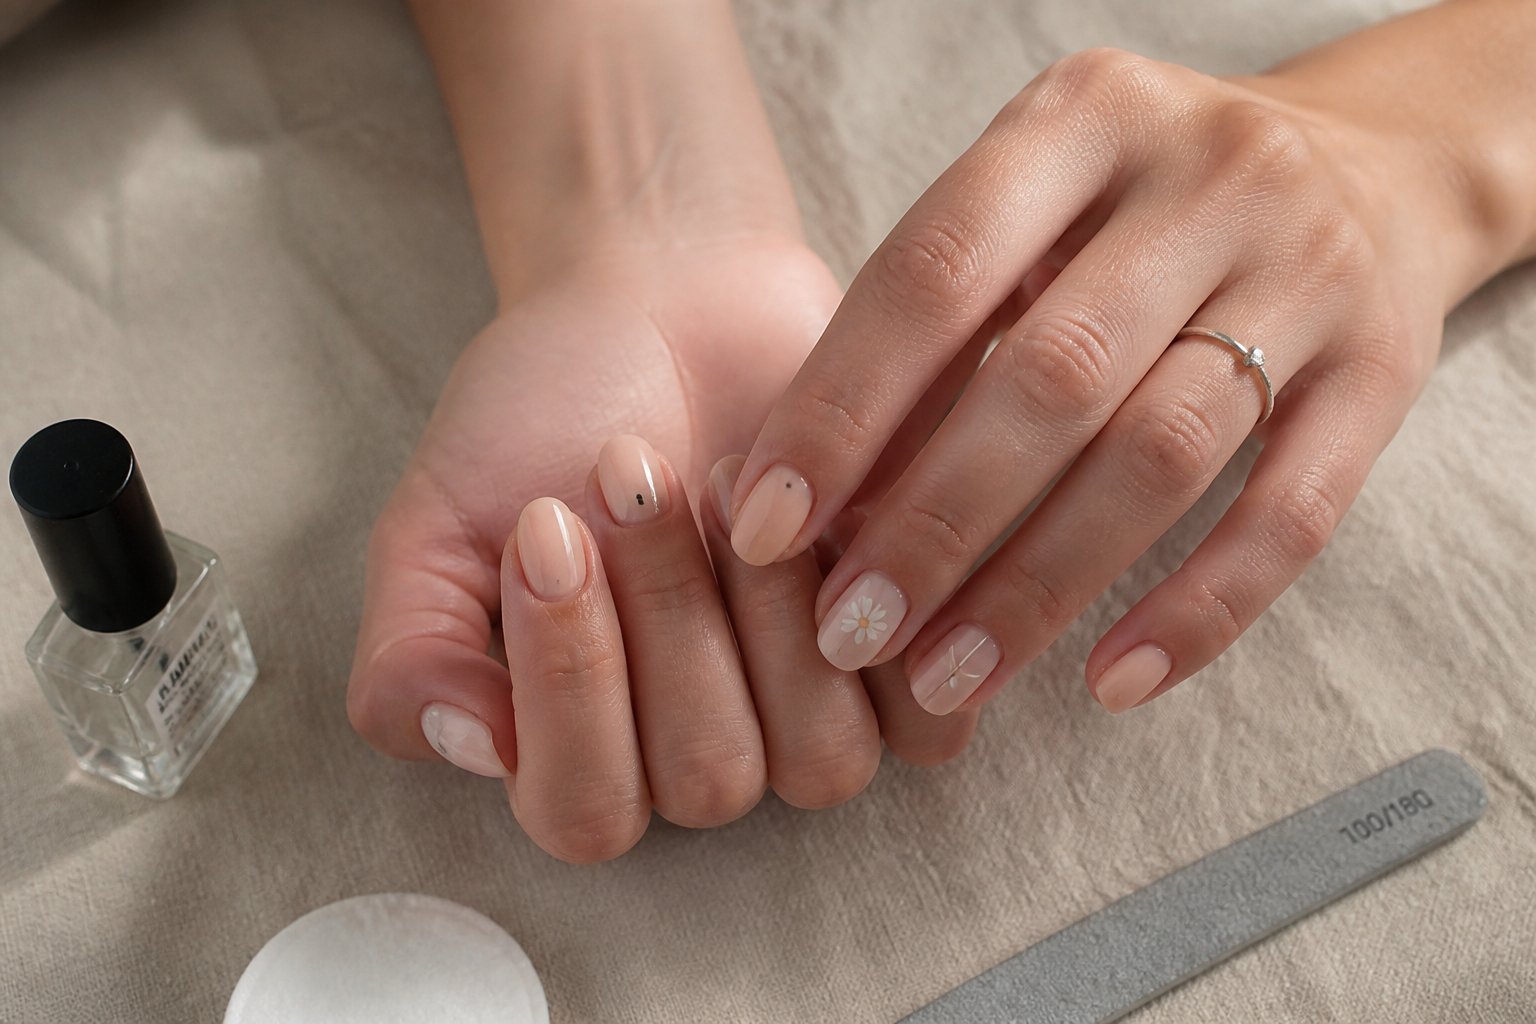
This guide comes from someone who’s done the trial-and-error for you, pointing out common mistakes like overloading polish or skipping proper nail prep. Expect step-by-step ideas, quick fixes, and styling notes so you can pick a subtle look that matches your wardrobe and vibe.
1) Glassine ‘naked’ mani with glossy soap finish
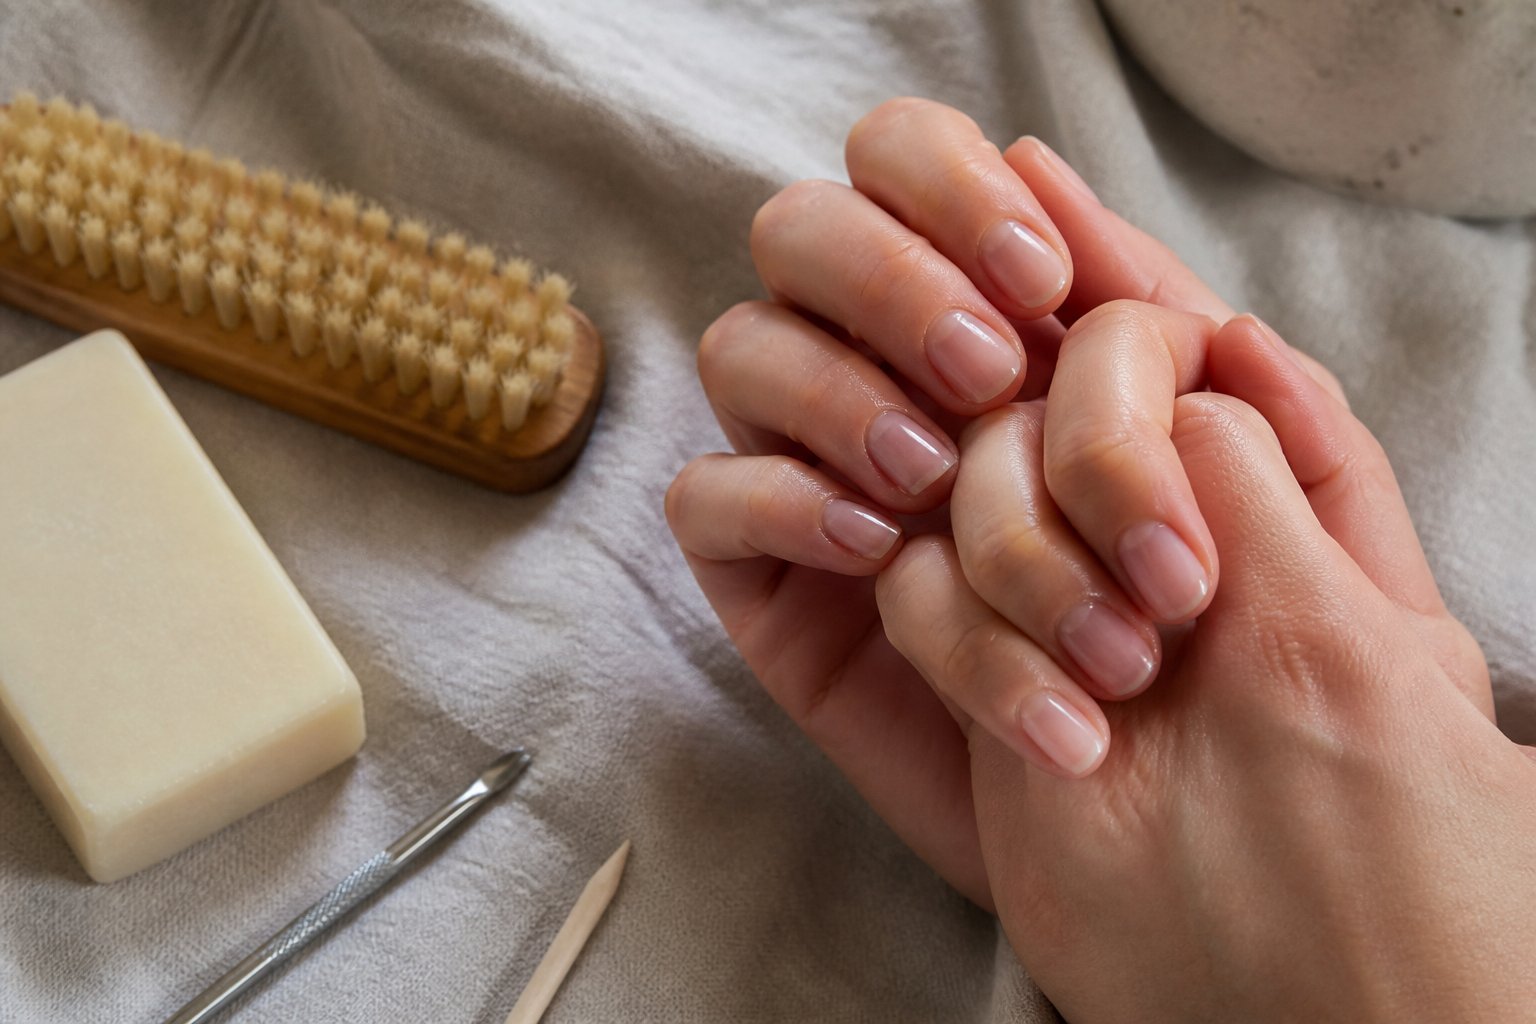
Tutorial: Learn how to get glass-like, barely-there nails with a high-shine soap finish.
Start by shaping nails into soft squares or rounded ovals; this keeps the look modern and clean. Push back cuticles gently and buff the nail plate to remove ridges.
Apply a sheer milky or nude base in thin coats. Let each coat dry to avoid streaks. Finish with a thick, glossy topcoat or a dedicated soap-manicure gloss for mirror shine.
Common mistake: using too many layers. That creates bulk and chips fast. Another tip: hydrate cuticles daily so the mani looks fresh longer.
Try a single tiny accent—clear glitter near the cuticle—to add interest without losing the minimalist vibe. Give it a week and tweak your routine based on chip patterns.
2) Sheer beige ombré from cuticle to tip
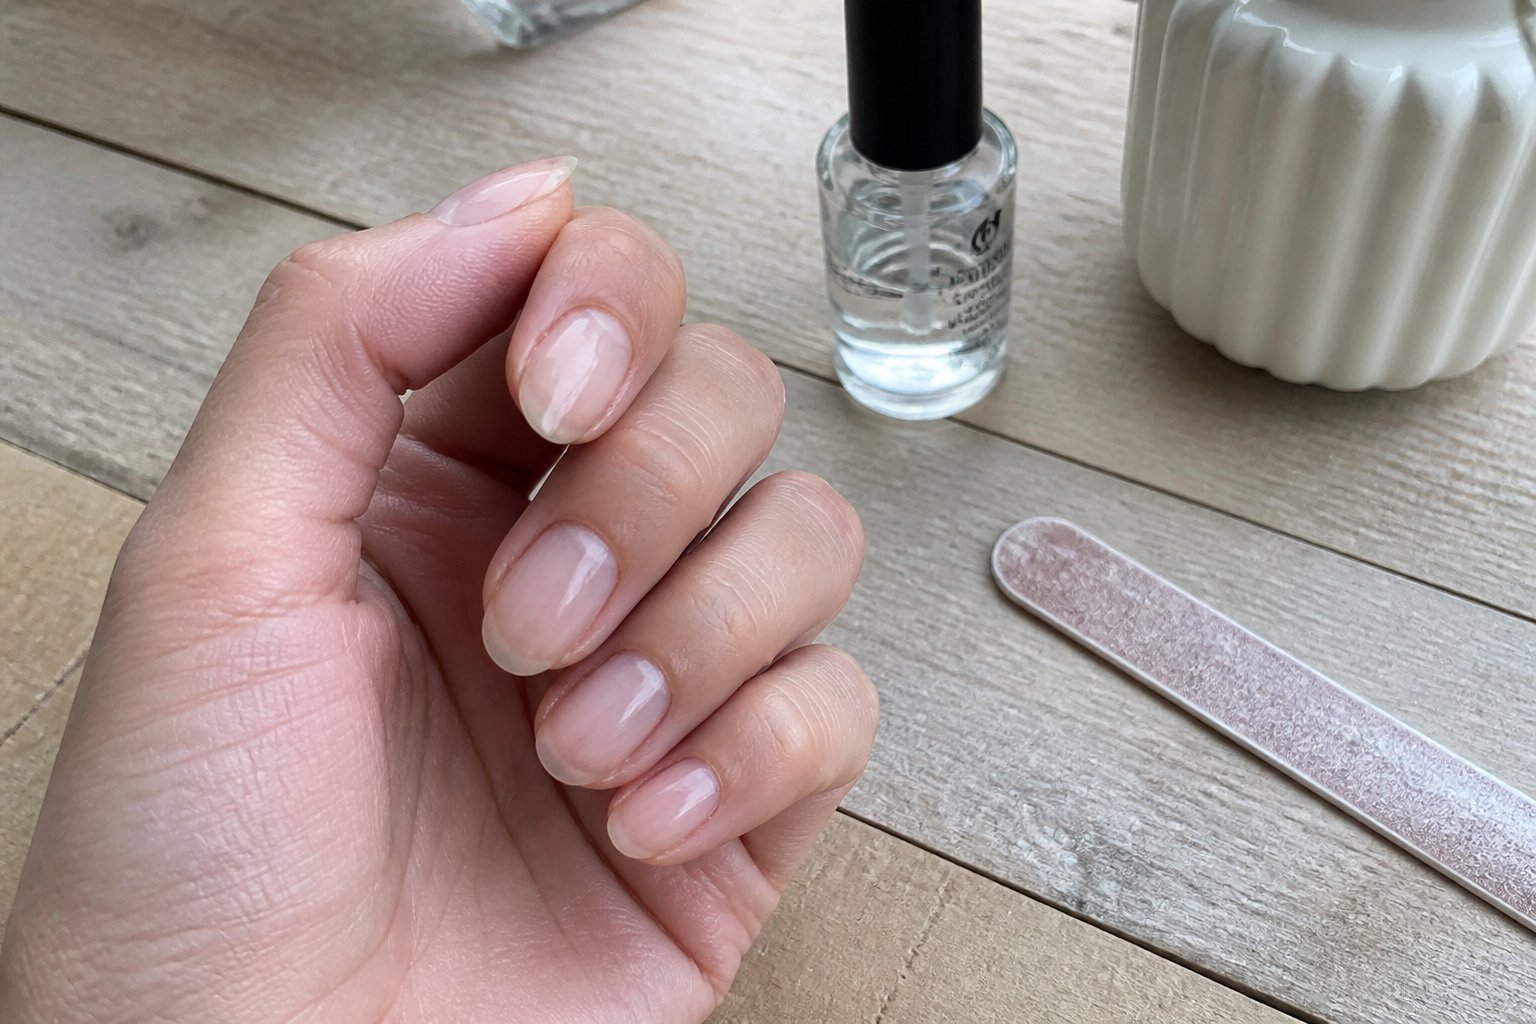
Intent: tutorial. Learn a soft ombré that looks fresh and wearable.
Start with a sheer beige base that matches your skin tone. Apply a thin milky coat, let it dry, then use a small sponge to dab a slightly darker beige from the middle toward the tip for a subtle gradient.
Work in thin layers to avoid streaks. A common mistake is overloading the sponge—blot excess polish first. Blend quickly while the polish is tacky to get a seamless fade.
Finish with a glossy topcoat to unify the gradient and add shine. If you want longer wear, seal the edge of the free edge with topcoat. Try one nail with a matte topcoat for contrast. Give this mani a trial run on one hand before committing to a full set.
3) Negative-space crescent moon tips in translucent nude
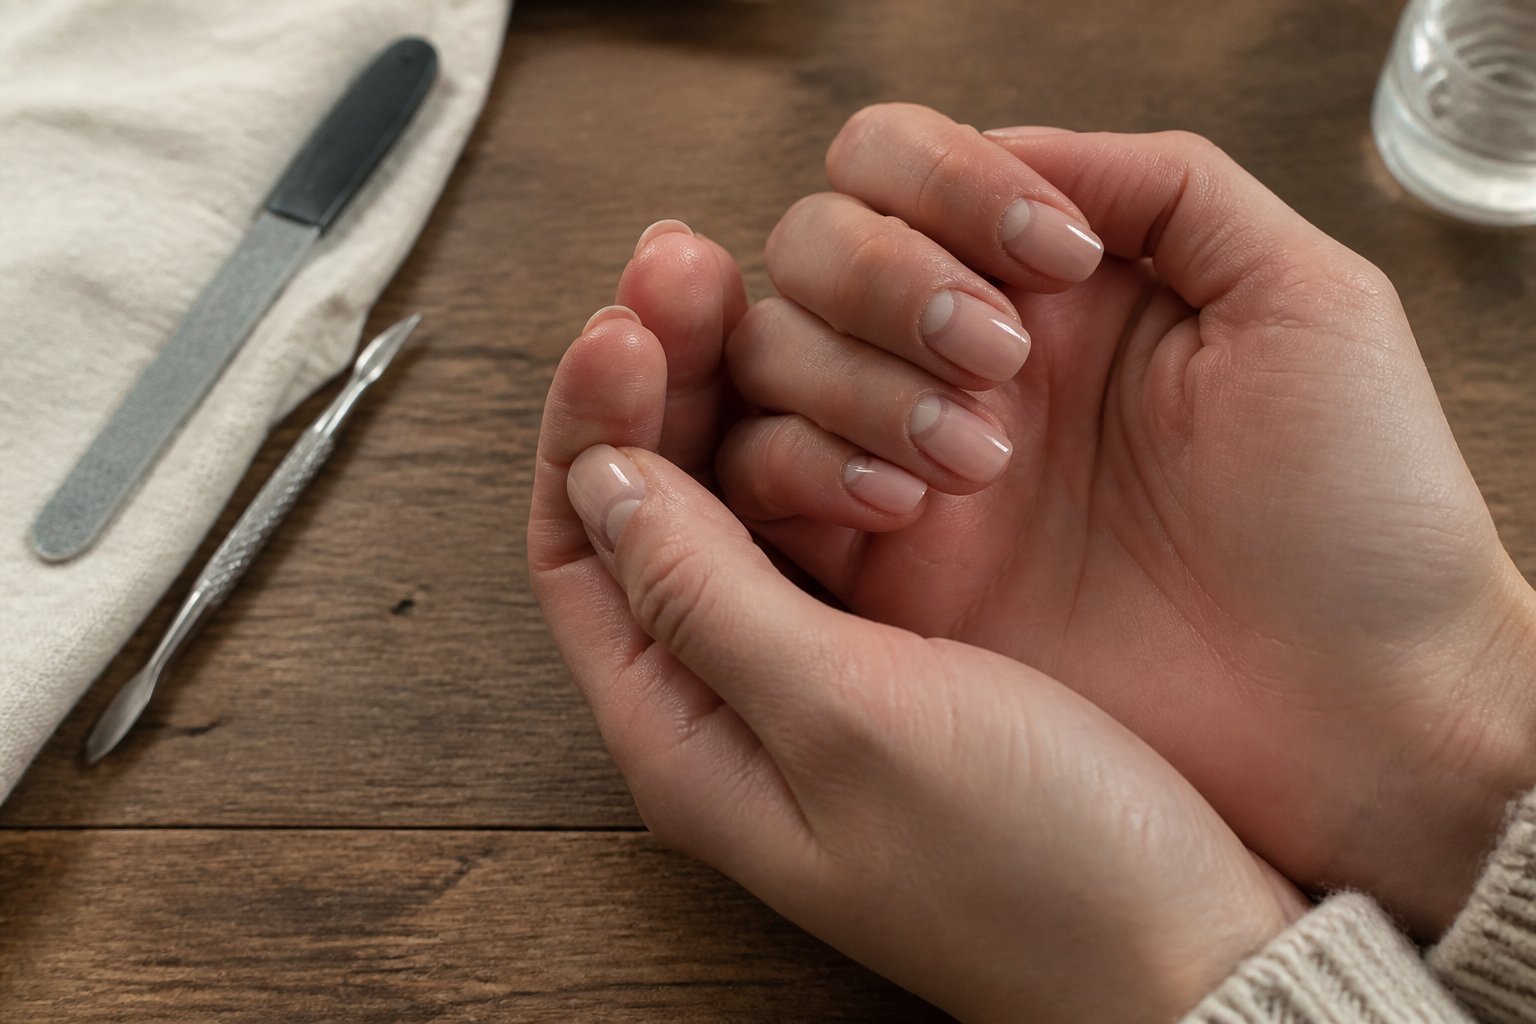
Intent: tutorial.
Try a thin crescent at the base of each tip for a modern, chic look. Use a sheer nude polish and paint the crescent with a slightly deeper translucent shade so the natural nail shows through without stark contrast.
Prep matters: buff lightly and apply a ridge-filling base so the crescent looks smooth. Use a detail brush or thin striping tape to keep the arc crisp; shaky hands can blur the moon, so rest your elbow on a table.
Common mistake: making the crescent too wide. Keep it around 1–2 mm for a delicate effect. Finish with a glossy top coat to unify the translucent layers and protect the design. Try one accent nail in metallic for subtle flair.
4) Tiny black dot accent on one matte nude nail
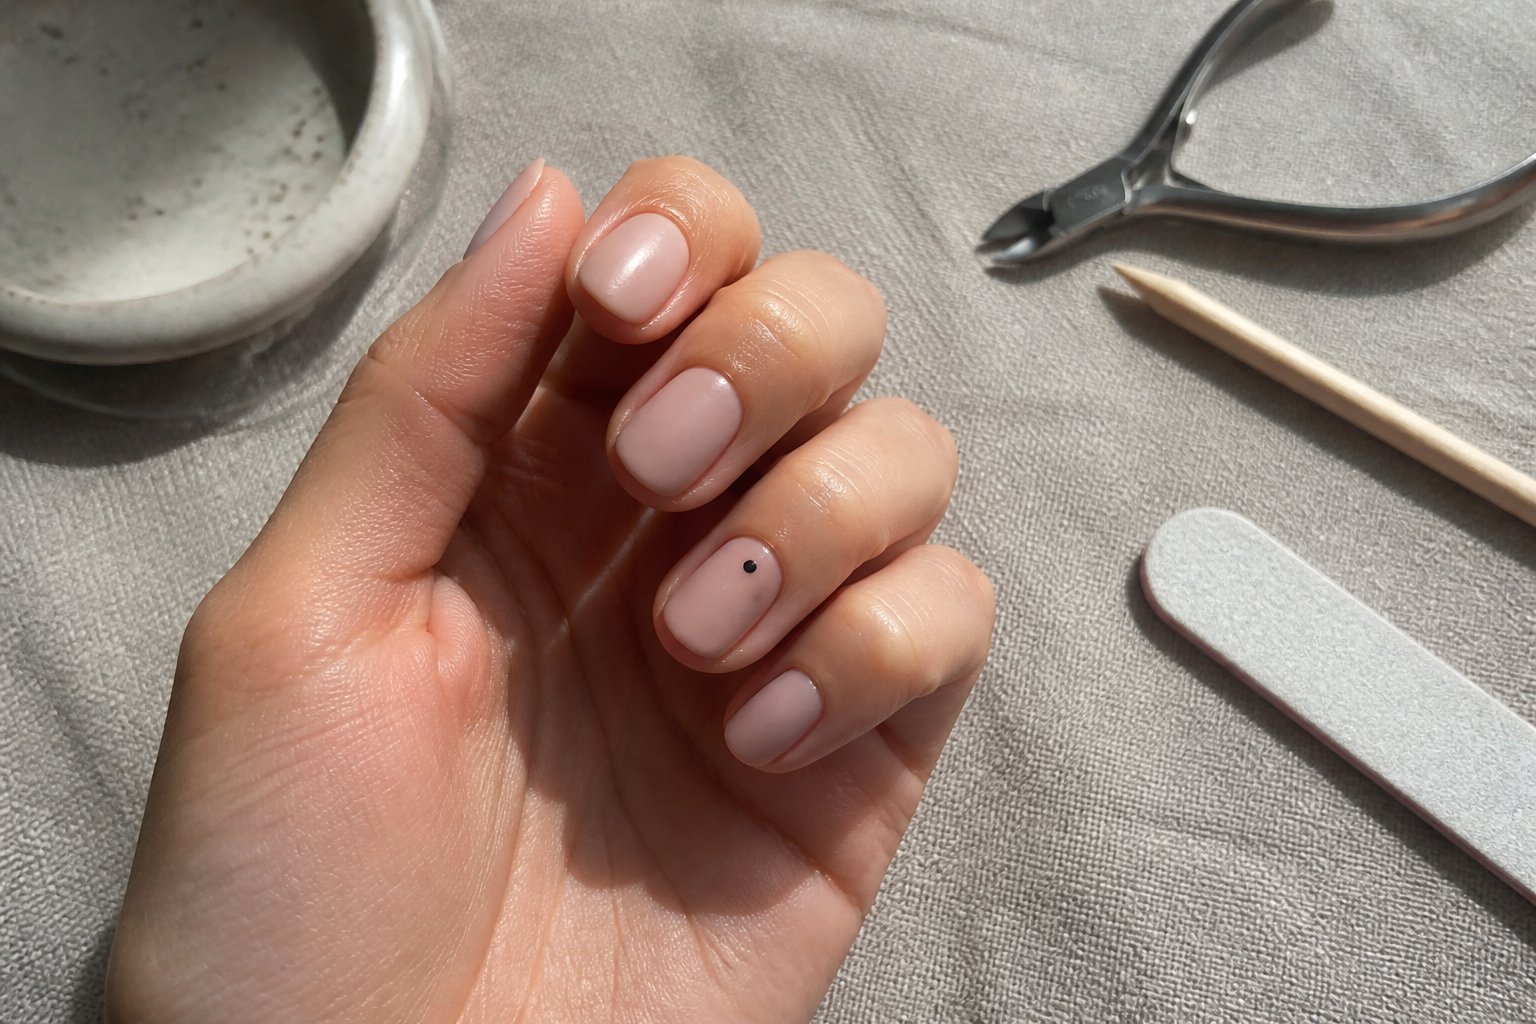
Intent: tutorial and idea.
Place a single tiny black dot near the cuticle on one matte nude nail to add a chic, intentional touch. This keeps the rest of your manicure calm and wearable while giving your look a signature detail.
Use a thin dotting tool or the tip of a bobby pin for a crisp, round mark. Practice on paper first to get the size right; too-large dots break the minimalist feel, while too-small dots vanish from a distance.
Common mistake: overworking the dot until it drags or splatters. Press once, lift cleanly, and let it dry before sealing with a matte top coat. Try the dot on your ring finger for a subtle focal point, or match it to a black outfit detail for polished cohesion.
5) Micro white Chanel-logo pattern on nude base
Intent: tutorial. Use this when you want a tiny, high-end look that stays minimal.
Start with a smooth nude base and thin glossy topcoat so the logos sit crisp. Use a very fine detail brush or a white gel pen to paint the tiny interlocked Cs; practice on a plastic sheet first to steady your hand. Keep the logos small and evenly spaced to avoid a cluttered feel.
A common mistake is pressing too hard—lines thicken and look sloppy. If you slip, remove the mark with a tiny dot of remover and redraw. For a quicker option, try micro stickers for consistent results.
Finish with a clear gel layer cured cleanly to protect the design. If you want a softer look, swap gloss for matte on one accent nail. Try it on one hand first, then copy to the other.
6) Thin nude French with a barely-there square tip
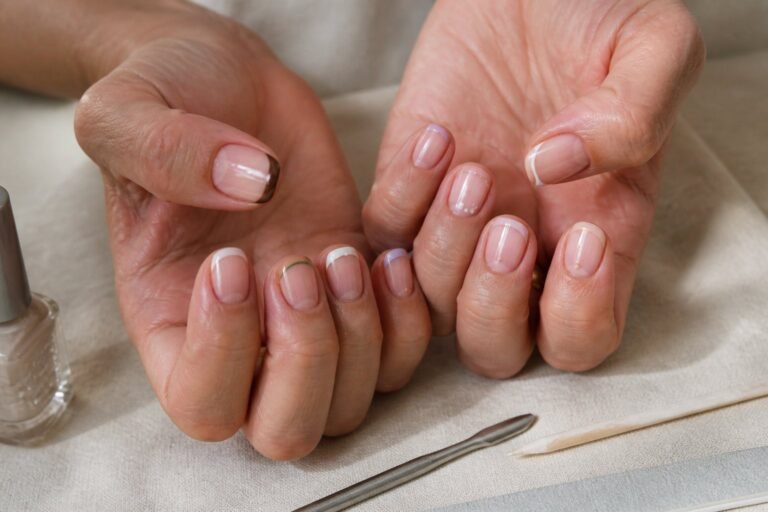
Tutorial: choose a nude shade that matches your skin tone for a seamless base. Paint a sheer layer, let it dry, then add a very thin white or slightly brighter square tip; keep the line straight and low on the nail for a modern look.
Use a fine brush or striping tape to control the thin tip. A steady hand matters—rest your elbow and paint in short strokes. Common mistake: drawing the tip too high, which makes the nail look shorter.
This style works on short and medium lengths and pairs well with almond or rounded edges if you want variety. Try a matte topcoat for a soft finish or a glossy one for a crisp contrast; swap white for soft beige to tone down contrast.
7) Sheer peach base with single gold foil flake
Intent: tutorial and idea. Start with a sheer, peachy base that evens skin tone and reads chic on short or long nails. Apply two thin coats of a translucent peach polish; let each coat dry to avoid streaks.
Place one small gold foil flake near the cuticle or off-center while the top coat is still tacky. Press gently so the foil lies flat; seal with a glossy top coat to prevent lifting and snagging.
Common mistake: using big foil pieces or too much top coat that bubbles. Try a tiny irregular flake for subtle shine that catches light without screaming for attention.
If you want variation, repeat the foil on one or two nails only. Test placement on a practice nail first, then recreate the look confidently on your hand.
8) Milky almond shape with glossy topcoat
Intent: tutorial and styling guide.
Choose almond-shaped nails to lengthen fingers and keep a soft, modern look. Ask your tech for a semi-sheer milky nude or pale pink base; it hides grow-out and looks clean on short or long nails.
Apply two thin coats of milky gel for even translucence. Cure each layer and finish with a high-gloss topcoat for a glass-like shine that reads polished, not flashy.
Common mistake: thick layers that puddle at the cuticle. Work in thin strokes from cuticle to tip and wipe the tacky layer if your topcoat leaves residue. For a pro touch, buff edges lightly before the final coat to smooth any ridges.
Try a single tiny accent—one matte dot or a micro gold flake—so the look stays minimalist. Book a quick fill every 2–3 weeks to keep the almond silhouette crisp.
9) Soft taupe matte with one glossy diagonal stripe
This idea is a tutorial-style tip you can copy at home or ask for at the salon. Start with a smooth matte taupe base; choose a warm or cool taupe to match your skin tone.
Place a thin striping tape from one corner to the opposite before applying a clear glossy topcoat over the revealed diagonal. Remove tape carefully for a crisp line. The contrast between matte and shine reads modern and refined.
Common mistake: using a thick glossy coat that floods the line. Use a thin, precise layer to keep the stripe slim and sharp. Try the stripe on one or two nails only for a subtle accent.
If you want variation, make the stripe metallic or slightly wider on an accent nail. Try it this week and adjust stripe width until it feels balanced.
10) Subtle chrome nude gradient on ring finger
Intent: tutorial. Try this subtle chrome gradient on just your ring finger to add shine without overpowering a minimalist mani.
Start with a sheer nude base that matches your skin. Tap a small chrome powder onto the tip and blend downward with a soft brush to create a smooth gradient.
Keep your other nails matte or glossy nude to let the chrome pop. A common mistake is overworking the powder—press lightly and build gradually to avoid streaks.
Seal with a thin gel topcoat for long wear and a glassy finish. If you don’t have chrome powder, use a rose-gold chrome polish at the tip instead.
Try pairing the look with short almond or squoval shapes; it reads refined and modern. Give it one test nail first, then repeat once you like the fade.
Benefits of Minimalist Nail Art
Minimalist nail art gives you a clean, polished look that fits busy schedules, many outfits, and healthier nail habits. The next paragraphs show how it saves time, suits events from work to parties, and helps keep nails strong.
Low-Maintenance Appeal
This is a practical guide to saving time without losing style. Nude or milky bases chip less visibly than bright colors, so you can go longer between touch-ups. A thin neutral polish or a sheer gel keeps nails looking tidy for two to three weeks with a gel soak-off, and a quick top coat every 5–7 days extends wear for regular polish.
Try these tips: file and shape once a month, avoid thick layers, and use a quick-dry top coat. Common mistakes: painting too close to the cuticle (causes lifting) and heavy embellishments that snag. If you travel or work with your hands, stick to glossy creams or a subtle matte—both hide tiny chips and need fewer salon visits.
Versatility Across Occasions
Use minimalist nails like a wardrobe staple that moves from meetings to nights out. A sheer nude with a tiny gold dot or thin white line fits a job interview, a wedding, and a date night without changing your look. Match polish to your skin tone for the most natural effect; warm beiges suit olive skin, while soft pinks flatter fairer tones.
You can add one small accent nail—like a micro gem or single stripe—to shift from simple to fashion-forward. Avoid over-accessorizing; keep motifs under 2mm wide so they read as detail, not decoration. This approach saves you time and makes getting dressed easier because your nails won’t clash with outfits or jewelry.
Healthier Nail Care
Minimalist manicures encourage gentler routines that protect natural nails. Thin layers of polish and shorter filing reduce stress and splitting. If you use gel, remove it with a proper soak-off method rather than peeling, which removes layers of nail plate.
Build a simple care plan: hydrate cuticles nightly with oil, use a protein-rich nail strengthener twice weekly, and give nails a polish-free week every 6–8 weeks. Watch for signs of damage—white spots, thinning, or persistent lifting—and pause treatments to restore strength. Small daily habits, like wearing gloves for dishes, pay off quickly in nail resilience and appearance.
How to Prep Nails for a Subtle Look
Set a clear goal: clean, even nail beds and a sheer, natural base that lasts. Focus on shape, cuticle care, and a thin, streak-free base to keep the manicure quiet and polished.
Choosing the Right Base
Intent: guide — Pick a base that matches your skin tone and the finish you want: milky, sheer nude, or a true clear. Test swatches on the side of one nail under natural light. If a polish looks too pink or beige next to your skin, try a shade one or two tones different until it reads “natural.”
Use formulas labeled “sheer,” “milky,” or “balm” rather than full-coverage nudes. These dry more translucent and mimic the nail’s surface. For weak nails, choose a strengthening base with proteins but avoid thick ridge-filling formulas—they add bulk and ruin the minimalist look.
Common mistake: applying too many base coats. One thin coat is usually enough for adhesion. If you want extra longevity, apply a single thin strengthening base, let it dry fully, then a sheer color.
Cuticle and Nail Bed Preparation
Intent: tutorial — Healthy cuticles and a smooth nail bed make the naked look believable. Soak your hands in warm water for two to three minutes to soften cuticles. Push cuticles back gently with a wooden stick; don’t over-trim. Over-cutting causes hangnails and makes polish lift.
File nails to a consistent short-to-medium length. Use a fine-grit file and file in one direction to prevent splitting. Buff lightly—just enough to remove shine and smooth ridges; heavy buffing thins nails and can look artificial under sheer polish.
Example: if your nail edges catch on fabric, file 2–3 strokes on each side and test the edge. Clean oils with a lint-free wipe and nail cleanser or 70% isopropyl alcohol before any polish.
Polish Application Tips
Intent: tutorial — Apply thin, controlled strokes for a salon-finish. Start with a tiny drop of polish near the cuticle, then pull one stroke to the tip. Use three strokes per nail: center, then each side. Thin layers dry flatter and avoid brush marks.
Allow each coat to dry fully—about two minutes for sheer formulas—before the next. Two thin coats usually give the best naked look. Finish with a fast-dry glossy top coat if you want sheen, or a matte top coat for a soft, skin-like finish.
Watch for mistakes: flooding the cuticle, thick edges, or uneven opacity. Fix small floods with a clean brush dipped in acetone. Practice on one hand first; most people find their non-dominant hand needs more deliberate strokes.
Pairing Naked Nails With Accessories
Use clean lines and small contrasts to make your naked manicure feel polished. Focus on metal tones, fabric textures, and the scale of accessories so your nails either blend seamlessly or act as the calm center of a bolder look.
Jewelry Coordination
Guide: match nail undertones to jewelry metal for a cohesive look.
If your naked base is warm (beige, caramel), wear gold or rose gold to enhance warmth. Cool milky or sheer pink bases pair best with silver, white gold, or cool-toned pearls. Mix metals only when one piece dominates—e.g., a chunky gold cuff with thin silver rings can work if the cuff reads as the statement.
Choose ring styles that fit nail length. Shorter nails look modern with slim bands and open rings. Longer nails handle stacked rings and gemstone accents without looking crowded. Pay attention to scale: small studs or thin chains won’t overpower a delicate nude mani, while bold signet rings can create a deliberate contrast.
Common mistake: wearing too many ornate rings with a minimalist mani; it steals the calm vibe. Try one focal ring and a couple of thin bands on other fingers.
Fashion Styling Ideas
Guide: use clothing and accessories to support the naked manicure’s minimalist mood.
Neutral outfits strengthen the naked nail aesthetic. Try a cream linen shirt, high-rise jeans, and tan loafers for a clean daytime look. For evening, a little black dress with a satin clutch keeps attention on the hands without competing. Add a pop of color through a silk scarf or belt rather than bright nail art.
Textures matter: matte knitwear or leather complements a milky nude finish. Avoid loud prints on sleeve cuffs when you want your nails noticed during gestures. If you carry a handbag, choose one with simple hardware—minimal buckles or hidden zippers echo the understated nails.
Common styling error: matching every accessory exactly to your nail color. Instead, balance similar tones and one contrasting accent to keep the look intentional. Try swapping one neutral shoe for a metallic slip-on to lift the outfit and draw eyes back to your hands.