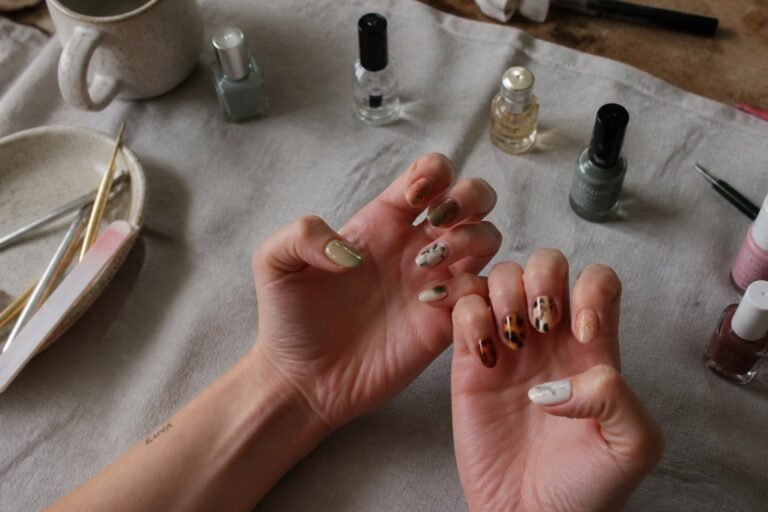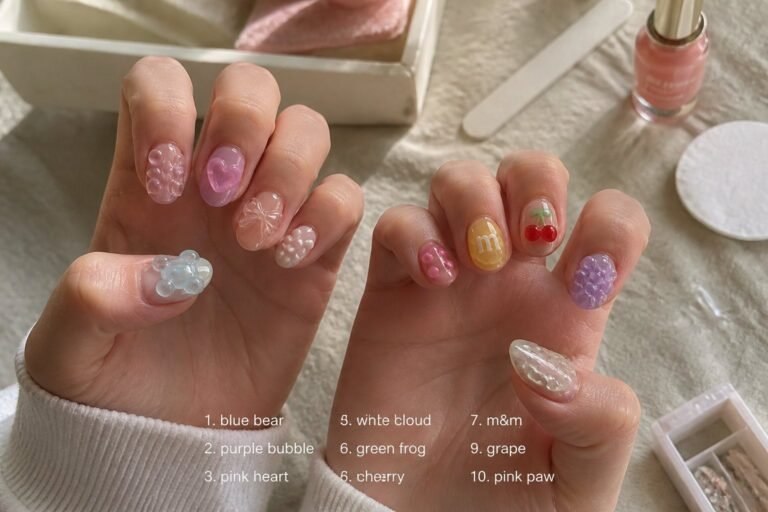
10 Greece Vacation Nail Ideas for the Perfect Mediterranean Summer Manicure
You want nails that match sunlit days, sea-spray evenings, and every photo you’ll take on a Greek island. This guide shows you ten easy, chic Greece vacation nail ideas that bring Mediterranean color, classic motifs, and long-lasting wear to your manicure. You’ll feel confident choosing looks that suit beach days, dinner terraces, and travel photos.
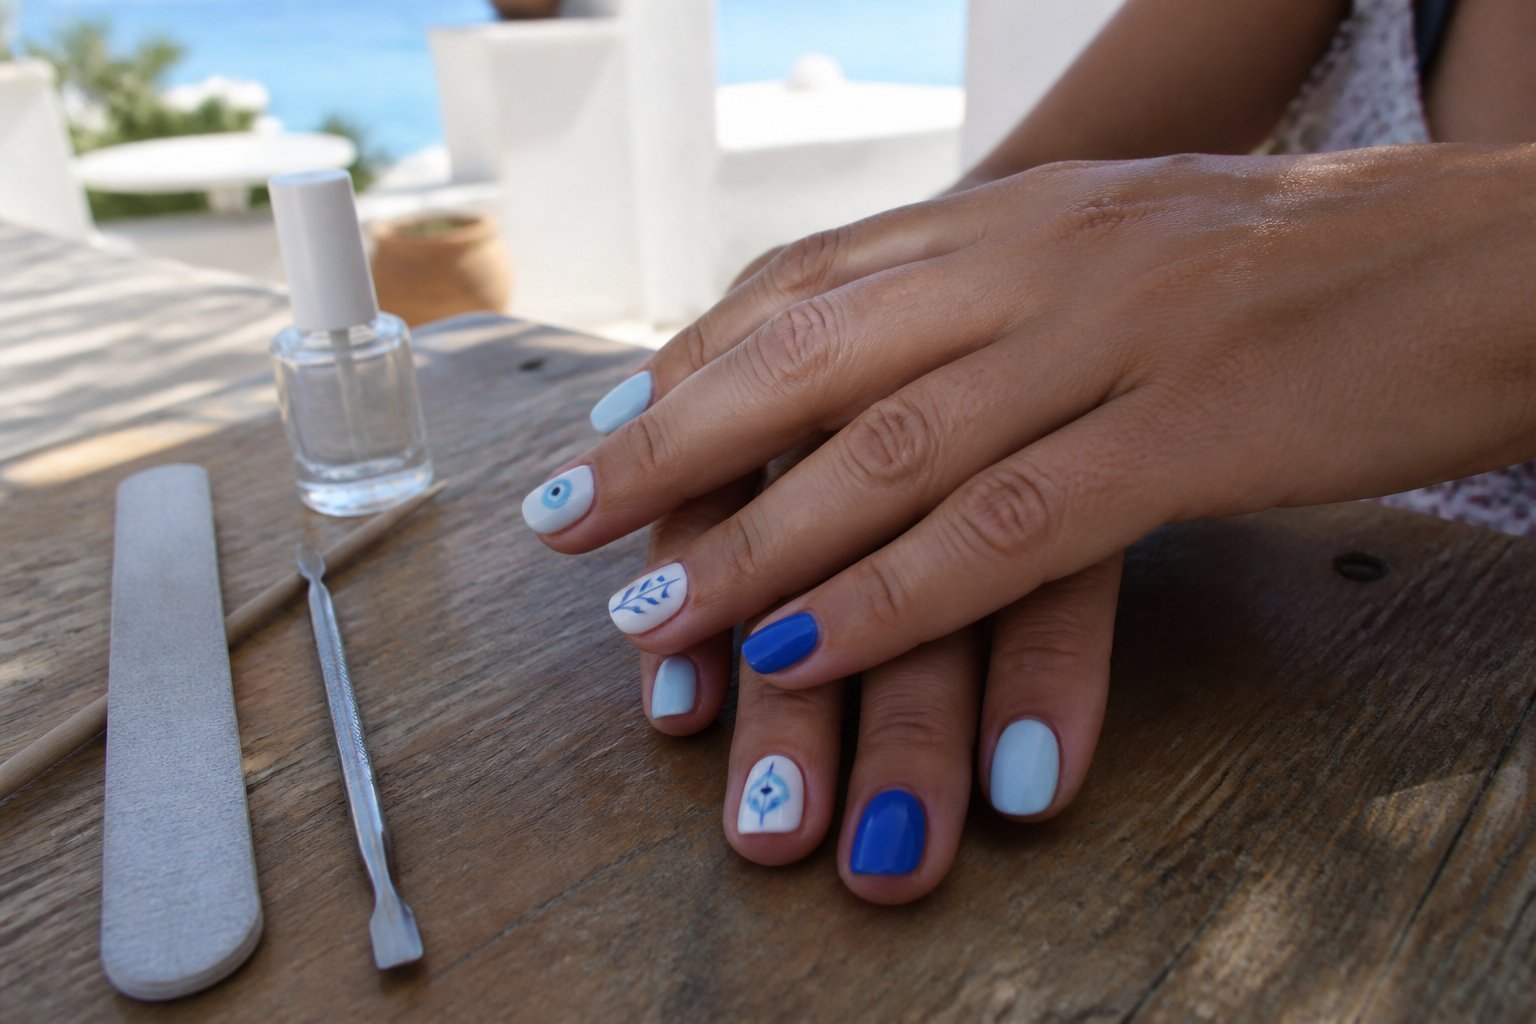
I wrote this to save you time and avoid common salon missteps like choosing colors that chip fast or designs that don’t suit your nail shape. You’ll get straightforward ideas, pairing tips, and care tricks so your mani lasts through sand, swims, and sunsets—plus a few creative twists to make each design feel personal.
1) Santorini blue-and-white color block manicure
Intent: tutorial and idea.
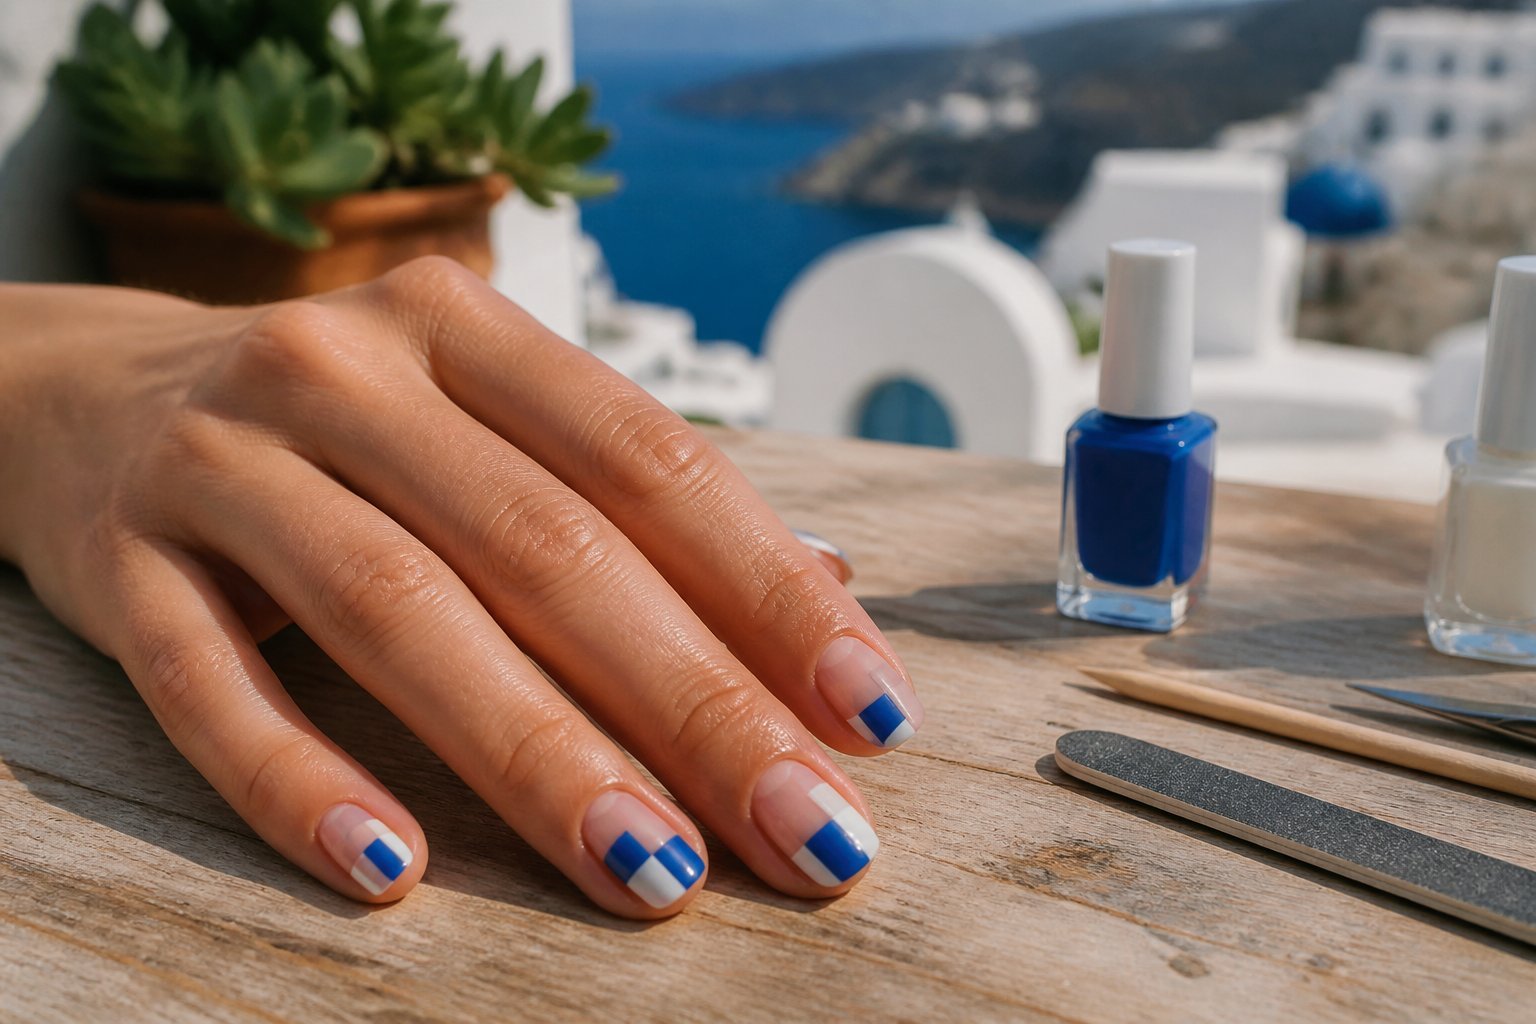
Choose crisp white and a range of blues to mirror Santorini’s rooftops and sea. Paint one or two nails solid cobalt, leave others glossy white, then add a thin navy stripe where the colors meet for a sharp finish.
Use a flat brush or striping tape to get clean edges; freehand often looks messy if your brush is soaked. A common mistake is too-thick polish—work in thin coats and let each dry to avoid bubbling.
Add a small gold dot or tiny evil eye on an accent nail for Mediterranean charm. Keep shapes simple; the design reads best from a distance.
Seal with a shiny topcoat and cure if you use gel. Try this on short or medium nails for an effortless vacation-ready look.
2) Evil Eye accent nail with gold foil
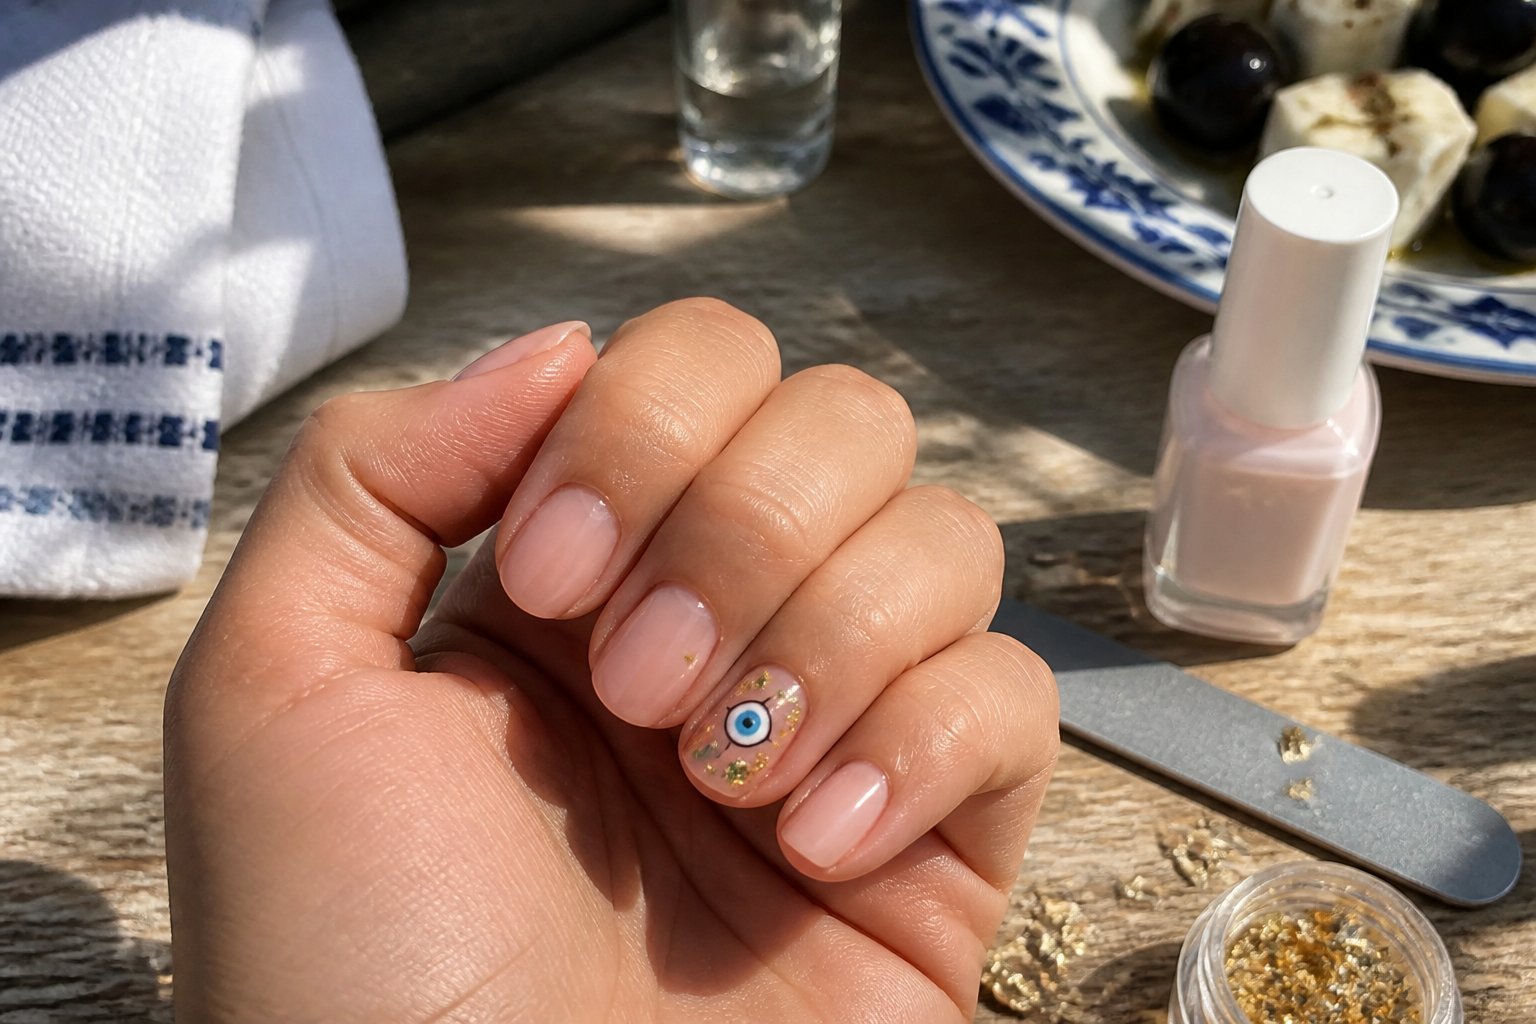
Intent: tutorial — a simple step-by-step idea to make one nail pop.
Use a neutral base like pale blue or cream so the eye reads clean. Paint one accent nail with a small white dot, add a navy pupil, then frame it with a thin turquoise ring for the classic evil eye look. Seal with a glossy topcoat.
Add gold foil flakes around the eye to lift the design. Press tiny pieces with tweezers and dab topcoat to hold them. Don’t overload the foil or the eye will get lost under the shine.
Common mistake: placing the eye too large on the nail. Keep it centered and small, about one-third the nail width, for balance. Try this on your ring finger for a subtle Mediterranean vibe.
3) Aegean ombré using sky blue to sea teal
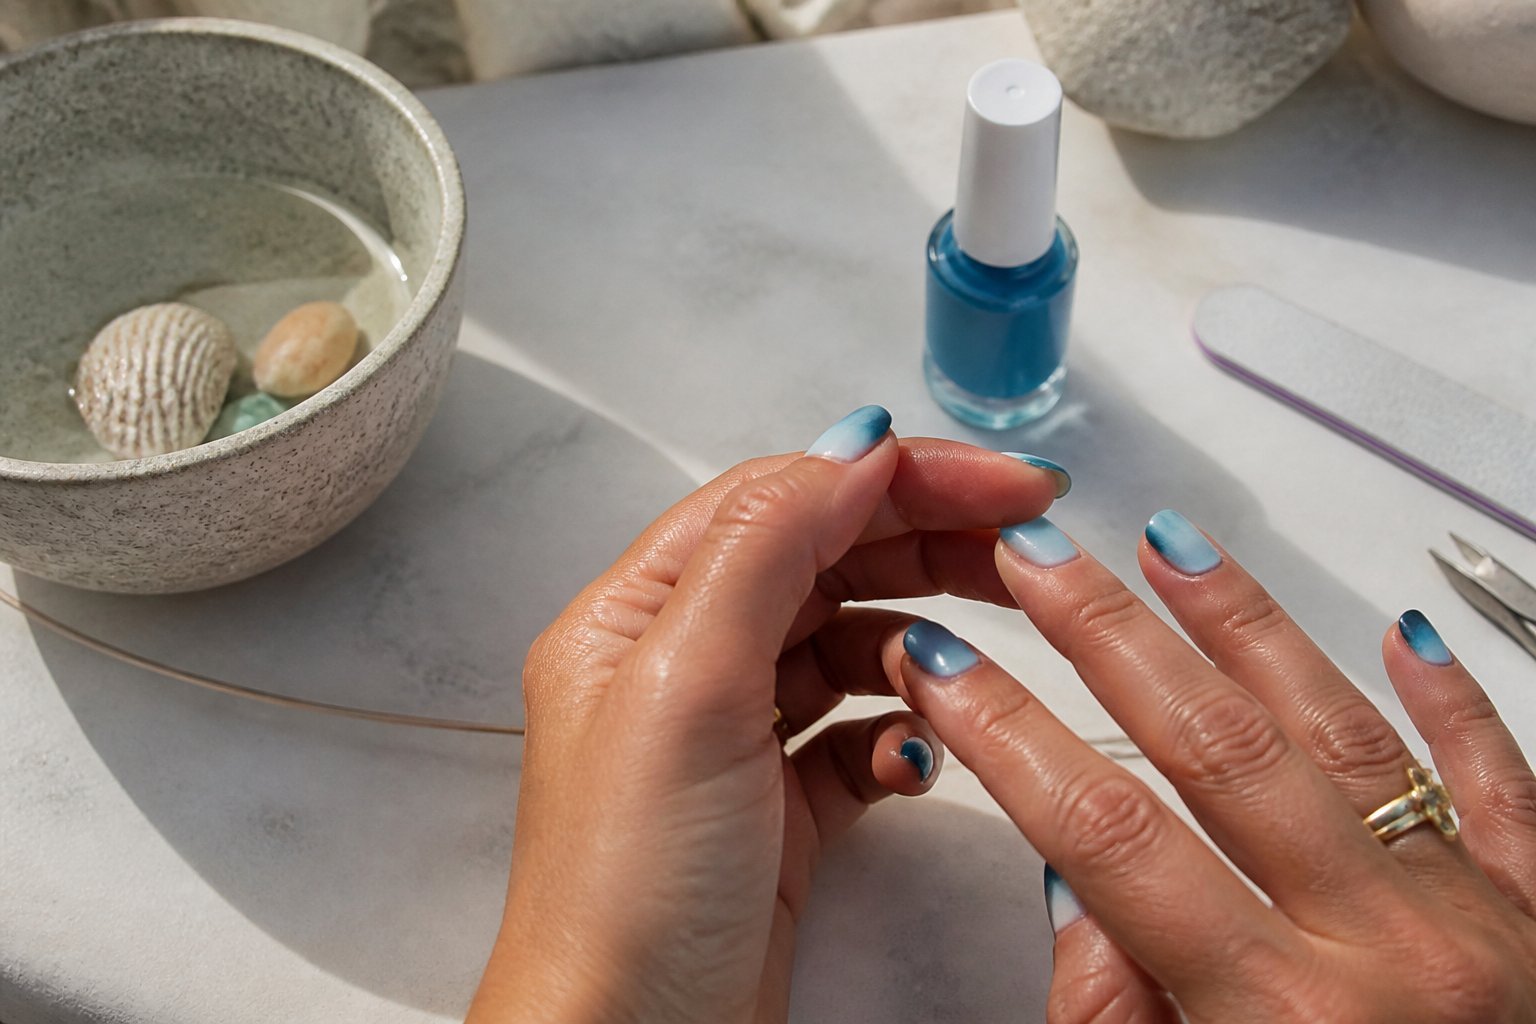
Intent: tutorial and idea.
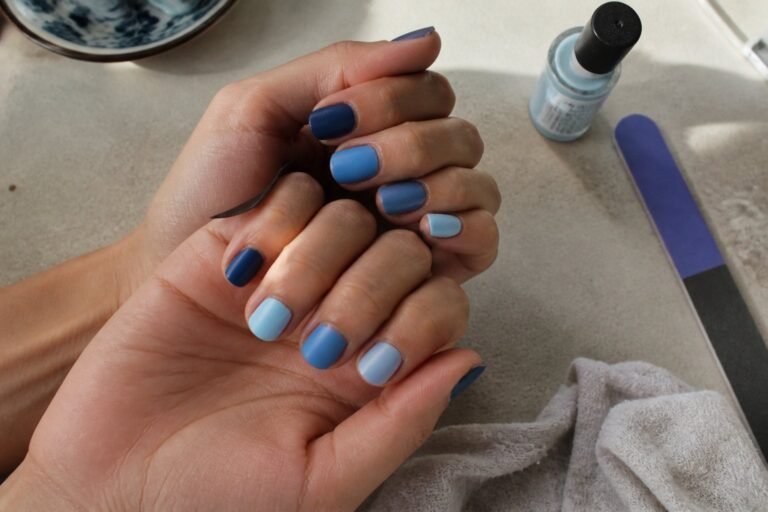
You’ll blend sky blue into sea teal for a soft Aegean ombré that reads fresh and beach-ready. Start with a pale sky base, then sponge in a mid-blue, finishing at the tips with deep teal.
Work in thin layers to avoid streaks; wait for each coat to dry before sponging. A common mistake is overloading the sponge, which creates clumps instead of a smooth gradient.
Add a tiny white crescent near the cuticle on one nail to mimic sun glare. Seal with glossy topcoat to unify the gradient and boost shine.
If you want extra flair, paint a single gold stripe across the teal tip. Try this on short or long nails—the effect scales well and looks classic for any Mediterranean trip.
4) Greek key (meander) minimalist line art
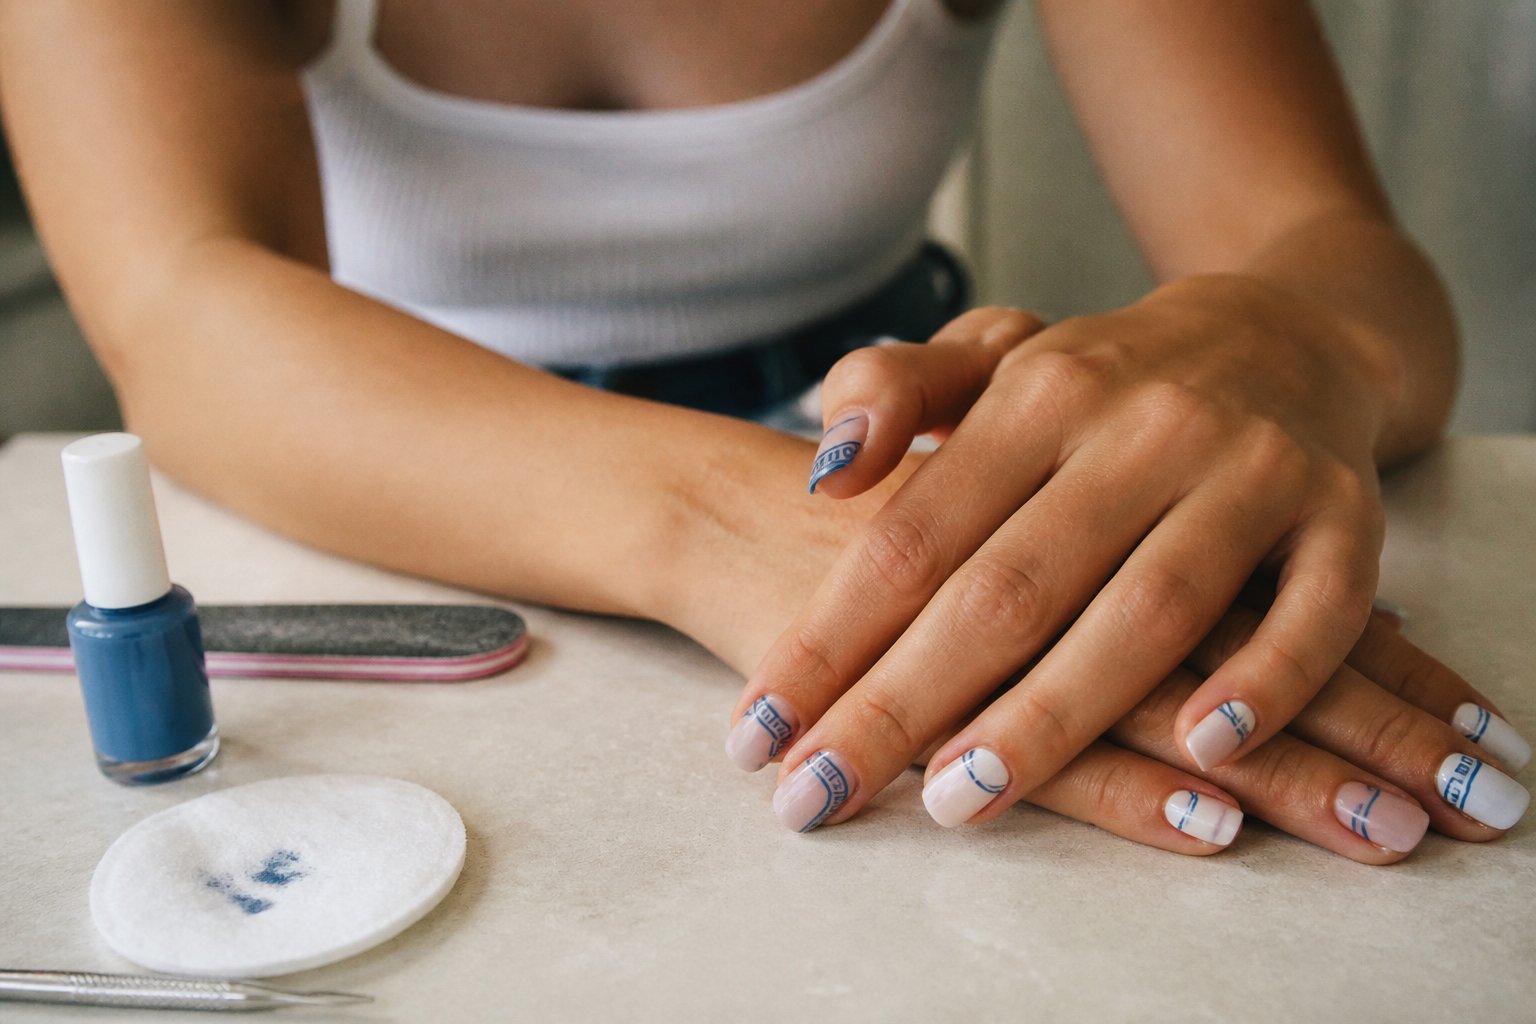
Intent: tutorial and idea. Use thin meander lines to add instant Mediterranean polish to a simple manicure. Start with a nude or pale blue base so the pattern reads clearly.
Draw the Greek key along just the tips or a single accent nail for a chic, modern look. Use a fine brush or a nail pen in gold or deep blue. Keep lines steady; practice the repeating square-turn motif on paper first to avoid shaky strokes.
Common mistake: overfilling or adding too many breaks. Let the pattern breathe — negative space makes the design feel clean and high-end. Try one mirrored key on each hand to keep the look balanced.
If you want to save time, order press-ons with a Greek key or ask your tech to stamp the motif. Try it on vacation nails for instant Santorini vibes.
5) Sun-kissed lemon yellow with white daisy tips
Intent: tutorial and idea. Choose a glossy lemon-yellow base that reads bright but not neon; it flatters sun-kissed skin and pairs well with Greek white and blue tones. Paint two coats for even coverage and let each layer dry to avoid streaks.
Add small white daisies on the tips using a dotting tool or a tiny brush. Keep centers tiny and gold or pale yellow for a polished look. Don’t crowd the design—spacing gives a relaxed, island feel.
Common mistake: over-detailing the petals. Simple four- or five-petal shapes look fresher and last longer. If you travel, seal with a strong topcoat to protect against sun and salt.
Try almond or short square shapes for a classic Mediterranean vibe. If you like, swap one accent nail for a lemon slice using thin white lines. Give this look a test run a week before your trip to tweak colors and drying time.
6) Matte navy with pearlescent shell flakes
Tutorial intent: learn a chic, beach-ready mani you can recreate or ask your tech for.
You start with two coats of true matte navy; it gives depth and a modern base. Let each coat dry fully to avoid patchy sheen when you add flakes.
Use irregular pearlescent shell flakes sparingly. Press them onto tacky polish with tweezers, then seal with a thin matte topcoat to keep texture without shine. Too many flakes can look cluttered, so place them near cuticles or on an accent nail.
A common mistake is using glossy topcoat too soon—it dulls the matte look and drags the flakes. If you want subtle shimmer, add a tiny dot of glossy gel over a single flake before matting.
Try a single almond-shaped accent nail with denser flakes for a refined, island-ready twist. Ask your nail pro to thin-layer the topcoat for lasting wear and clean edges.
7) White French with cobalt blue micro-tip
This is a tutorial-style tip to help you nail a crisp Mediterranean look. Start with a clean white French base, then add a thin cobalt blue micro-tip along the white edge for a fresh, Santorini feel.
Use a fine brush or a micro-liner pen to keep the blue line steady. Practice on a nail wheel first; common mistakes are shaky lines and too-thick strokes that hide the white edge.
Try variations: a full cobalt micro-line, dotted blue accents, or a tiny gold foil near the cuticle for warmth. If your nails are short, keep the blue line proportionally thinner to avoid crowding the smile line.
Seal with a glossy top coat to fuse the layers and prevent chipping. Take a photo in daylight to check symmetry, then book a touch-up if one tip looks off.
8) Terracotta terrine and olive branch nail decals
Intent: idea and mini tutorial.
Pick a warm terracotta base to mirror sunbaked Greek pottery. Paint two coats for an even, matte finish, then add small glossy accents to mimic glaze. Use a fine brush to draw a simple terrine shape on one or two nails.
Place tiny olive branch decals on a neutral or pale base for contrast. Press decals flat and seal with a clear topcoat to prevent lifting. Avoid crowding the nail—one branch reads cleaner than three.
Common mistake: applying decals to a tacky base. Let polish dry fully or they’ll wrinkle. Try alternating solid terracotta nails with olive-branch accents for balance.
If you need supplies, search for handmade Mediterranean designs like those on this terracotta Greek nail set for ready-made options.
9) Gold foil mosaic inspired by Santorini tiles
Intent: tutorial and idea.
Create a luxe mosaic using tiny gold foil pieces over white and cobalt bases to echo Santorini tiles. Start with a clean white or pale blue base; place foil with tweezers in irregular tile shapes for an authentic, handmade look.
Use a thin brush and a top coat to seal edges so foil won’t lift. Try mixing matte and glossy top coats on alternating nails for contrast; it makes the gold pop without looking too busy.
Common mistakes: using too-large foil bits or applying thick top coats that swallow the texture. If a piece lifts, press it down and add another thin sealant layer rather than scraping it off.
For a modern twist, add a tiny cobalt border around one nail to mimic rooftop lines. Try it on one hand first to perfect placement before doing both.
10) Sheer nude with tiny blue gemstone accents
Intent: idea and quick tutorial. Choose a sheer nude base that matches your skin for a clean, low-key look you can wear all week. Apply two thin coats so the finish stays translucent and natural.
Place tiny blue gemstones near the cuticle or on one accent nail for a subtle nod to Greek blues. Use a dot of clear top coat or nail glue to secure each gem; press gently and cure if you use gel.
Common mistake: crowding gems on every nail. Keep accents sparse—one or two gems create an elegant effect without looking busy. Try a sky-blue stone on the ring finger and a micro-gem at the cuticle of the middle finger for balance.
When traveling, pack a small clear-top coat to re-seal gems if needed. If you want reference ideas and coastal color combos, check this gallery of Greece-inspired nail looks for more inspiration (https://purelycomfy.com/greece-nails/).
Mediterranean Color Palettes
Pick colors that match bright sea blues, warm stone, and sunny accents to make your manicure look like a real Mediterranean escape. Focus on clear contrasts and a few accent shades so your nails read well in photos and up close.
Inspired Shades From Santorini
Intent: idea — Use Santorini’s whitewashed cottages and Aegean blue as a clean, photogenic base.
Choose a crisp cobalt or ultramarine for full nails, and pair it with creamy white for negative-space tips or thin stripes. Try a matte white base with a single glossy cobalt accent nail to mimic painted doors against plaster walls. Add a tiny gold dot near the cuticle for a sunlit highlight.
Common mistake: using too many blues that look flat. Fix this by adding one warm tone — like a soft peach or light terracotta — on one nail to warm the palette. For a quick salon brief, say: “deep Aegean blue, pure white, matte finish, one gold detail.” That gives a polished, island-ready look without overcomplicating the design.
Rich Hues of the Greek Coastline
Intent: guide — Build richer, earthier palettes inspired by olives, terracotta roofs, and sea glass.
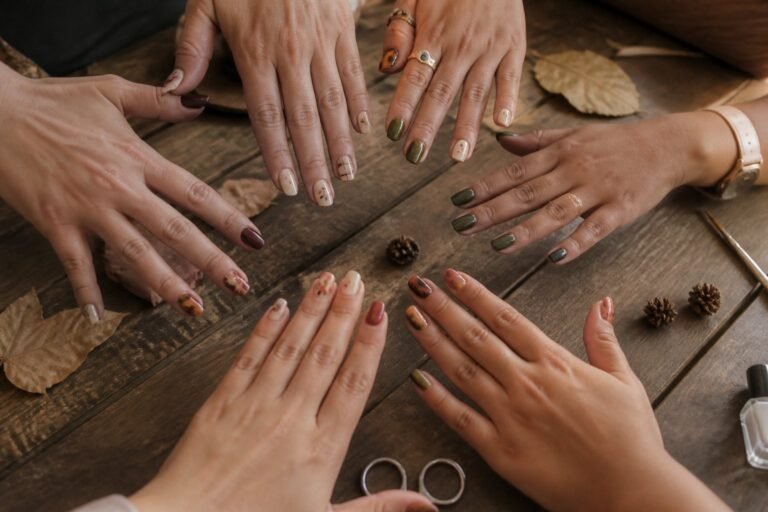
Start with an olive or muted sage as a base for two nails, then use terracotta or rust on another nail to echo sunbaked rooftops. Accent with sea-glass turquoise or sandy beige for small patterns: thin waves, tile motifs, or a lemon slice. A sheer nude base with a single olive leaf or tile-pattern accent looks grown-up and travel-ready.
Common pitfall: overcrowding small nails with complex tile art. Keep tile designs to one nail or use negative space for cleaner results. When ordering, say: “olive, terracotta, sea-glass, tile accent on ring finger” to ensure the tech balances color and detail.
Tips for Long-Lasting Summer Manicures
Protect your manicure from sun, salt, and busy days by prepping properly and choosing the right top coat. Small habits—like drying time, gentle filing, and avoiding hot water right after your appointment—make the biggest difference.
Prepping Nails for Heat and Saltwater
Guide: tutorial
Start by cleaning and dehydrating the nail plate. After trimming and shaping, push back cuticles gently and wipe each nail with a lint-free pad soaked in isopropyl alcohol or acetone to remove oils. Oils and lotions will lift polish faster in hot, humid weather.
Use a light buff (180–240 grit) to remove shine only if your nail tech plans to use builder gel or a long-lasting polish; don’t over-buff. Apply a thin, even base coat—look for one labeled “bonding” or “adhesion.” For natural nails, add one thin layer of ridge-filling base to prevent chips.
Avoid soaking nails in hot water for at least two hours after polish or gel. Pack a small file and cuticle oil for touch-ups while traveling. Common mistake: slapping on thick coats to save time—thick layers peel sooner. Instead, work in thin layers and allow full curing or drying between coats.
Best Top Coats for a Durable Finish
Guide: tutorial
Choose a top coat that matches your routine: long-wear gel top coats for pool days, and fast-dry glossy top coats for quick touch-ups. For gels, use a soak-off LED/UV-curing top coat and wipe the inhibition layer if your product requires it. For regular polish, pick a top coat with “chip-resistant” or “flexible” on the label.
Apply two thin coats of top coat: one sealing the tip with a swipe across the edge, then a second coat across the nail surface. Tip-sealing prevents tip lifts from sand and surf. Reapply a thin coat every 3–4 days if you notice dulling or micro-chips.
Tools and tricks: a quick-dry top coat with acetone resistance helps when you use sunscreen or oil-based products. Keep travel-sized top coat and a UV/LED mini-lamp for long trips. Watch for yellowing in cheaper formulas and replace top coat every 6–8 months to keep protection strong.