10 Lake Nail Ideas for the Perfect Late-Summer Manicure — Bold, Chic Inspo
You want nails that match late-summer lake days without looking overdone. Small mistakes—too-bold color, chipped edges, or ignoring how water affects polish—can ruin your look. This article shows ten easy, lake-inspired manicure ideas and quick care tips so your nails stay fresh from dock to dinner.
You’ll get simple, stylish designs that balance soft summer tones with tiny nautical details, plus notes on prep and waterproofing to prevent chips. Expect pro tips, common pitfalls to avoid, and clear inspiration to help you pick a look that fits your plans and skill level.
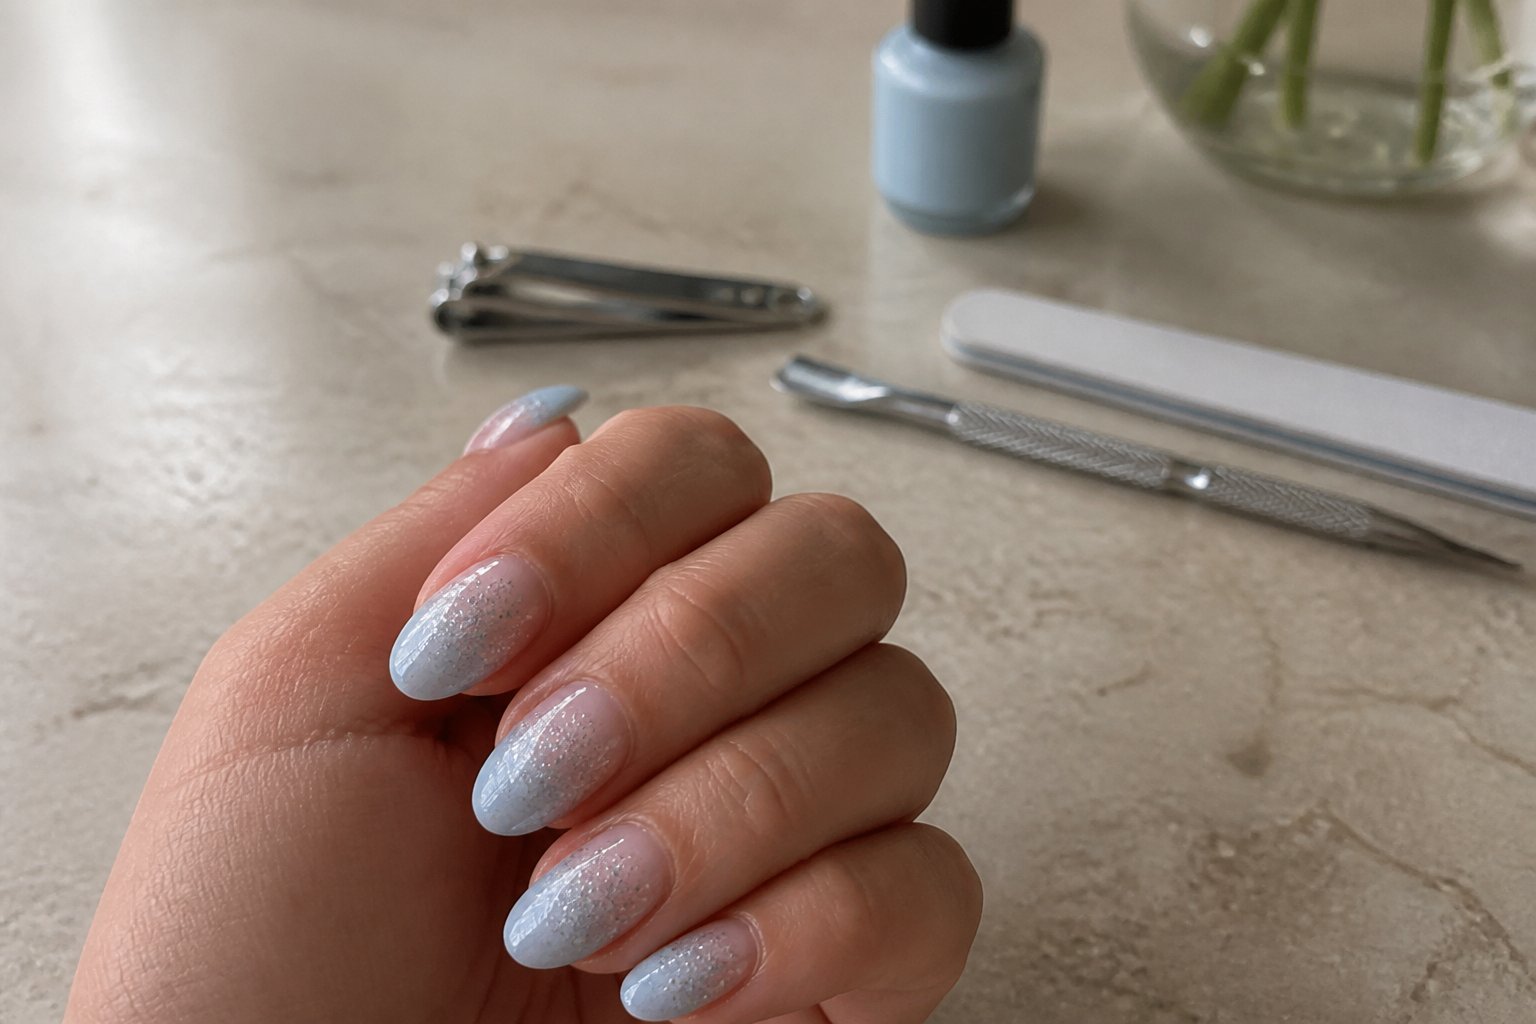
1) Soft Milky Blue Ombre with Subtle Silver Glitter
Intent: tutorial and idea.
Choose a milky blue base that fades from near-white at the cuticle to a soft sky blue at the tip. Blend with a sponge or a soft brush for a smooth gradient; practice on a nail wheel to avoid streaks.
Add a very fine silver glitter over the tips or scatter it toward the center for a gentle sparkle. Avoid chunky glitter—those pieces can break the ombre and feel heavy.
Common mistake: using too much polish at once. Thin layers dry faster and blend cleaner. Seal with a glossy topcoat to smooth the glitter and extend wear.
Try small accents like a single rhinestone or tiny silver foil on one nail to keep the look refined. If you like, show this to your tech as a photo so they match the fade precisely.
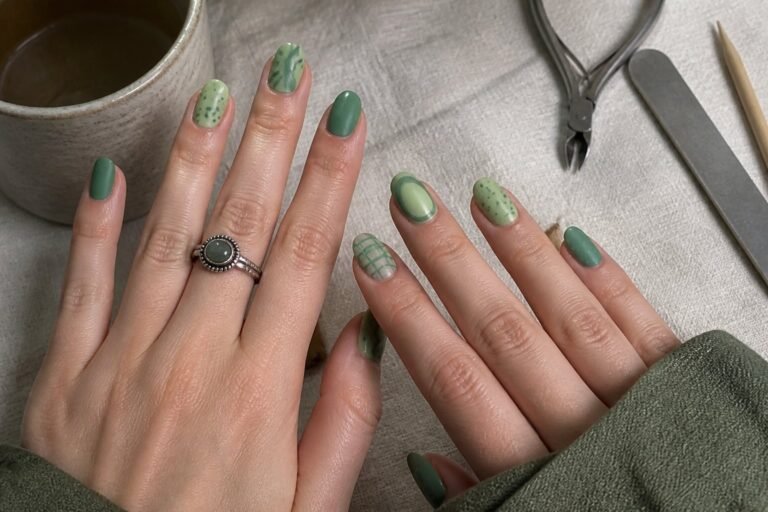
2) Sage Green Matte with Tiny White Daisy Accents
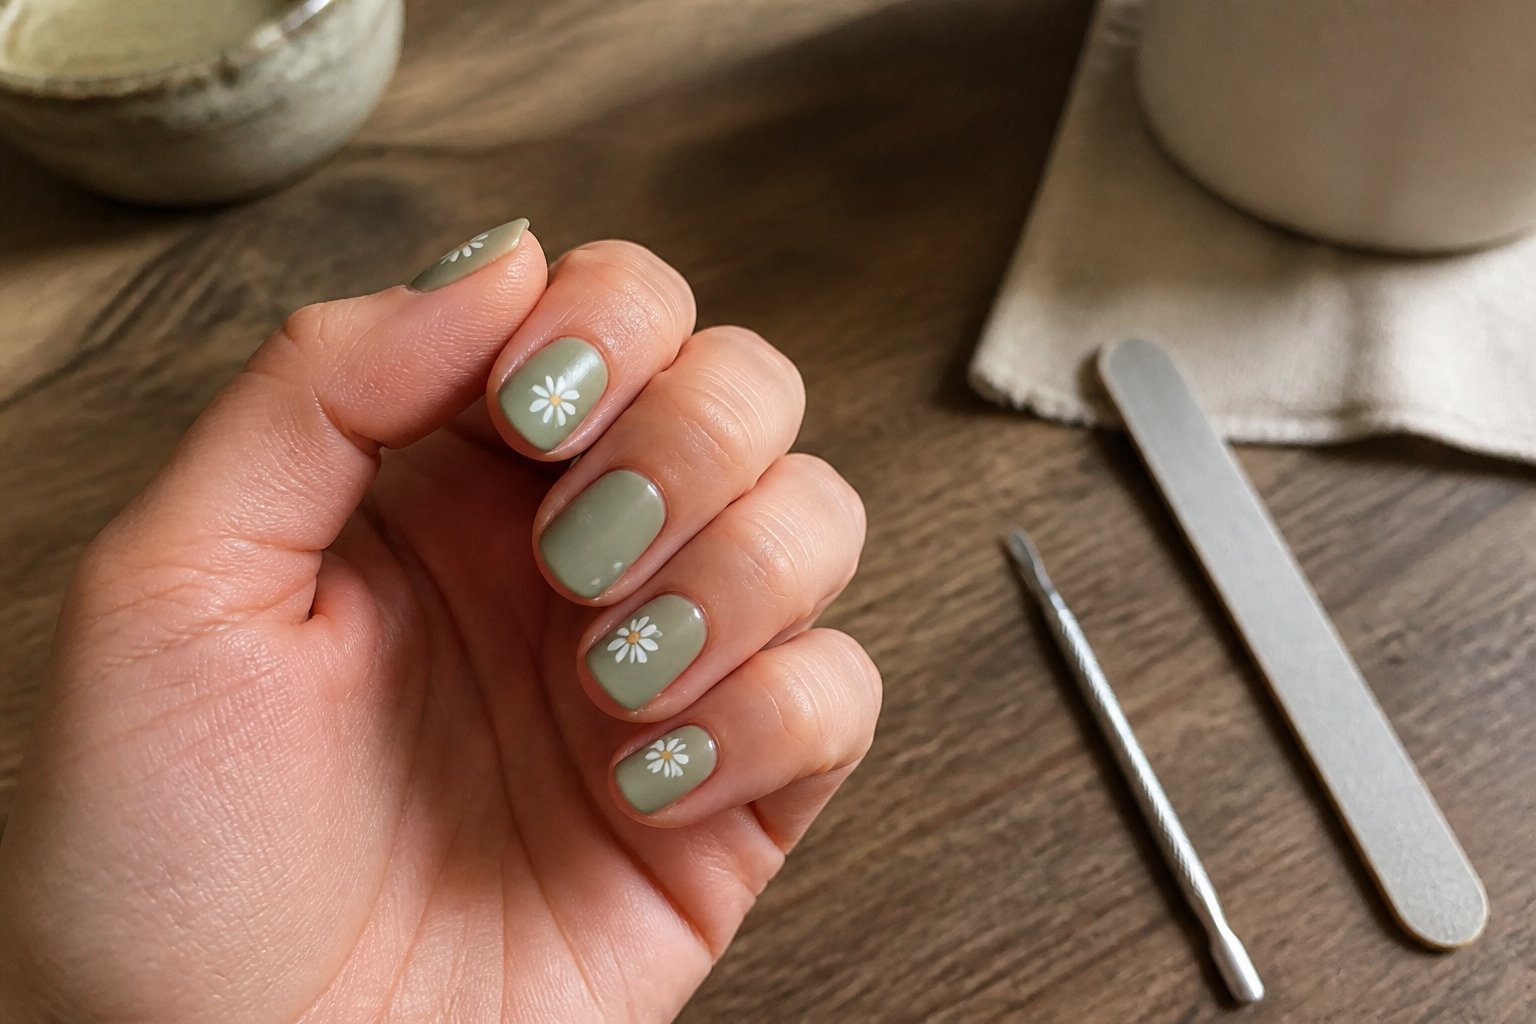
Intent: tutorial and idea. Try a soft sage matte as your base for a calm, late-summer look that still reads fresh by the lake. Matte keeps the color modern and low-glare so the daisies stand out.
Paint two nails full sage matte, and leave one or two nails translucent or pale pink to balance contrast. Use a fine dotting tool for tiny white petals and a small yellow center. Keep petals uneven — that handmade imperfection looks intentional.
Common mistake: overcrowding the nail with flowers. Space them out and vary sizes for a natural feel. If freehand feels hard, use a tiny stamp or press-on decals and seal with matte top coat.
This style pairs well with short or medium lengths and looks great next to a pale pink accent nail. Try it for weekend lake days and swap to glossy tips if you want more shine.
3) Translucent Teal Jelly Nails with Clear Wave Tips
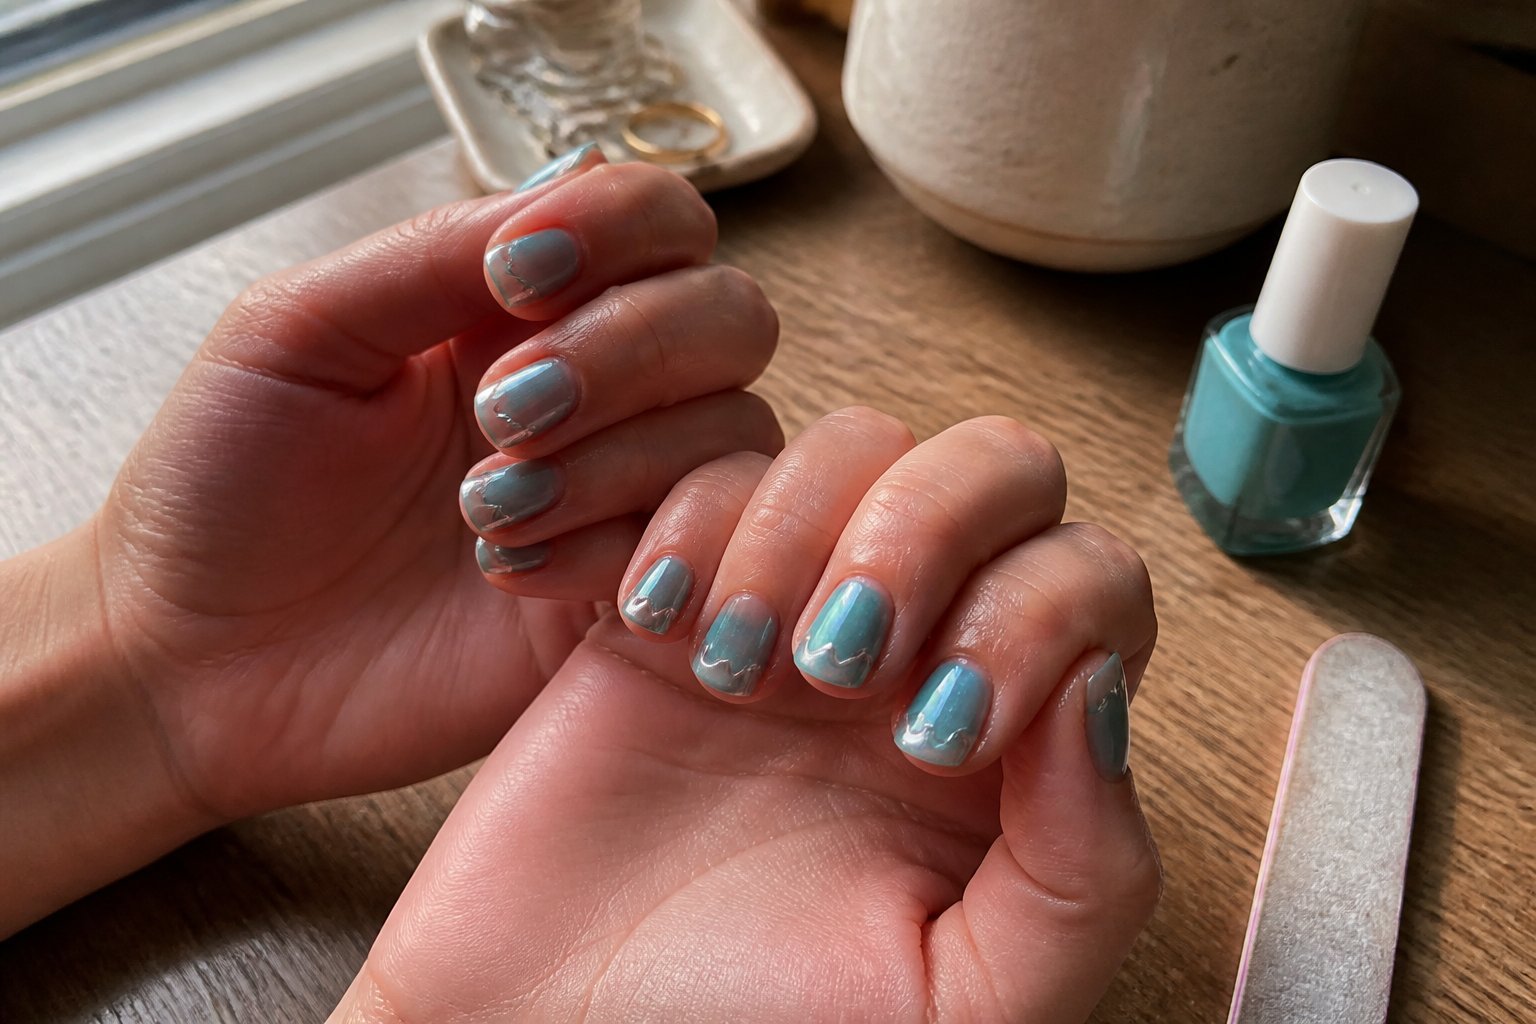
Idea: a sheer teal base that looks like lake water, finished with glossy clear tips shaped into soft waves. You get a glassy, lightweight feel that still reads as polished and modern.
Start with thin layers of translucent teal polish. Build color slowly to avoid cloudiness; two thin coats usually do the trick. For the clear wave tips, use a steady hand and a small brush to paint soft crescent curves, then seal with gel topcoat for shine and durability.
Common mistake: applying thick coats that hide the jelly effect. If your teal goes opaque, remove and restart with thinner coats. Try adding a tiny silver flake near the cuticle for sunlit sparkle.
If you want visuals, browse translucent jelly designs for inspiration like the ones on Pinterest. Try this look on short or almond nails—both hold the lake-like vibe.
4) Pearlescent Beige Base with Micro-Fine Blue Foil
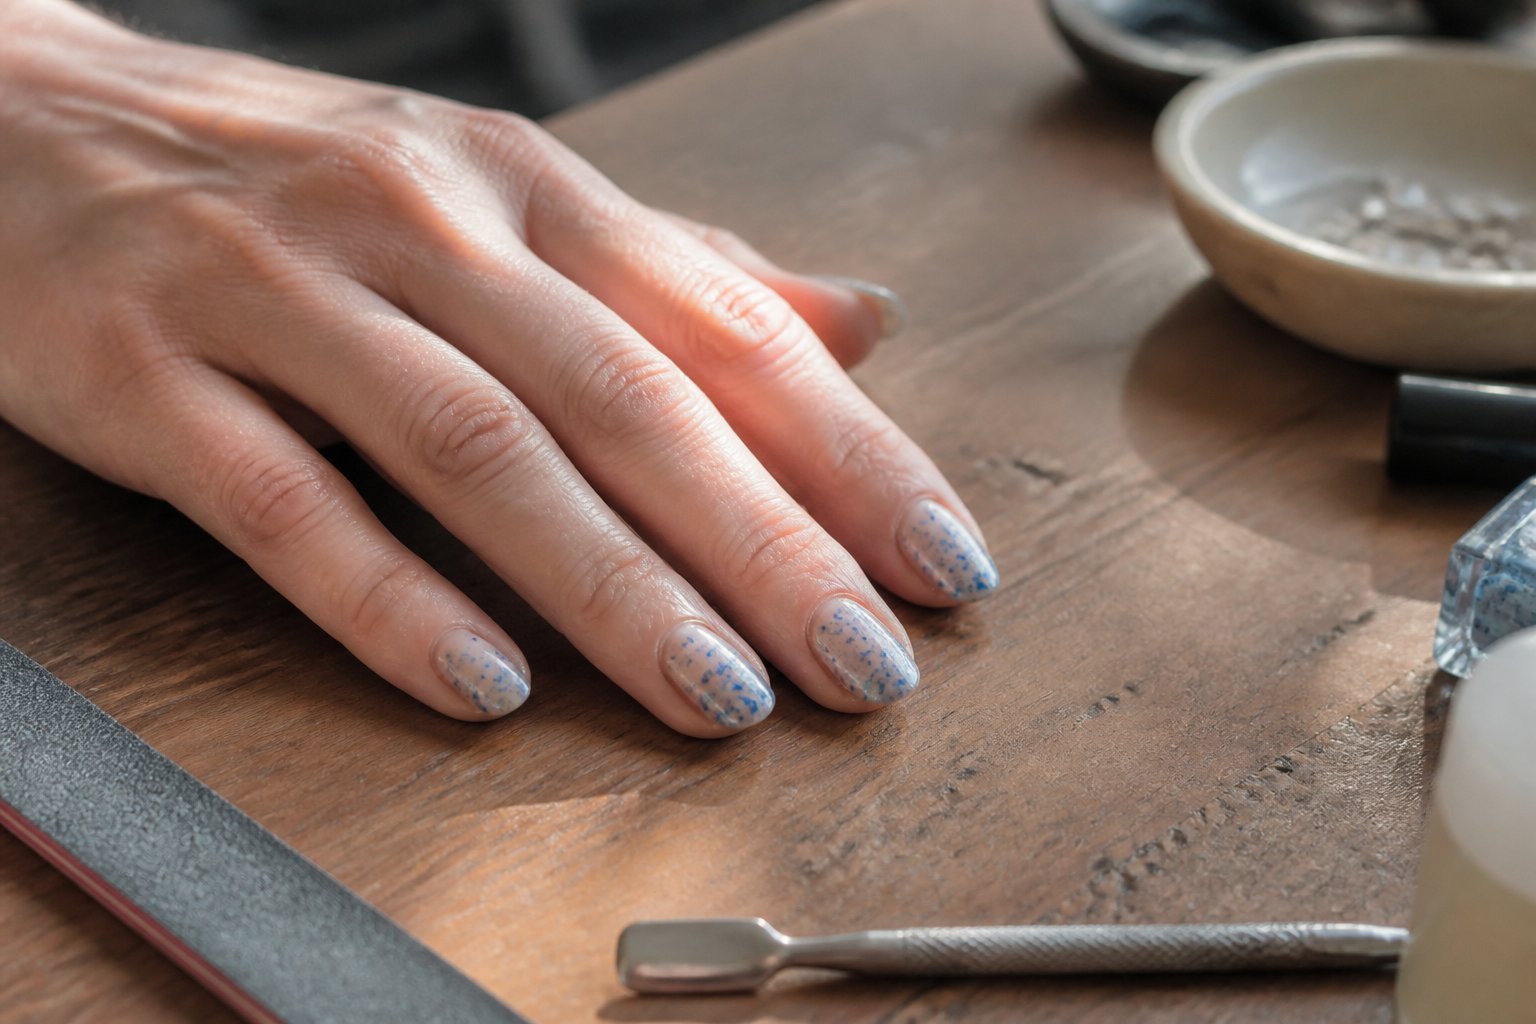
Intent: tutorial and idea.
Start with a sheer pearlescent beige base to keep the look soft and lake-inspired. Use thin coats so the pearly glow reads like sunlight on water, not a thick opaque color.
While nails are tacky, press tiny strips or flakes of micro-fine blue foil near the tips or in scattered patches. Aim for irregular placement so the foil mimics reflections; avoid covering the whole nail which can look heavy.
Common mistake: using chunky foil or too much topcoat at once. Chunky pieces catch and lift; too much topcoat blurs the foil’s shimmer. Instead, seal with two thin glossy layers for smooth shine and durability.
Try an accent nail with a cluster of pearl studs for texture contrast. If you want inspiration, view lake-themed color plays and textures at this lake nails gallery (https://nailsideas.net/lake-nails/).
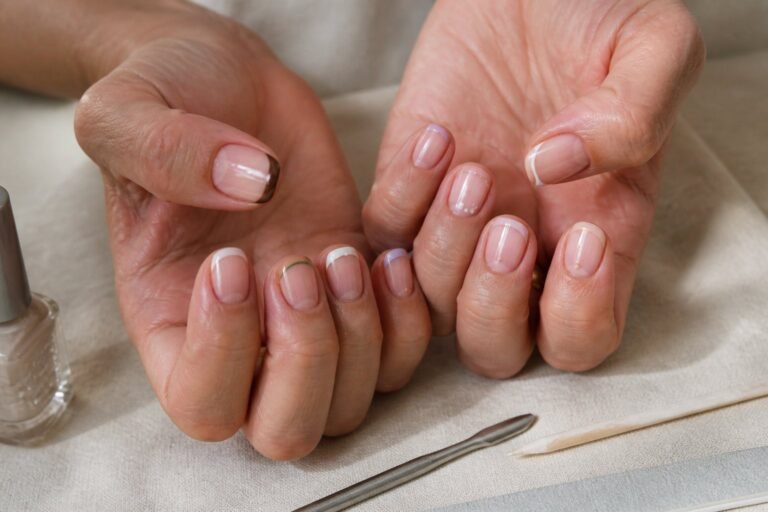
5) Smoky Slate French with Iridescent Waterline
Intent: tutorial. Try a smoky slate French with a thin, iridescent waterline to get lake-like depth on short or long nails.
Start with a neutral base and paint a soft, matte slate tip. Keep the curve shallow; too thick makes the look heavy. You want a misty, clouded edge that feels like late-afternoon water.
Add a fine strip of iridescent polish where the tip meets the nail bed. Use a thin brush and light pressure. A common mistake is using thick glitter—apply in thin layers so it reads as shimmer, not clumps.
Finish with a satin topcoat for a modern, wet-stone effect. If you want extra drama, dot a tiny pearl near the cuticle on one finger. Book a trial run or practice on a nail wheel to perfect the gradient and line work.
6) Peachy Nude Gradient with Single Blue Accent Nail
Intent: tutorial and idea. Try a soft peach-to-nude gradient across most nails, then paint one nail a cool lake-blue for contrast. This balances warm and cool tones and fits late-summer looks.
Begin by sponging a peach shade into a nude base for a seamless ombre. Keep strokes light and build color slowly to avoid harsh lines. A thin layer of sheer shimmer helps the blend look natural.
For the accent nail, pick a muted sky or lake blue and paint two thin coats. Add a tiny white wave or dot near the tip for a subtle water effect. Common mistakes are overloading the sponge and skipping base coats—both cause blotchy results.
Finish with a glossy topcoat to unify textures and protect the art. Try this on short or almond shapes; adjust peach intensity to match your skin tone. Give it a go at home or ask your tech to recreate it.
7) Deep Lake Navy with Hand-Painted White Ripples
Tutorial: this look starts with a rich, deep navy base that mimics evening water. Use two thin coats for even coverage and let each dry fully to avoid streaks.
You’ll paint soft white ripples freehand across the nail with a fine brush. Vary stroke length and pressure so lines read natural; try a misted curve near the cuticle and shorter waves toward the tip.
Common mistakes: overworking lines makes ripples look busy, and thick paint blobs lift the base color. If a line feels too heavy, thin it with a tiny amount of remover on the brush and redraw.
Finish with a glossy topcoat to deepen the navy and seal the art. Practice one accent nail first, then repeat across the hand when you’re happy with the flow.
8) Sailboat Accent on Pale Sky Blue Almonds
Intent: idea and tutorial. Paint your almonds a pale sky blue for a calm, lake-side base. Keep the blue sheer rather than opaque for a soft, late-summer look.
Place a small sailboat on one or two accent nails. Use thin brushes or a toothpick to draw a white triangle sail and a tiny mast in navy or dark gray. Try a mint green hull for a fresh contrast.
Avoid overworking the design; heavy lines make small sails look clumsy. If you’re not steady, use a dotting tool to place guides, then connect them with a single confident stroke.
Finish with a glossy topcoat and cure fully. You’ll get a durable shine that reads like sunlight on water. If you like, add a pale glitter near the cuticle to mimic lake sparkle.
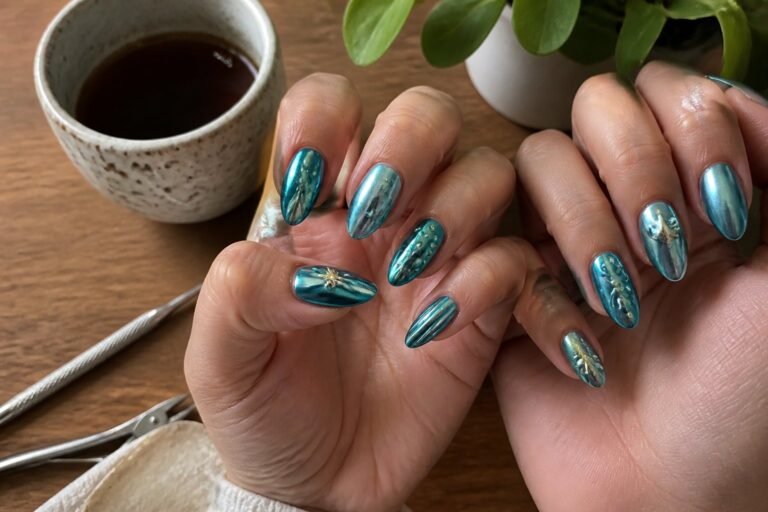
9) Shimmering Aqua Chrome with Matte Topcoat Tips
Guide: a quick how-to to get mirror shine with a subtle matte finish on selected nails.
Start by applying a sticky tack-free base and a bright aqua gel. Cure each layer well; thin layers prevent bubbling and uneven chrome. Use a small eyeshadow sponge to rub chrome powder on cured color for an even mirror effect.
Mistakes to avoid: overworking the powder can dull the shine, and skipping a no-wipe top coat will make the chrome smear. If you want contrast, leave two nails glossy and apply a matte topcoat to the rest. Matte over chrome reads modern and almost suede-like.
Try a silver chrome accent on the ring finger to lift a pastel aqua. Finish with gentle cuticle oil and tell your tech to cure matte coats fully.
10) Milky Lavender with Tiny Gold Leaf Flakes
Idea: a soft milky lavender base with scattered gold leaf for a quiet luxe look.
Start with two thin coats of a milky lavender polish to keep the color creamy, not streaky. Use a sheer formula so the lavender reads soft; thick coats will bubble or look clumpy.
While the top coat is tacky, place tiny gold leaf flakes with tweezers or an orange stick. Less is more—place flakes near the cuticle or along one side for balance. Common mistake: pressing flakes too flat makes them disappear. Let edges lift slightly for texture.
Seal with two glossy top coats and cure fully if using gel. You’ll get a late-summer vibe that reads elegant and wearable. Try pairing with simple gold rings to tie the look together.
For visual ideas, see this lavender nail trend roundup: Lavender Milk Nails.
Color Inspiration for Late-Summer Lakeside Nails
Set a clear color direction before you start so your manicure feels intentional. Pick one dominant shade, one accent, and one shimmer or neutral to balance texture and wear.
Trendy Hues for Warm Weather
Guide: idea — choose colors that read fresh on sunlit water and hold up against fading.
Go for soft teal, seafoam, and muted aqua as base shades. These mimic lake water and look good with short or long nails. Add a warm coral or peach as an accent nail to echo late-summer sunsets. Deep olive or moss works for a moody twist that still feels seasonal.
Use metallics like champagne or pale gold as thin stripes, tips, or micro-foil for sunlight shimmer without heavy polish. A common mistake is overloading on glitter—use it sparingly on one or two nails to avoid chipping. Try a matte topcoat over a glossy accent for a modern contrast that reads professional and relaxed.
Seasonal Color Pairings
Guide: tutorial — combine colors with clear roles: base, accent, and detail.
Pair aqua base + coral accent + gold shimmer for a lively lakeside look. Or choose muted sage base + cream accent + pearlescent shimmer for a soft, wearable palette. For bolder contrast, use navy base + mint accent + tiny white wave details to evoke water movement.
Arrange colors with purpose: 3 nails base, 1 accent, 1 shimmer/detail. Test polish swatches on a nail wheel under sunlight before committing. If you plan an outdoor event, pick formulas with UV protection or a quick-dry topcoat to reduce yellowing and keep colors true. Pick one pairing and repeat it across nails for a cohesive, salon-ready finish.
How to Care for Nails Before and After Water Activities
Protect your manicure from sun, chlorine, and lake minerals by prepping nails, using barrier products, and doing quick post-swim repairs. Small steps before and after water time keep polish bright and prevent peeling.
Hydration and Protection Tips
Intent: guide — Prep your nails to resist water damage.
Trim and file nails to a short, even length to reduce catching. Push back cuticles gently and apply a thin coat of cuticle oil 10–15 minutes before swimming to lock in moisture rather than leaving the skin dry.
Use a clear base coat that seals the free edge. Apply two thin coats of polish rather than one thick coat; thin layers cure faster and stay bonded longer. Finish with a high-quality topcoat and reapply a thin layer every 2–3 days during heavy water use.
When possible, wear snug swim gloves for long exposure, or dip fingertips in fresh water for 30 seconds after leaving the lake to rinse off minerals. Avoid hot tubs right after a fresh manicure—heat plus chemicals speeds lifting. Common mistake: skipping base coat or overfiling nail plate, both weaken adhesion.
Post-Lake Manicure Maintenance
Intent: tutorial — Restore and repair nails after swimming.
Rinse nails with fresh water immediately and gently pat dry. Apply cuticle oil within 10 minutes to replenish lost moisture; if nails feel brittle, use a protein-rich nail strengthener overnight twice a week.
Check for chips and lift right away. For small chips, file smooth and touch up with the original polish, sealing with topcoat. For lifted edges larger than 2–3 mm, remove polish and reapply a fresh manicure to prevent peeling from spreading.
Treat stains from lake water or algae by soaking nails in a 1:3 mix of hydrogen peroxide and water for 1–2 minutes, then rinse. Avoid harsh acetone soaks; they strip oils. Keep a travel kit with topcoat, oil, and a small file in your beach bag for quick fixes.