10 Vamp Romantic Nail Ideas for Fall 2026
You want fall nails that feel moody, romantic, and wearable without being over the top. This guide shows you 10 vamp romantic nail ideas for Fall 2026 and how to pick colors and techniques that suit your style and skill level. Expect looks that balance dark drama with subtle detail so you can get a luxe manicure at home or ask for exactly what you want at the salon.
You’ll learn which shades and textures pair best for autumn, common mistakes to avoid, and quick tips to make each design last longer. Follow along and you’ll leave inspired and ready to book an appointment or try a pro-level mani yourself.
1) Glossy Jet-Black Coffin Nails with Blood-Drip Accent
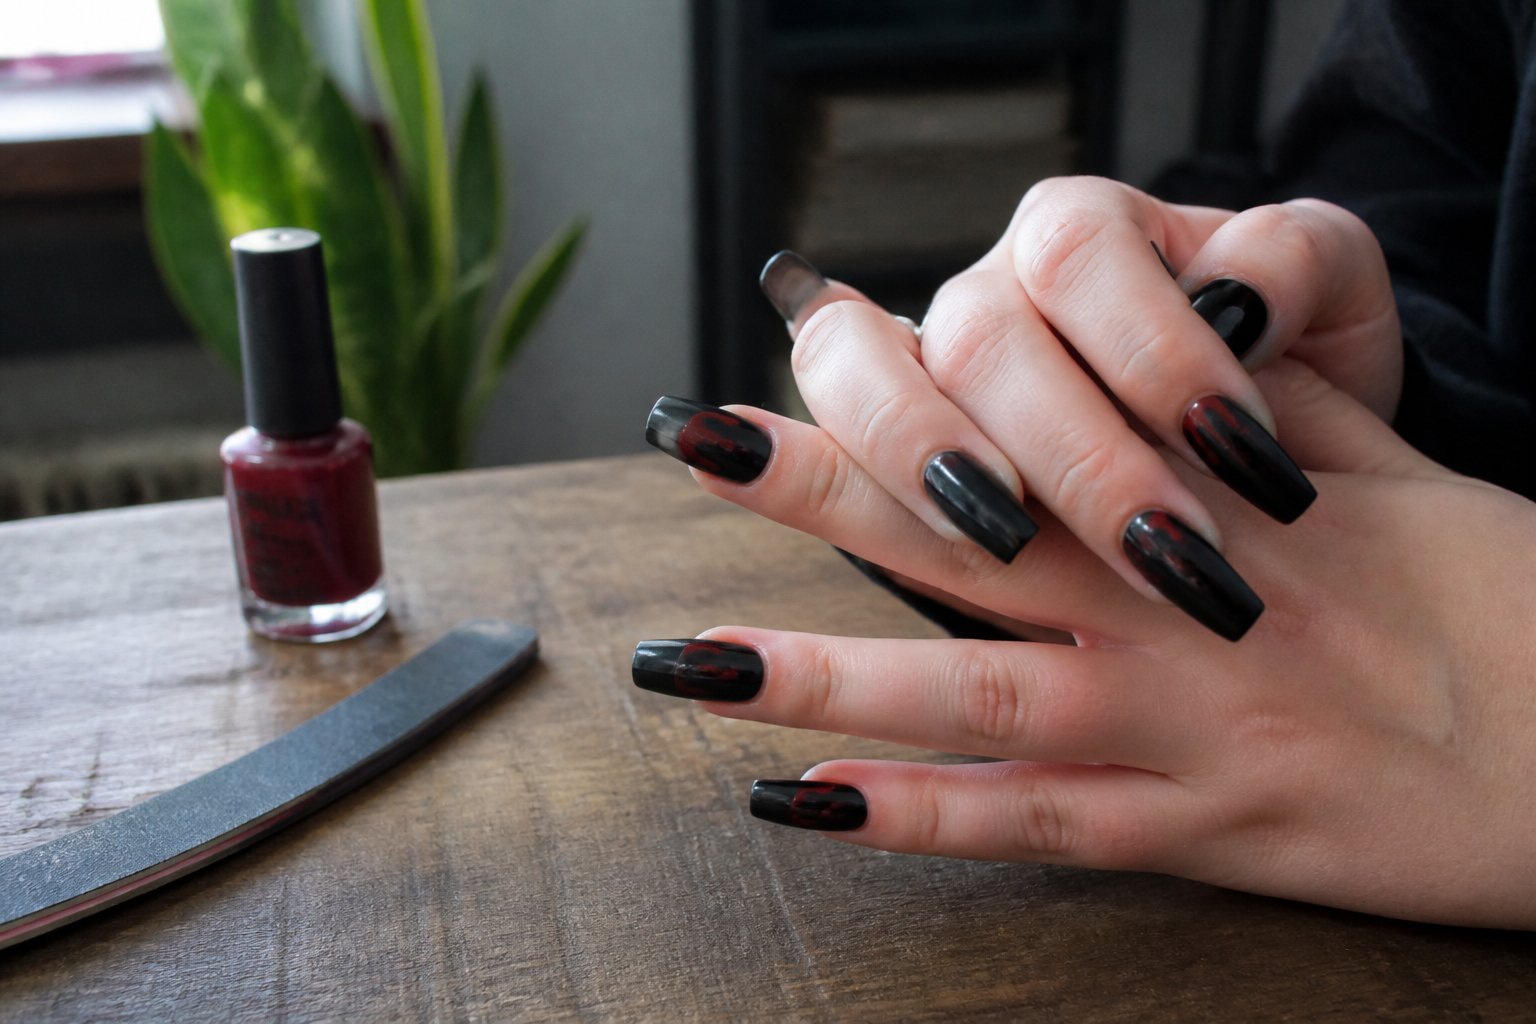
Tutorial: learn to create a sleek, high-shine coffin shape with a tiny gothic twist. Start with a smooth jet-black gel or polish and cure for a mirror finish; glossy black reads polished and modern.
Add a blood-drip accent on one or two nails using deep crimson gel. Keep drips thin at the top and thicker toward the tip to mimic gravity — practice on a nail wheel first to avoid clumpy lines.
Common mistake: overloading the brush. Too much product ruins the drip shape and causes bubbling. Clean edges with a tiny brush dipped in remover for crisp cuticles.
Try pairing this with thin silver rings or matte black leather for contrast. If you want a quick option, press-ons in this style give instant impact without long salon time.
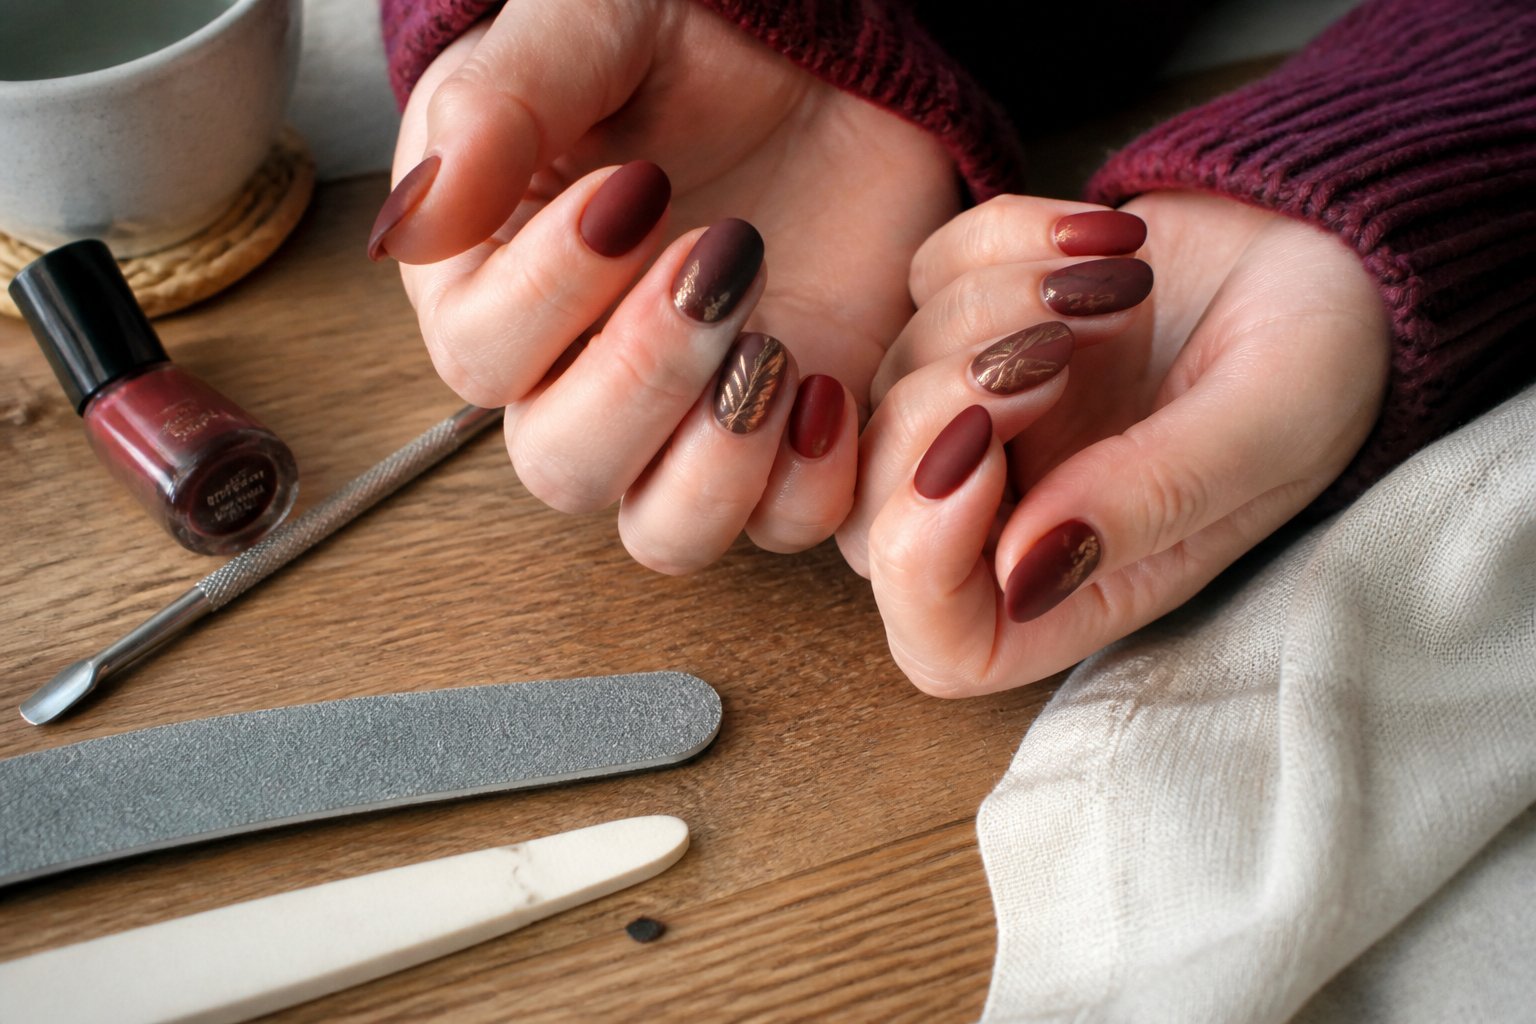
2) Velvet-Maroon Almond Nails with Gold Foil Flecks
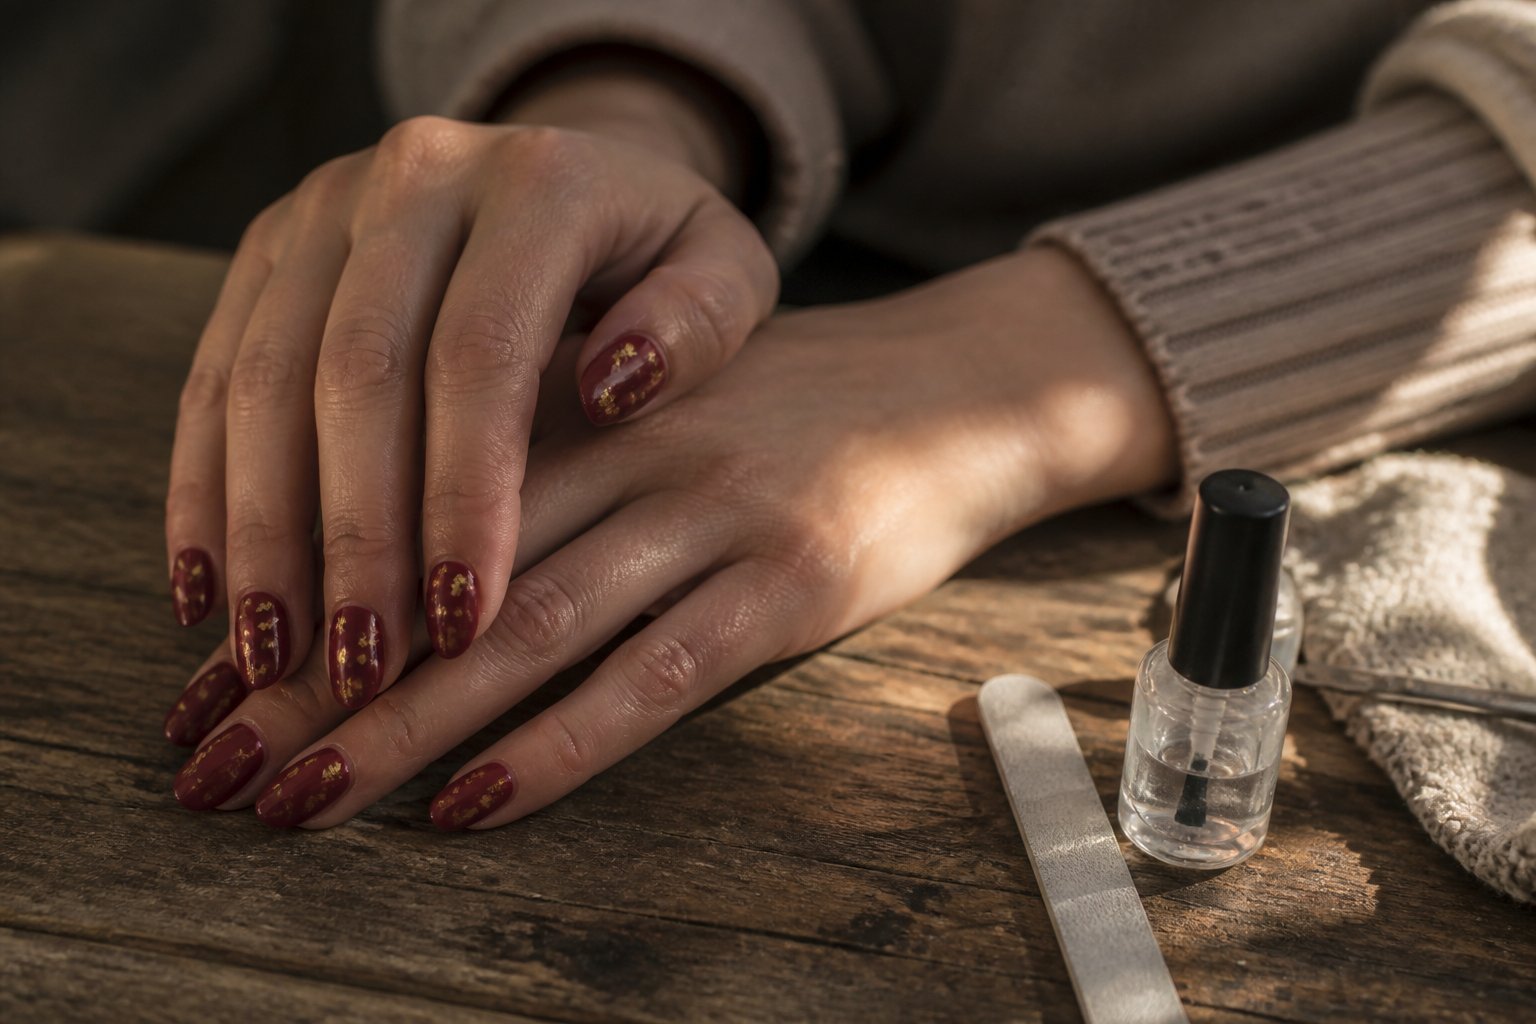
Intent: tutorial and styling idea.
Choose a deep maroon gel with a satin or matte top for a velvet look that reads rich without shine. Paint almond-shaped nails two thin coats for even color; avoid thick layers that trap bubbles.
Add tiny gold foil flecks on one or two accent nails while the polish is tacky. Use tweezers or a fine brush and press gently so the foil lays flat; overdoing foil makes the design look busy.
A common mistake is skipping a thin clear coat to seal the foil — this causes lifting. Finish with a subtle glossy edge or a soft matte varnish, depending on how velvet you want the result.
Try maroon on most nails with a single foiled accent to keep the style elegant. Pick one photo-ready nail and let the foil speak for the set.
3) Smudged Kohl-Eye Smoky Gradient on Short Squoval Tips
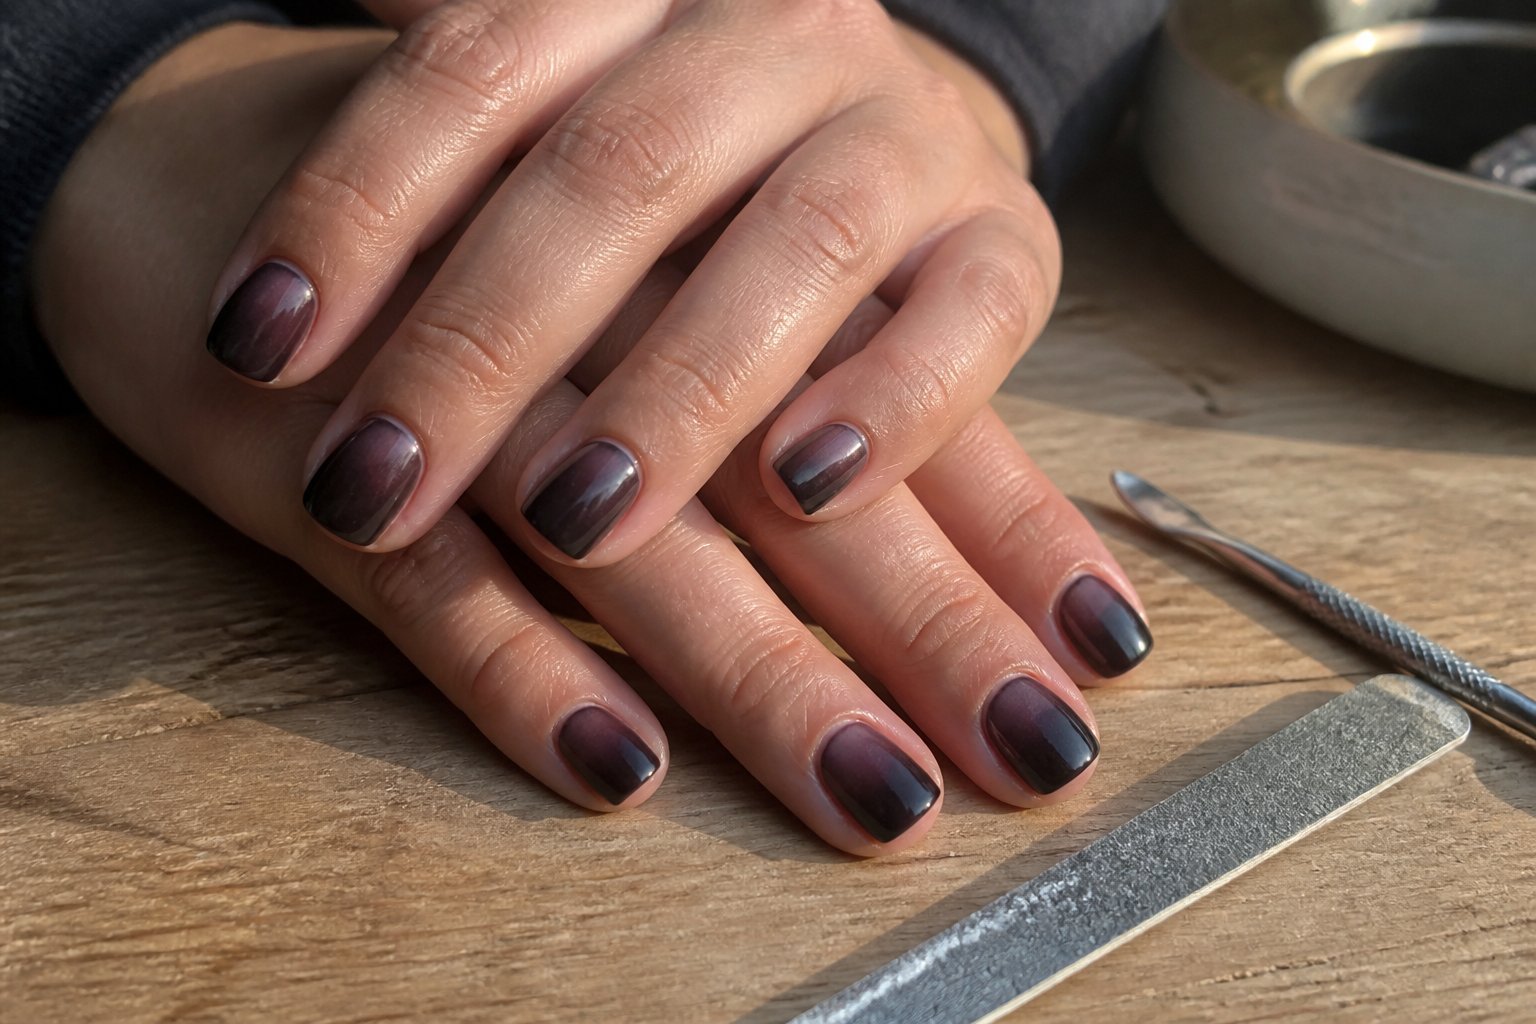
Intent: tutorial. You’ll create a moody, smudged-kohl gradient that fits short squoval nails and a fall wardrobe.
Start by laying a sheer nude base to keep the look wearable. Then use a small sponge to dab black eyeshadow or polish from the free edge toward the cuticle, building a soft gradient. Smudge the join with a thin brush for that kohl-eye blur; don’t overblend or you’ll lose the smoky edge.
For contrast, add a single matte burgundy accent on the ring finger. Watch for common mistakes: too much product at once makes pooling, and heavy topcoat can flatten the gradient. Finish with a satin topcoat to keep depth without glassy shine.
Try this for a date night when you want drama that still feels practical. If you want tips on tools or step timing, ask and I’ll walk you through it.
4) Deep Forest Green Matte with Tiny Rhinestone Crosses
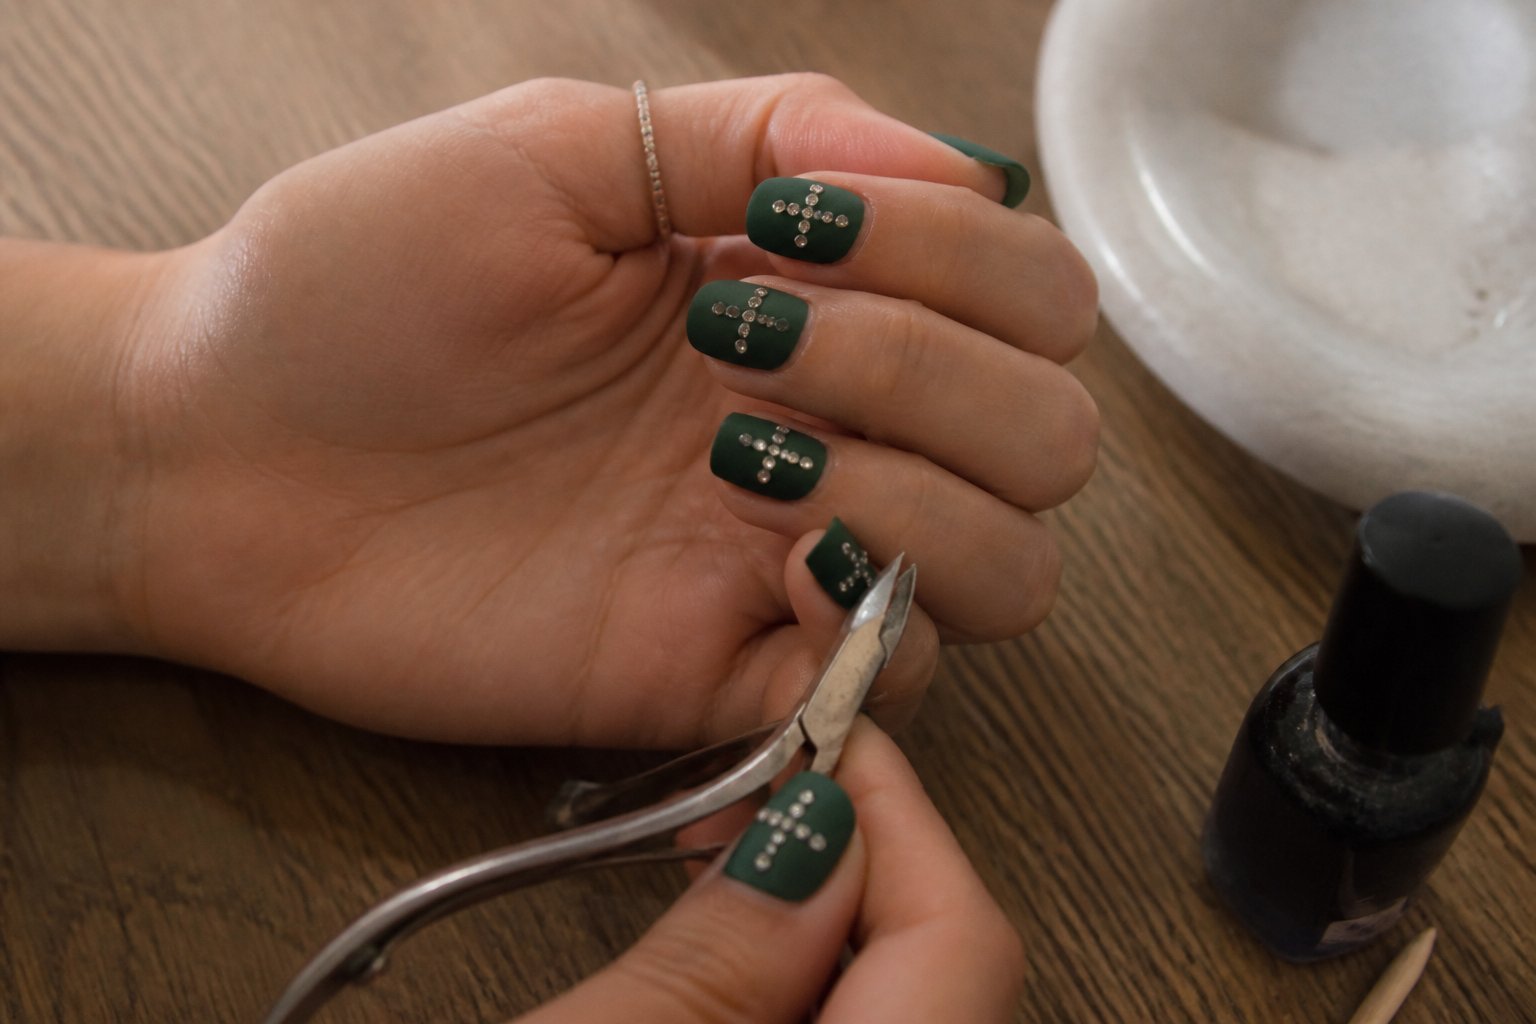
Intent: idea and tutorial for a chic fall manicure.
Choose a rich, matte forest green as your base. Apply two thin coats for full, even coverage; thin layers prevent streaks and lifting.
Place tiny rhinestone crosses near the cuticle or at the tip for a subtle vamp look. Use tweezers and a small dot of clear gel to secure each piece; press gently and cure if using gel.
Common mistake: overcrowding the nail. One small cross per nail reads elegant, not cluttered. Try a mix—accent nails with crosses and plain matte nails to balance drama.
If you want longevity, finish with a matte top coat applied around the rhinestones, not over them, to keep sparkle bright. Try this on shorter nails first to test placement, then scale up confidently on longer shapes.
5) Velvet Chrome Burgundy Stiletto with Microglitter Fade
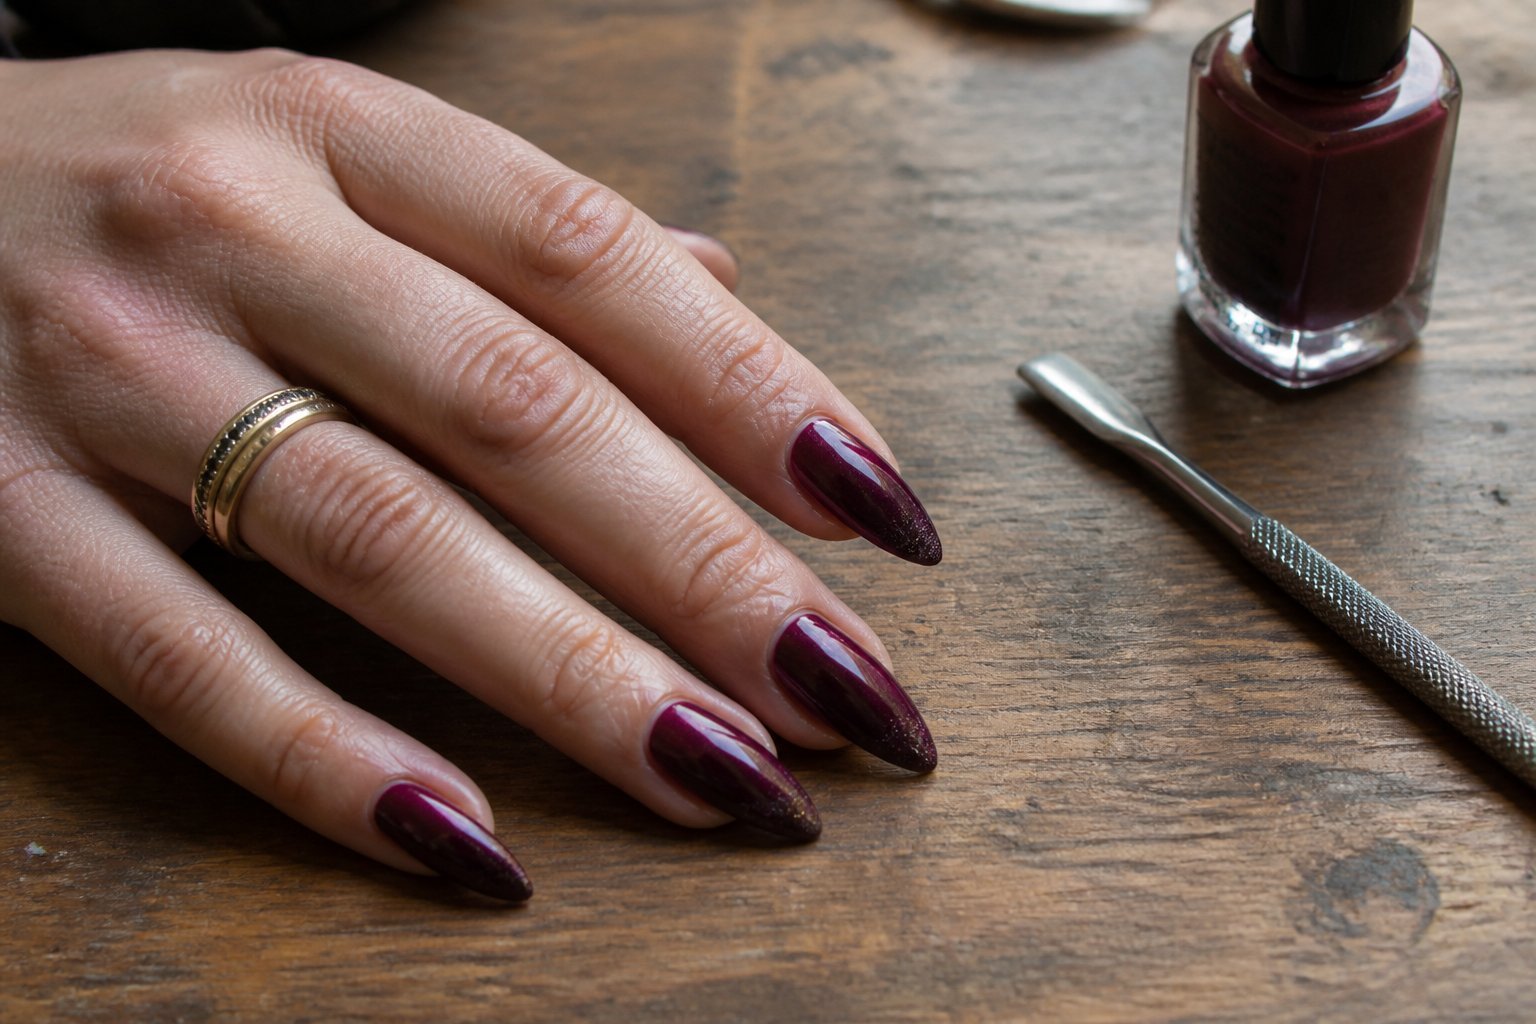
Intent: tutorial and idea. Try this velvet chrome stiletto for a luxe fall look that still feels wearable.
Start with a deep burgundy velvet base to get that plush, soft shine. Apply chrome powder over the tip and gently buff toward the cuticle for a smoked metal effect.
Add microglitter in a gradient from tip to mid-nail for subtle sparkle that catches light without overpowering the chrome. Use a sparse sweep to avoid chunky texture; heavy glitter can ruin the velvet finish.
Common mistake: over-buffing the chrome. Too much friction flattens the velvet sheen. Seal with a thin, glossy topcoat only on the chrome area if you want contrast, or use matte topcoat on the burgundy for true velvet contrast.
Try a single accent nail with a tiny rhinestone at the cuticle for drama. Book a trial or practice on tips first so your fade stays even.
6) Sheer Rose-Bluish Ombre with Black Lace Hand-Painted Detail
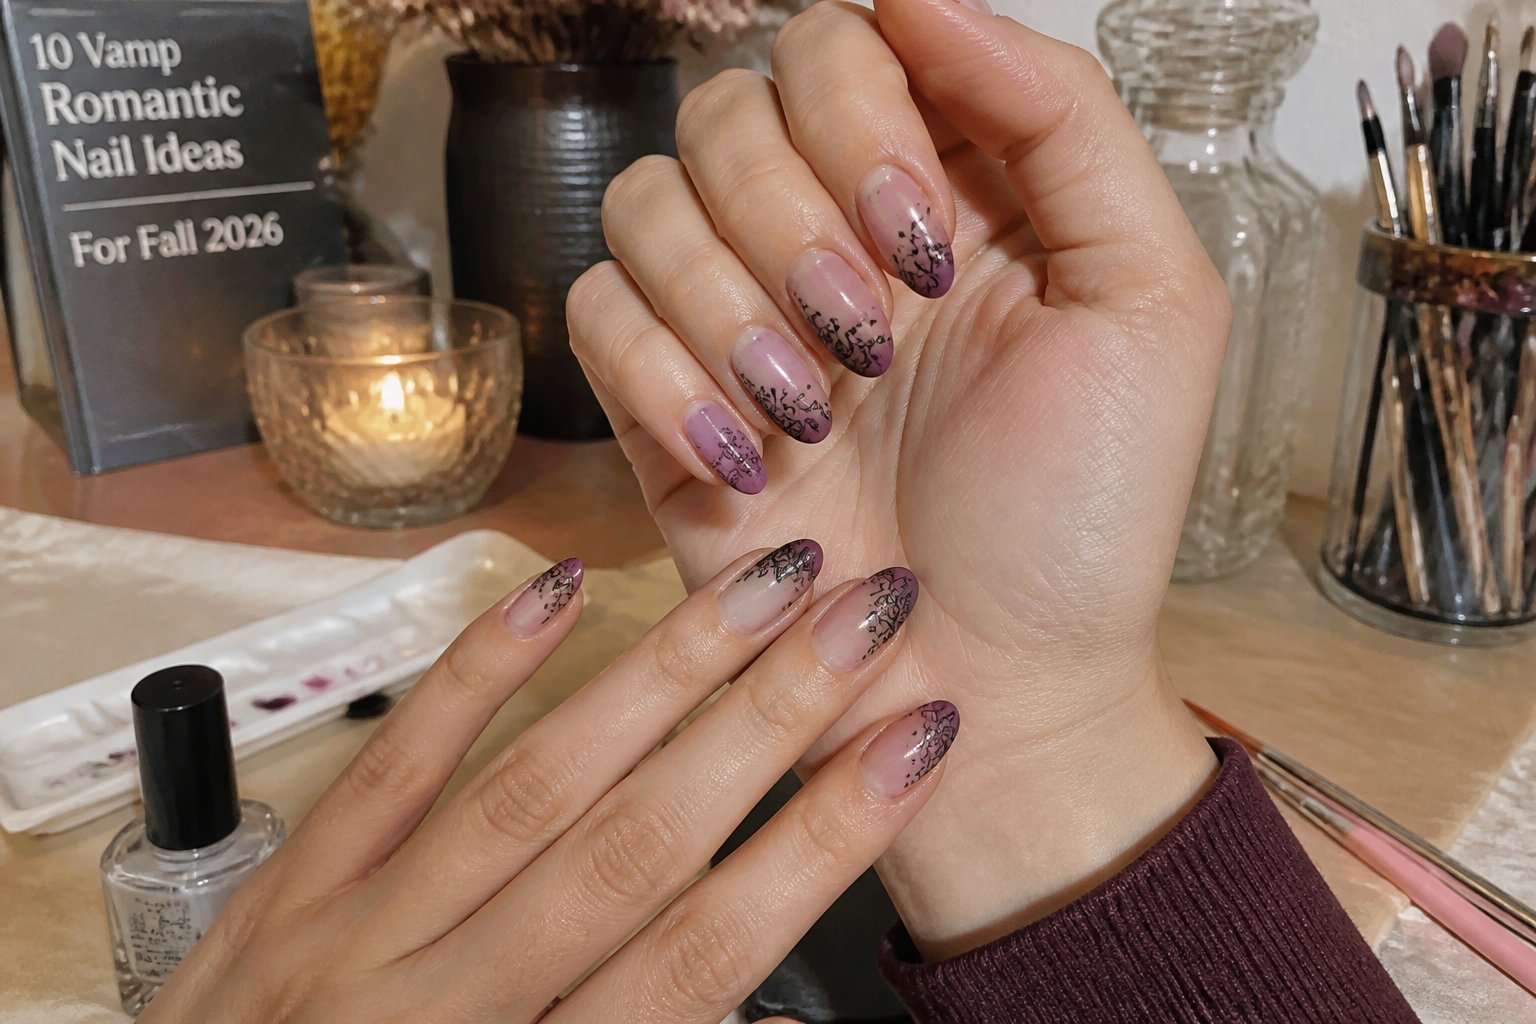
Intent: tutorial and idea.
Start by prepping nails smooth and thinly buffed; sheer rose and bluish tints layer well over a natural base. Use a damp sponge to blend the ombre from rose at the cuticle to a cool blue at the tip for a soft, moody gradient.
Hand-paint fine black lace with a thin liner brush. Focus on small floral loops and tiny connecting dots near the cuticle so the lace reads delicate, not heavy. A common mistake is overworking the lace—stop when patterns feel balanced.
Seal with a glossy top coat and cure fully if you use gel. If you want drama, add a single black rhinestone on the ring finger. Try one nail as a full lace accent to keep the look wearable and elegant.
7) Midnight Navy Jelly Nails with Silver Moon Phase Decals
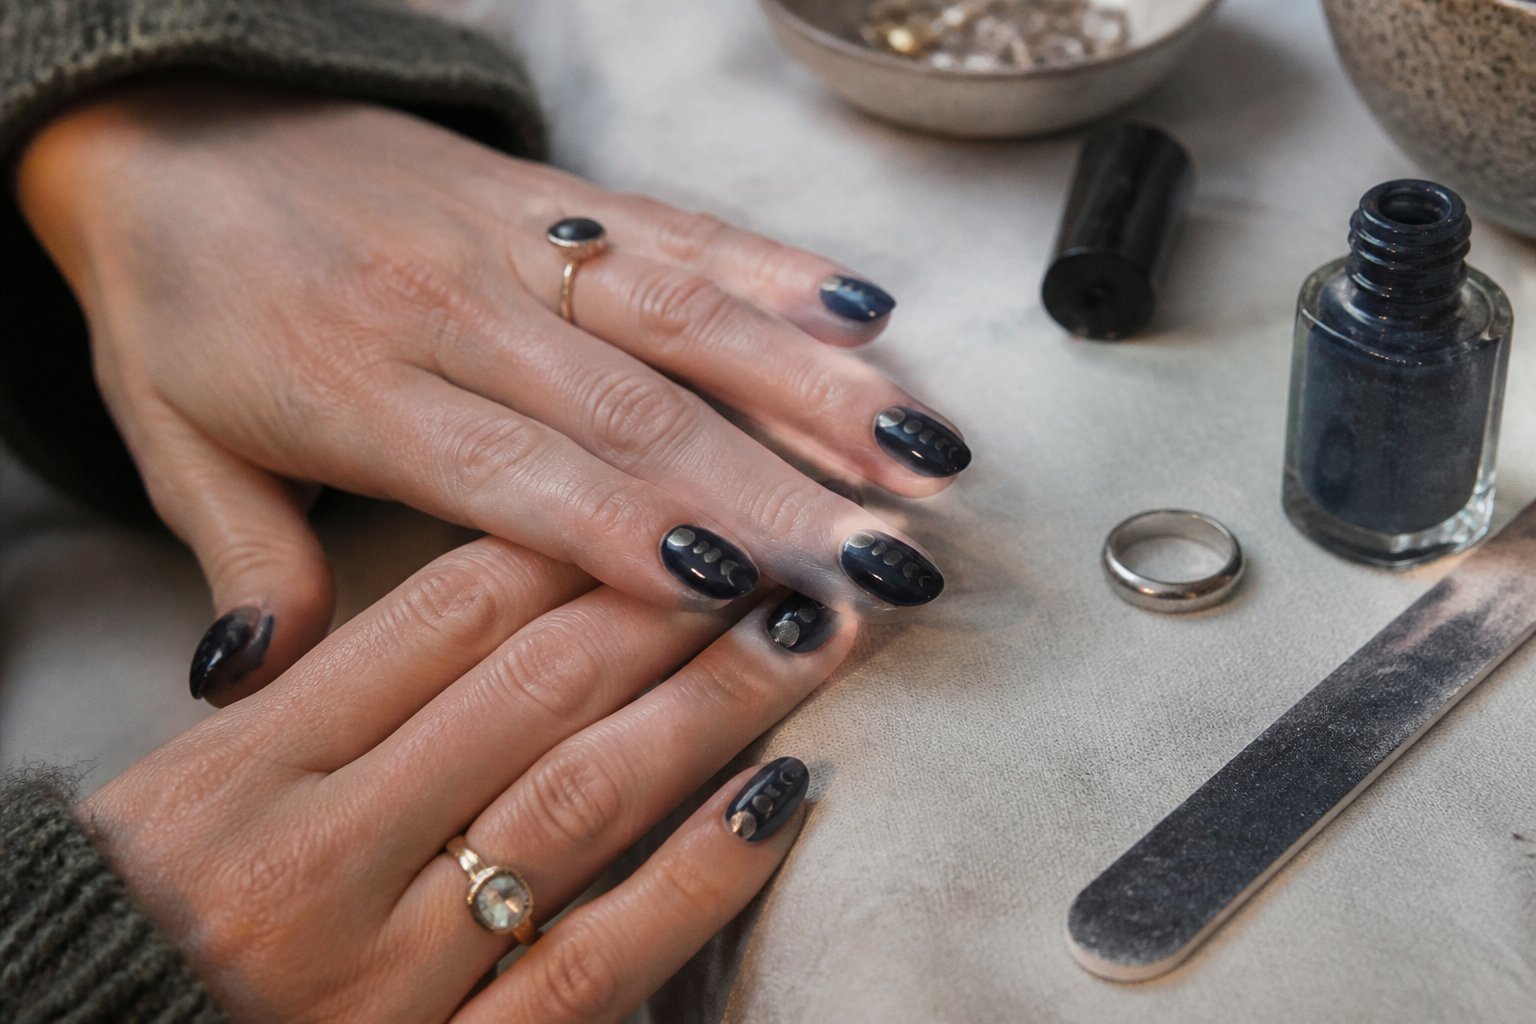
Tutorial: paint sheer, glassy navy jelly polish so light builds show depth without being opaque. Start with thin layers and let each cure; too-thick coats trap bubbles and dull the jelly effect.
Add tiny silver moon-phase decals across one nail or stagger them on each finger for a cohesive story. Use a fine-tipped gel brush to nudge decals into place; press gently to avoid wrinkling.
Common mistake: overloading topcoat and losing decal detail. Instead, seal with two thin glossy gels, curing between coats to keep shine and sharp silver edges. Try pairing with a matte navy accent to heighten contrast and drama.
Want a wearable tweak? Place moons only on ring and index fingers for subtle romance that still reads vamp for fall.
8) Wine-Red Gel Polish with Subtle Crackle and Matte Topcoat
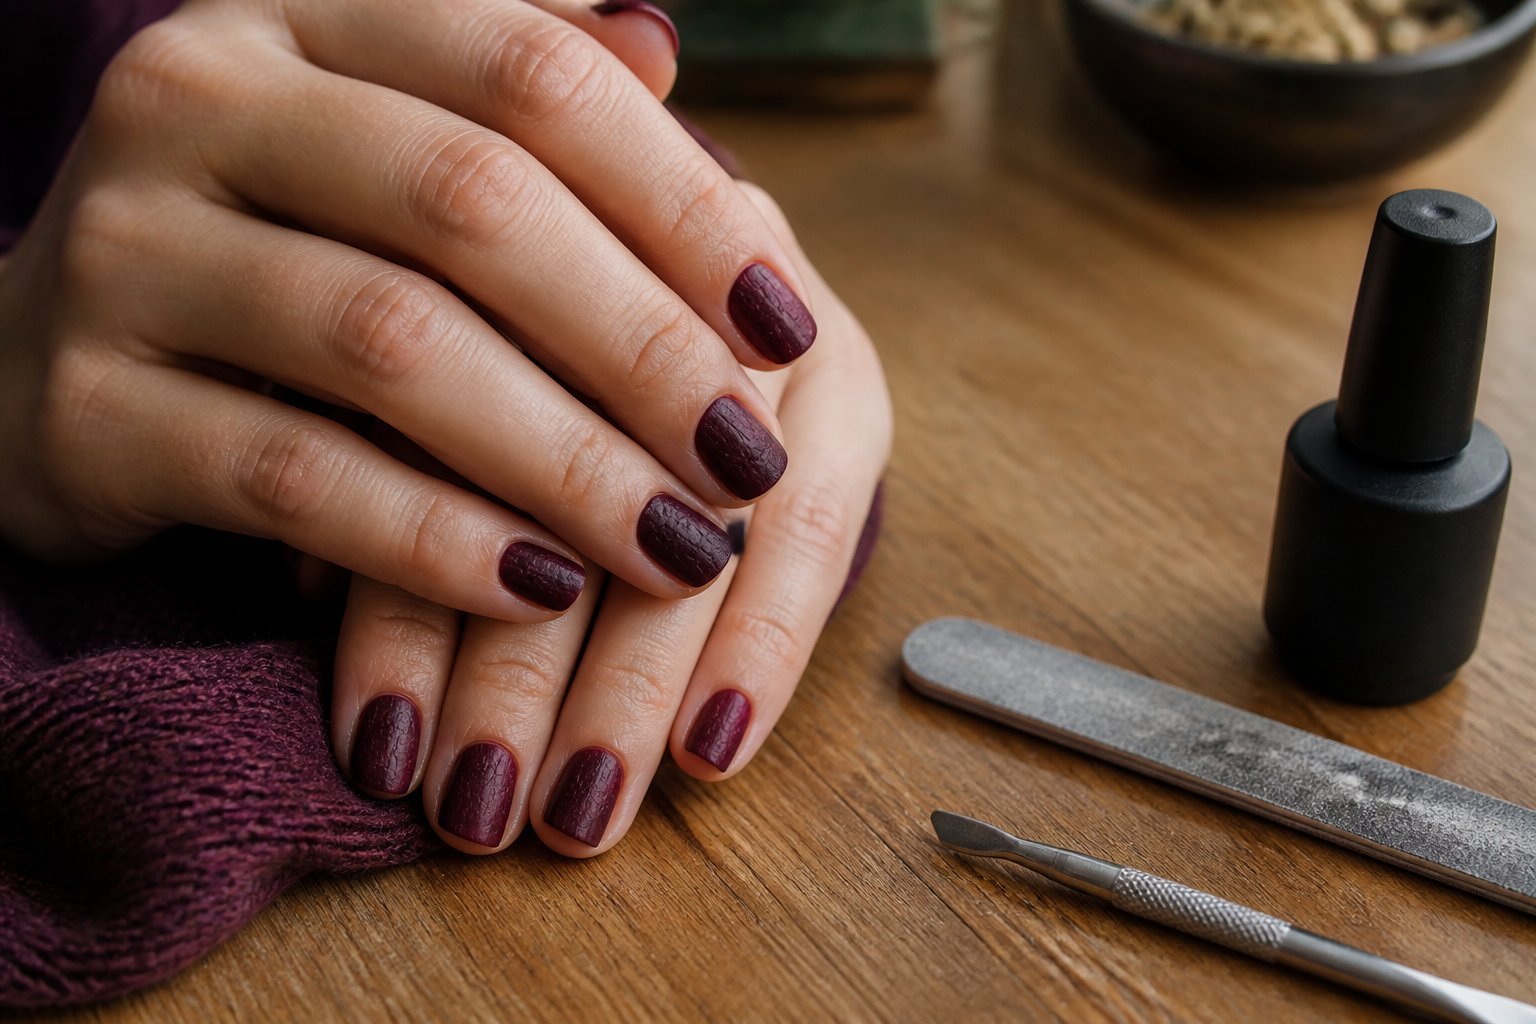
Guide: a hands-on look you can recreate at home or salon.
You start with two thin coats of a deep wine-red gel. Let each coat cure fully to avoid bubbles and uneven color.
Add a thin layer of crackle polish on an accent nail or two for texture. Keep the crackle light—too thick will shatter the pattern and look messy.
Finish with a matte topcoat over all nails to mute shine and make the crackle pop subtly. Matte emphasizes depth and makes the wine shade feel luxe.
Common mistake: using heavy layers. Thin, even strokes give the cleanest crackle. Try a beige or soft gold dot near the cuticle for extra romance and balance.
9) Opalescent Pearl Base with Dark Red French Tip Reverse Smirk
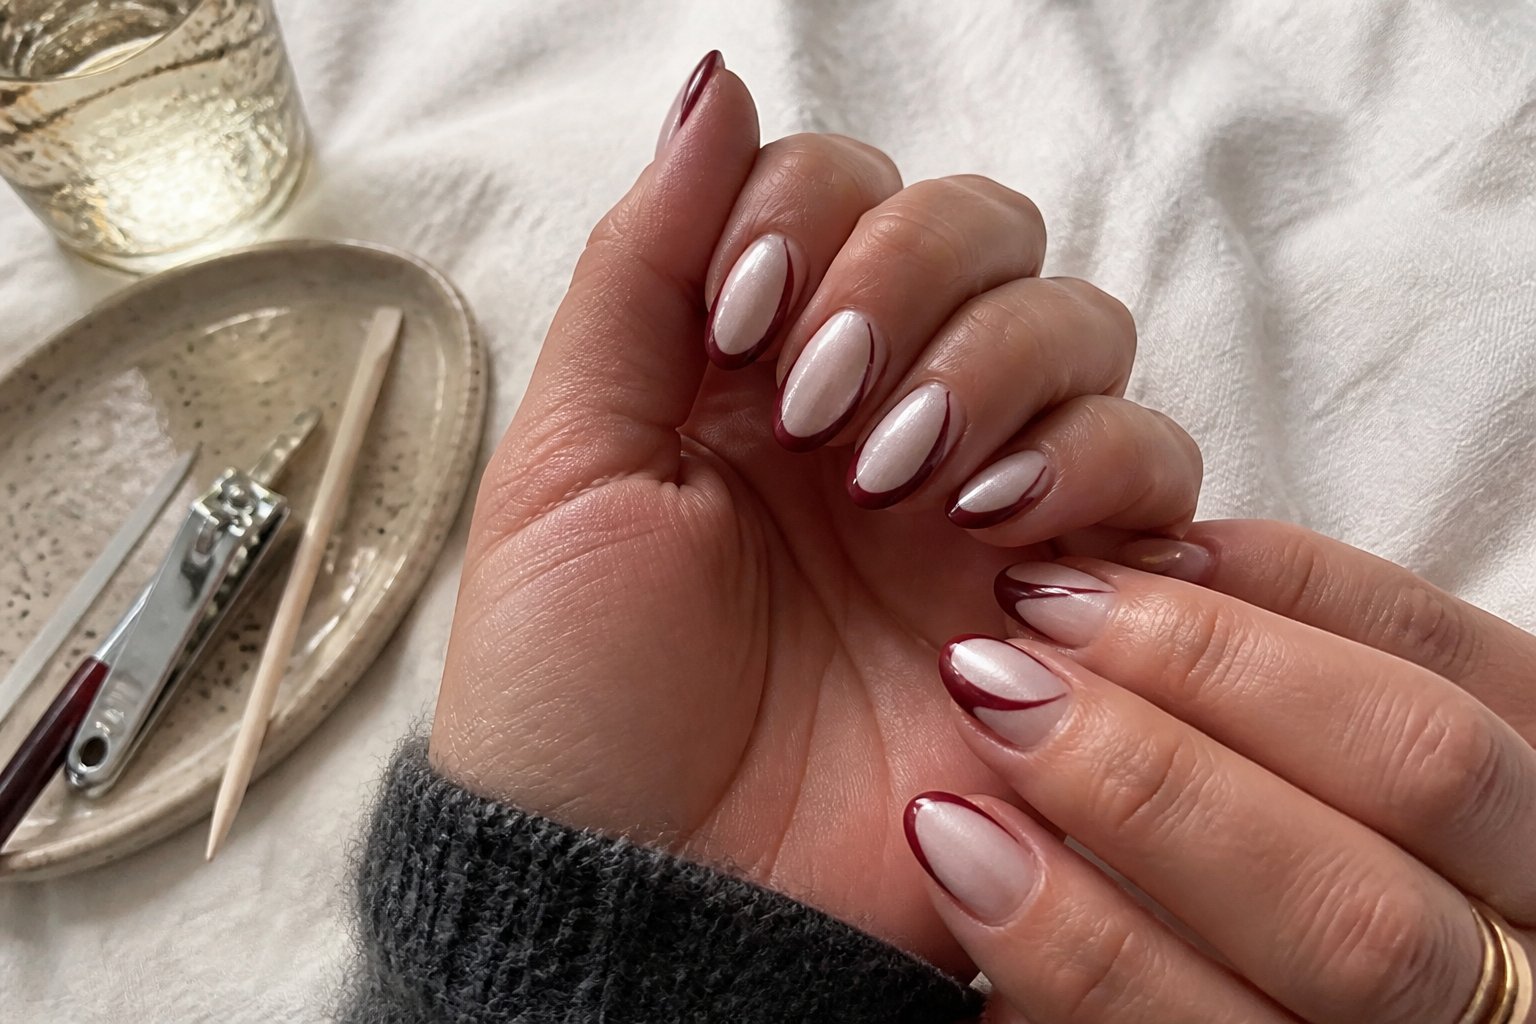
Intent: tutorial and idea. Try this look when you want soft shine with a hint of edge.
Start with a sheer opalescent pearl base. Apply thin layers so the iridescence catches light without looking chalky. A common mistake is overbuilding the pearl—keep it translucent.
For the reverse smirk, paint a dark wine-red crescent at the cuticle area. Use a small, rounded brush and steady strokes. If you wobble, clean with a tiny brush dipped in remover and redraw.
Finish with a glossy topcoat to deepen the red and lock the pearly sheen. On longer nails, keep the crescent narrow to avoid a heavy look. Try one smirk accent nail with tiny gold flakes for extra vamp romance.
10) Soft Black Velvet Powder over Rounded Nails with Tiny Heart Stud
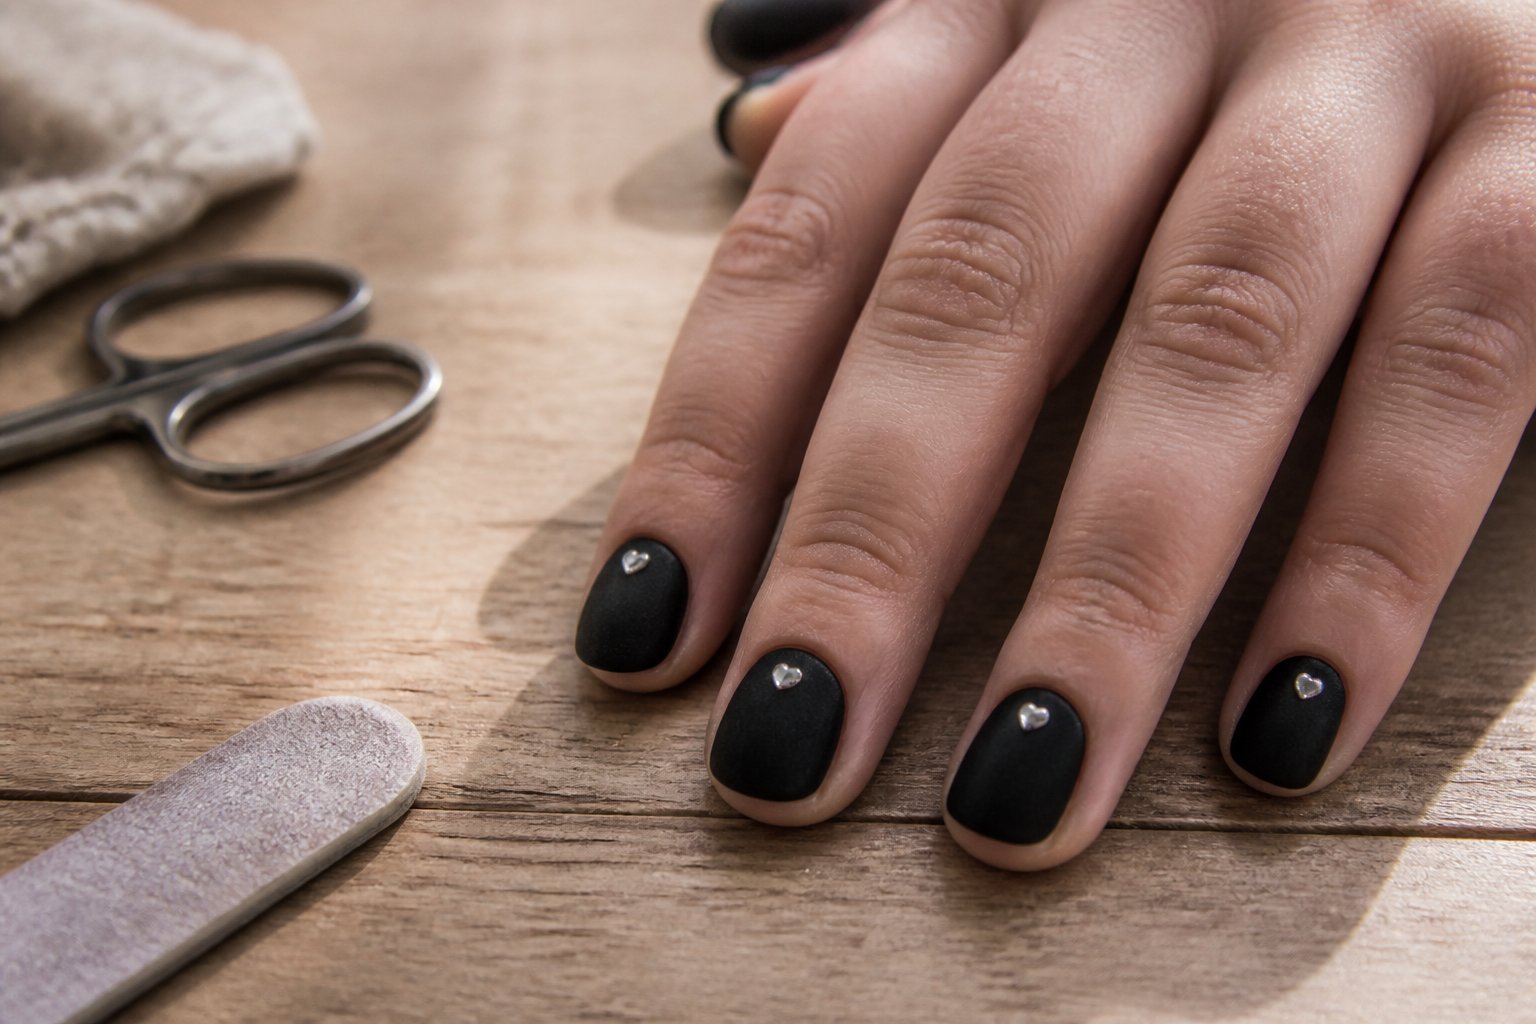
Intent: tutorial and style idea.
Choose rounded nails for a soft, wearable look that keeps the velvet effect elegant. Apply a thin black base, then press fine velvet powder while tacky to get a plush, matte finish. Work one nail at a time to avoid patchy spots.
Place a single tiny heart stud near the cuticle or off-center for a subtle romantic touch. Use tweezers and a dab of gel to secure it, then cure if needed. Keep studs small so they don’t catch on fabric.
Common mistake: overloading the powder makes texture clump. Gently brush excess powder away and finish with a light seal at the edges. Try nude or sheer accent nails if you want contrast with the deep velvet.
Choosing the Right Color Palettes
Pick shades that set the mood and give your nails depth and contrast. Focus on colors that flatter your skin tone, work with your outfits, and hold up against chips and shine.
Deep Berries and Wine Shades
Guide: tutorial. Choose rich, saturated tones like oxblood, merlot, and blackberry to anchor the vamp romantic look. These shades hide chips and look polished on short or long shapes.
Try one solid deep berry on most nails and add a single accent with metallic chrome or matte black. Example: merlot base with a tiny gold foil crescent at the cuticle for drama without overdoing it. Match undertones to your skin: cool undertones pair with plum and wine; warm undertones pair better with brick-red and terracotta-leaning berries.
Common mistake: applying thin, streaky coats. Use two even coats and allow proper drying time. Top coat choice matters—glossy for lacquer shine, matte for moody texture. For longer wear, add a thin ridge-filling base before color.
Romantic Neutrals for Contrast
Guide: idea. Use soft neutrals—taupe, mushroom, or warm cream—to balance the intensity of vamp shades. Neutrals give your hands a refined look and let accents stand out.
Design tip: alternate dark and neutral nails, or do a neutral base with a single vamp tip. Example: mushroom-beige nails with one vamp romantic thumb or ring finger in velvet chrome. This keeps the overall manicure wearable for day while keeping the theme strong for evening.
Avoid neutrals that are too pale; they can show stains and make dark shades look harsh. Opt for mid-tone neutrals with a satin finish. Seal with a durable top coat and consider a thin protective layer on the tips for extra chip resistance.
Nail Art Techniques for a Fall Aesthetic
These techniques help you build depth and shine while keeping a moody, romantic vibe. Focus on texture, contrast, and placement so each nail reads like a styled detail rather than random decoration.
Layering for Dimension
Intent: tutorial — teach step-by-step layering to create depth.
Start with a rich base—think deep burgundy or burnt sienna—applied in two thin coats for even color. Add a semi-sheer wash (like diluted black or brown) over the cuticle area and gently drag toward the tip to create a smoked gradient. Use a small brush to place a second layer of design elements: thin French tips, torn-edge negative space, or tiny matte florals. Seal with a gloss but leave one accent matte for contrast.
Common mistakes: applying thick layers that lift or dome; skipping a tacky layer between thin gels or polish coats. Tip: cure thin gel layers fully and lightly buff between layers when working with mixed finishes. For short nails, concentrate layering on the tips or an accent nail to avoid a cluttered look.
Metallic Accents and Details
Intent: guide — show how to add metallics without overpowering a vamp aesthetic.
Choose warm metals—antique gold, bronze, or copper—to complement deep fall shades. Apply metallic foil in small fragments near the base or along the sidewall for a worn, romantic effect. Use a fine liner brush and metallic gel paint to draw tiny veins, baroque swirls, or micro-dots; keep lines delicate so they read as detail, not bling.
Avoid heavy chrome over the whole nail; it flattens depth. Instead, mix a single metallic stripe with matte topcoat or pair micro-foil with a glossy finish for contrast. For DIY, press foil onto a tacky top layer and seal with two thin topcoats to prevent lifting. Try one metallic accent per hand to keep the look balanced and moody.