10 Plum Noir Nail Ideas for a Luxe Fall 2026 Manicure
You want a fall manicure that reads like quiet luxury and makes every outfit feel polished. You’ve probably scrolled past mauves and berries and felt something was missing—depth, edge, or a hint of glam—and plum noir promises that exact mood without shouting. This article shows you 10 luxe plum noir nail ideas and how to pick, style, and keep them looking flawless all season.
Think of this as a pro’s guide to elevating your mani: expect tested design ideas, notes on finishes that flatter different nail shapes, and simple upkeep tips that prevent chips and dulling. You’ll learn which plum noir shades suit your skin tone, which accents give high-end impact, and small mistakes to avoid so your manicure looks salon-fresh longer.
1) Matte Plum Noir Almond with Gold Flake Accent
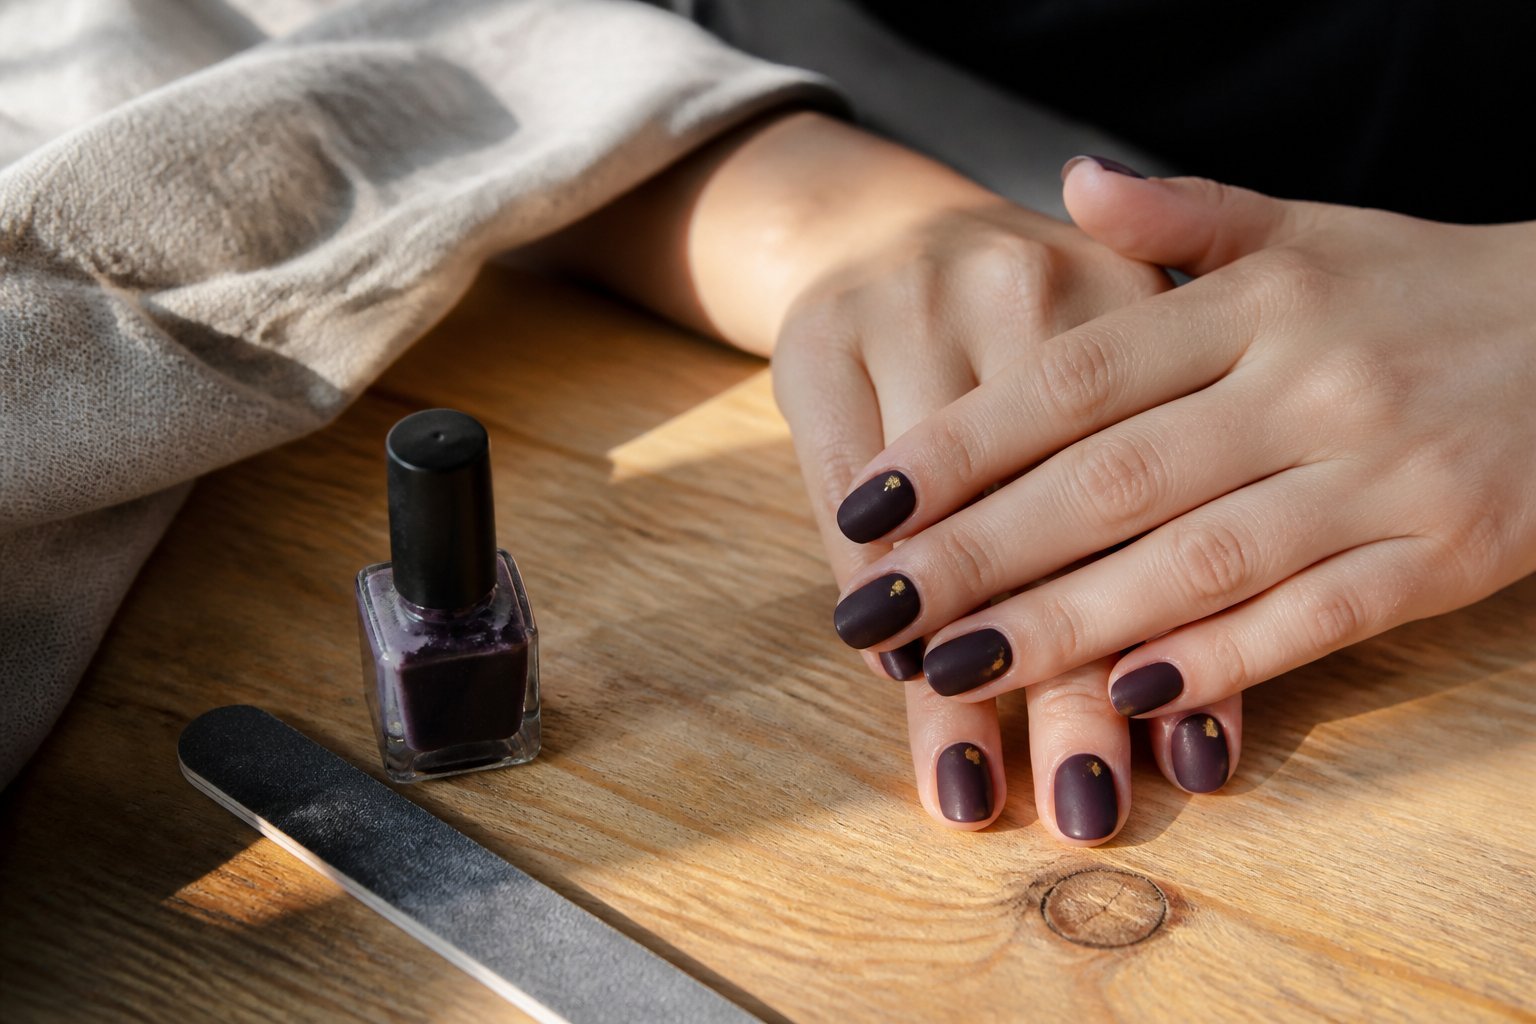
Intent: tutorial and idea. Pick a velvety matte plum base that reads deep but not flat—think noir with a hint of warmth. Paint almond-shaped nails for an elegant silhouette that lengthens the fingers.
Apply two thin coats of matte plum, curing or drying fully between layers. Press a few irregular gold flakes onto one or two accent nails while the top coat is still tacky; this keeps the flakes anchored without losing the matte finish. Use a small brush to clean edges.
Common mistake: overloading flakes—less looks richer. If matte sheen dulls around flakes, seal with a satin-matte top coat sparingly. Try a single gold flake near the cuticle for a modern, low-key luxe look you can wear day to night.
2) High-Gloss Plum Noir Coffin with Micro-Glitter Fade
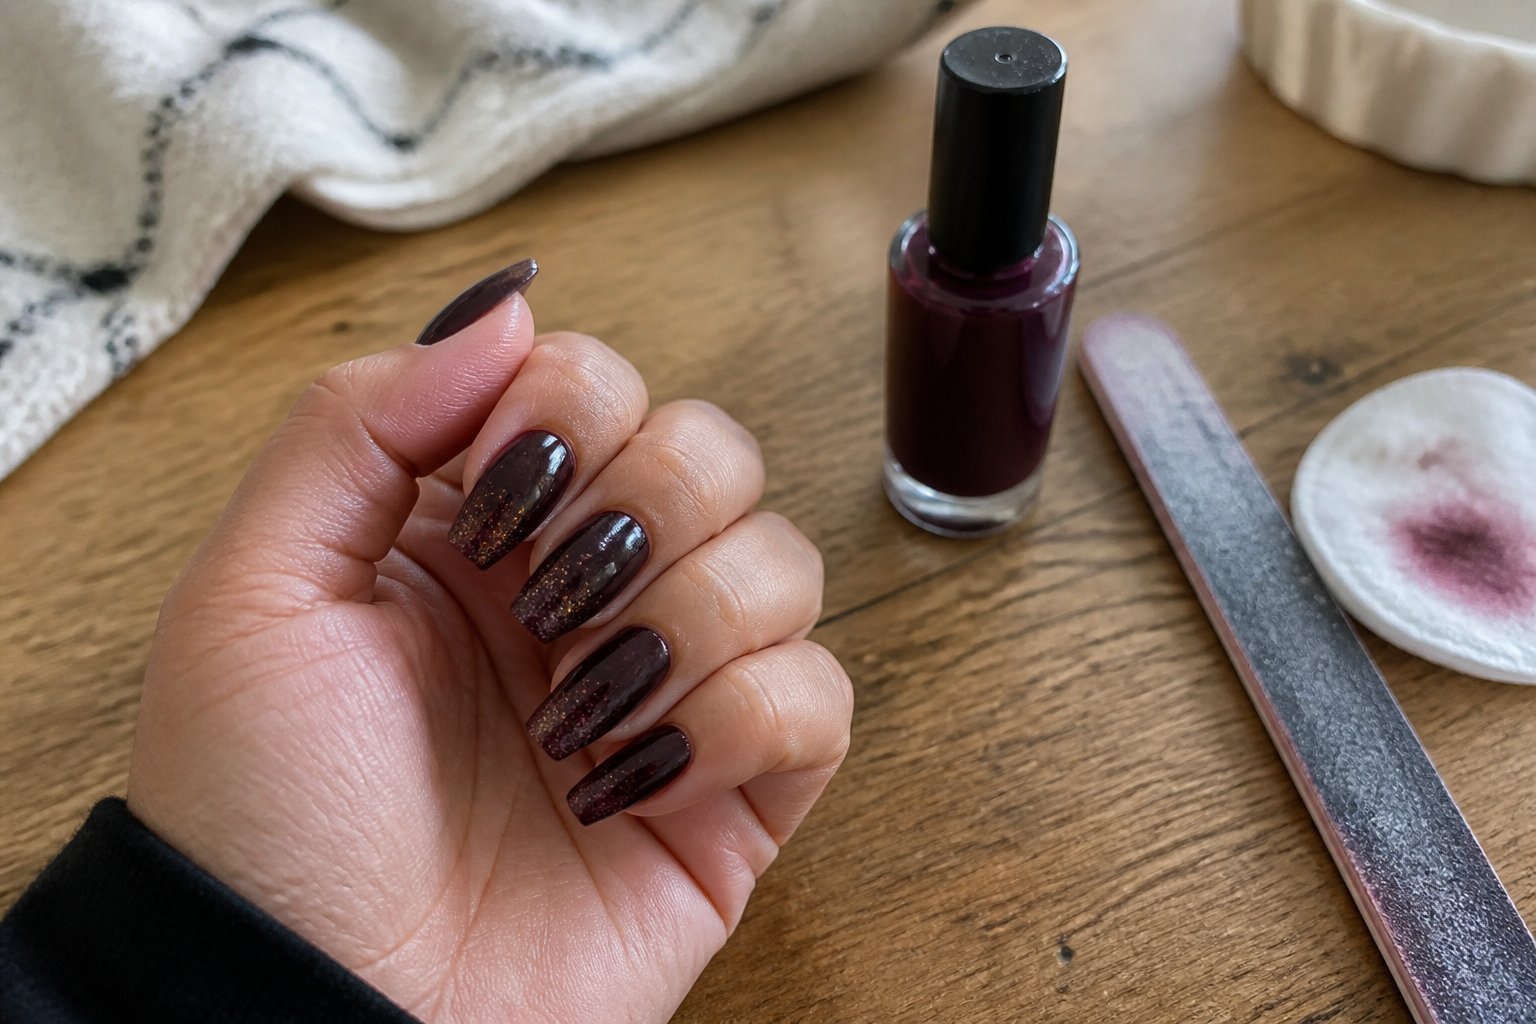
Tutorial: paint a deep, glassy plum base and blend a fine micro-glitter from the free edge toward the cuticle for a luxe fade. Start with two thin coats of a rich plum noir, letting each layer dry to avoid streaks.
Use a small fan brush or a dense sponge to dust micro-glitter on the tip, tapping lightly to build density. Avoid over-layering glitter; too much adds bulk and risks chipping. Seal everything with a high-shine gel top coat and cure fully for mirror-like depth.
Common mistake: applying glitter on wet polish — it smears and clumps. If you wear shorter coffin nails, keep the fade subtle so the shape still reads clean. Try pairing this look with a single matte accent nail for contrast and modern polish.
3) Plum Noir French Tip with Thin Metallic Copper Line
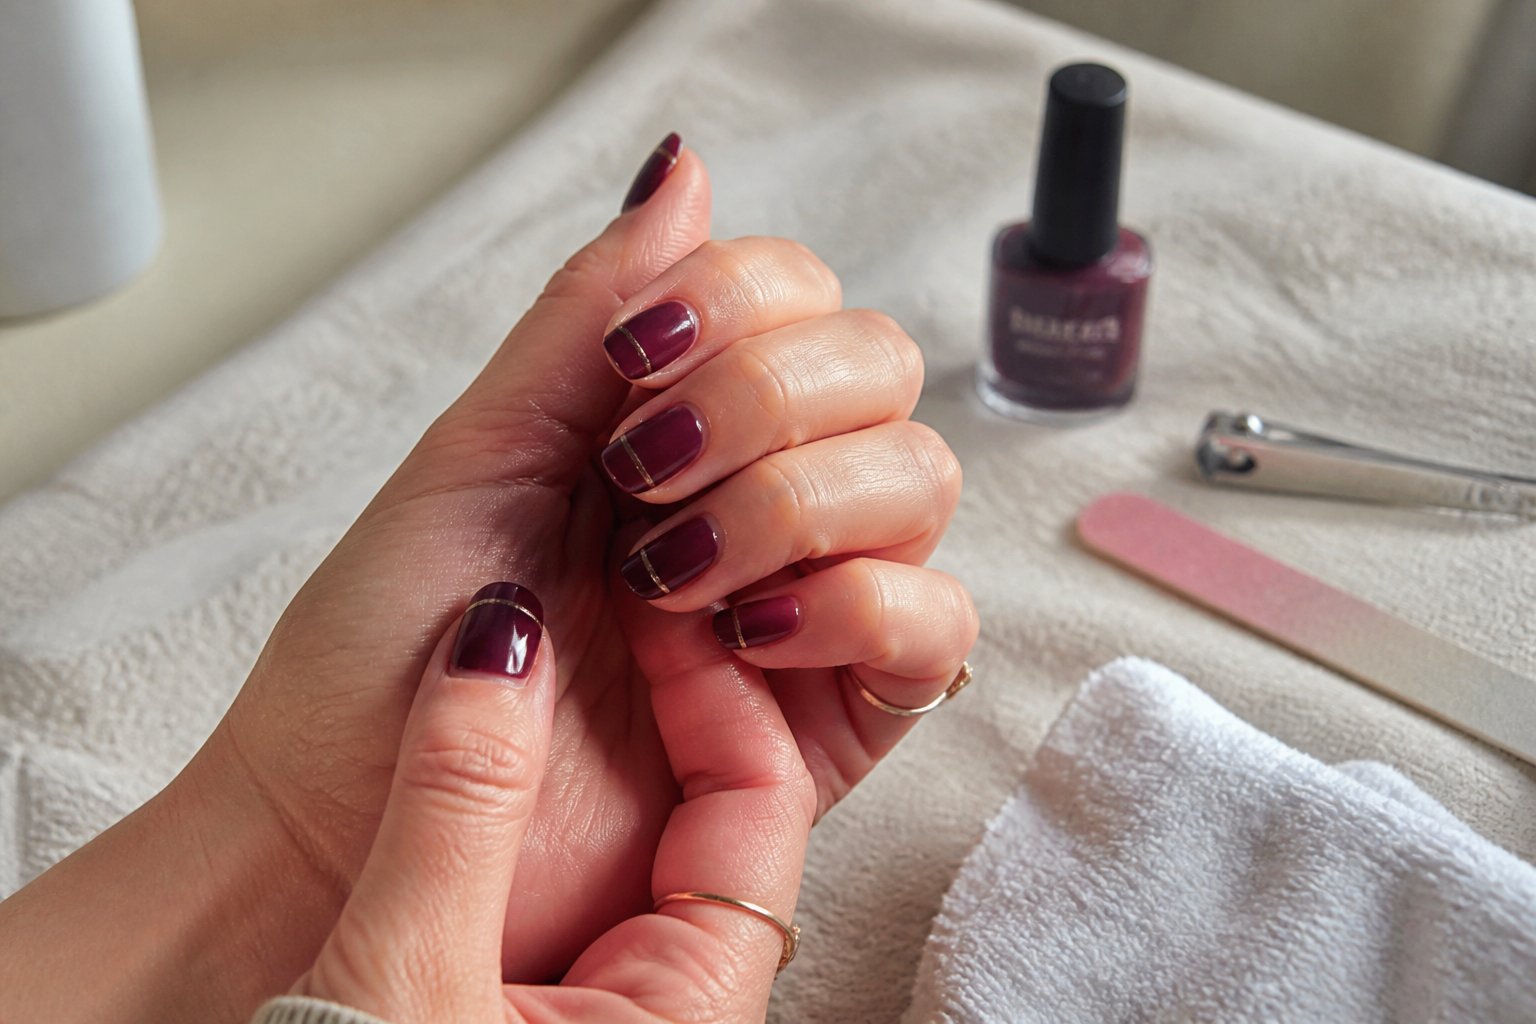
Tutorial: paint a deep plum base, then mask a classic French smile line near the tip. Keep the smile shallow for a modern look and work on one nail at a time to avoid smudges.
Use a steady thin brush or nail striping tape to add a metallic copper line just above the plum tip. A single, fine copper band lifts the whole manicure without overpowering the noir tone.
Common mistakes: rushing the copper line, using thick polish, or skipping a fast-dry topcoat. If the line blobs, wipe the brush and try again—thin layers save time and look cleaner.
Try this on short or long nails; it reads luxe either way. Book time in your schedule and practice once on a nail wheel before doing a full set.
4) Velvet Plum Noir Square Nails with Midnight Blue Edge
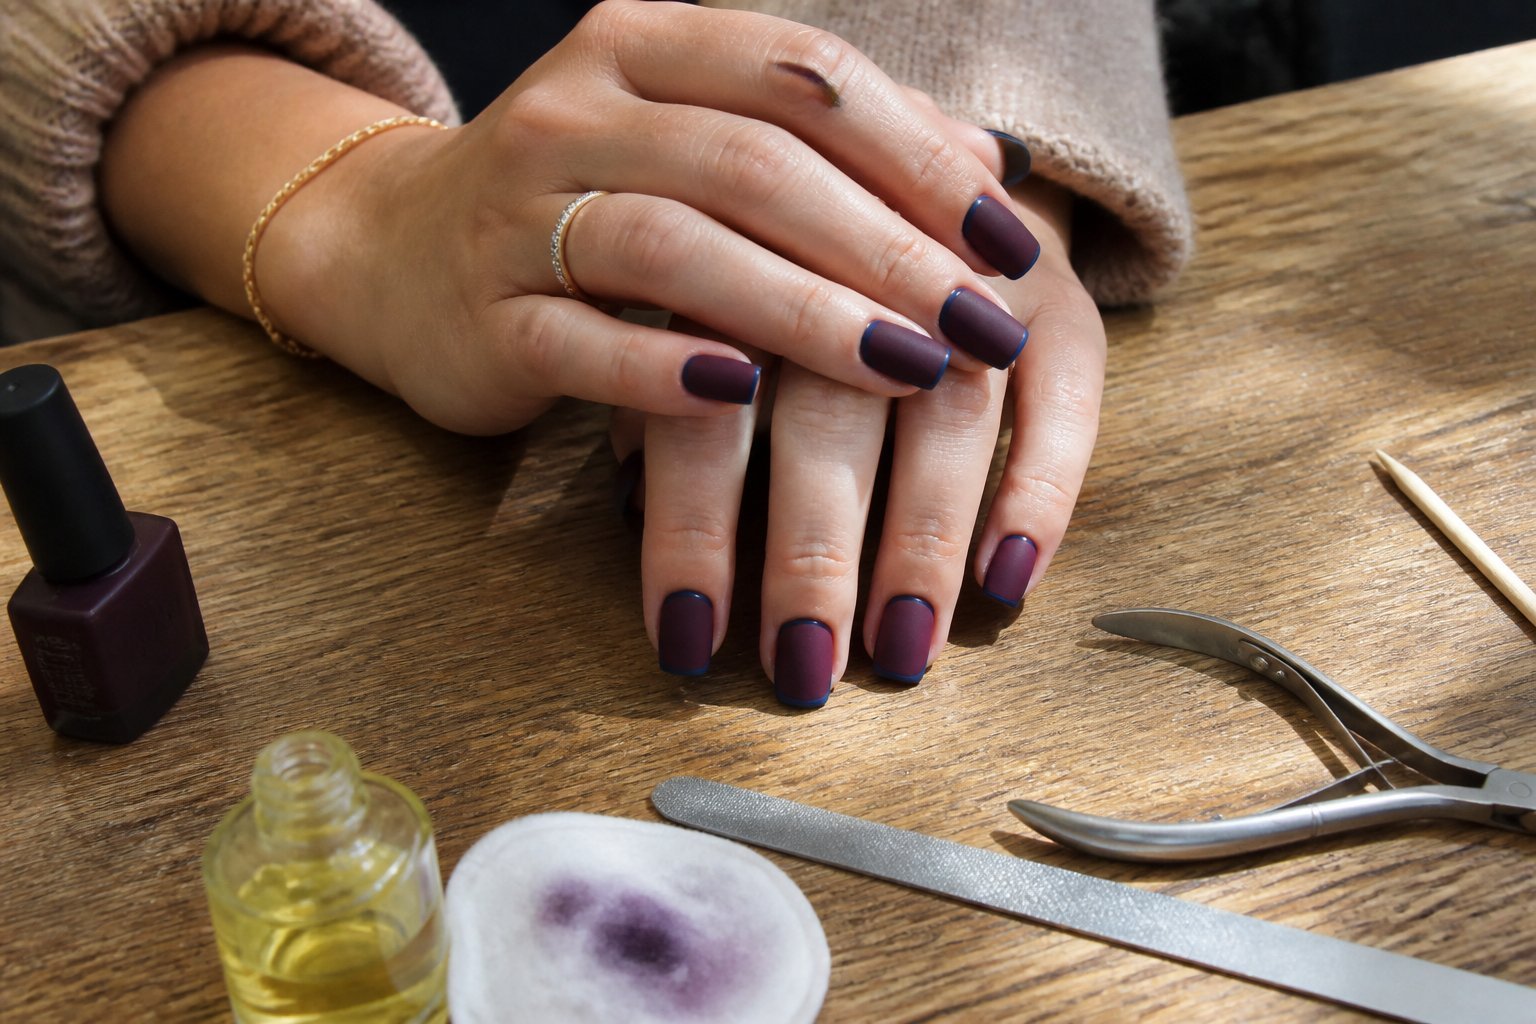
Intent: tutorial and style idea. You’ll learn how to get a plush velvet plum base with a crisp midnight blue edge for a luxe fall look.
Start with a full-coverage velvet plum polish on square nails. Apply two thin coats and cure or dry fully to avoid streaks. Use a matte topcoat if you want extra softness.
Carefully paint a narrow midnight blue line along the free edge. A fine brush or nail art pen helps; steady your hand by resting your pinky on the table. Mistake to avoid: making the edge too thick, which ruins the sleek contrast.
Try adding a single shimmer accent on the ring finger to lift the set without overpowering it. If your polish chips, touch up the edge first to preserve the sharp silhouette. Get this look for a refined, modern fall manicure.
5) Plum Noir Aura Nails with Iridescent Violet Sheen
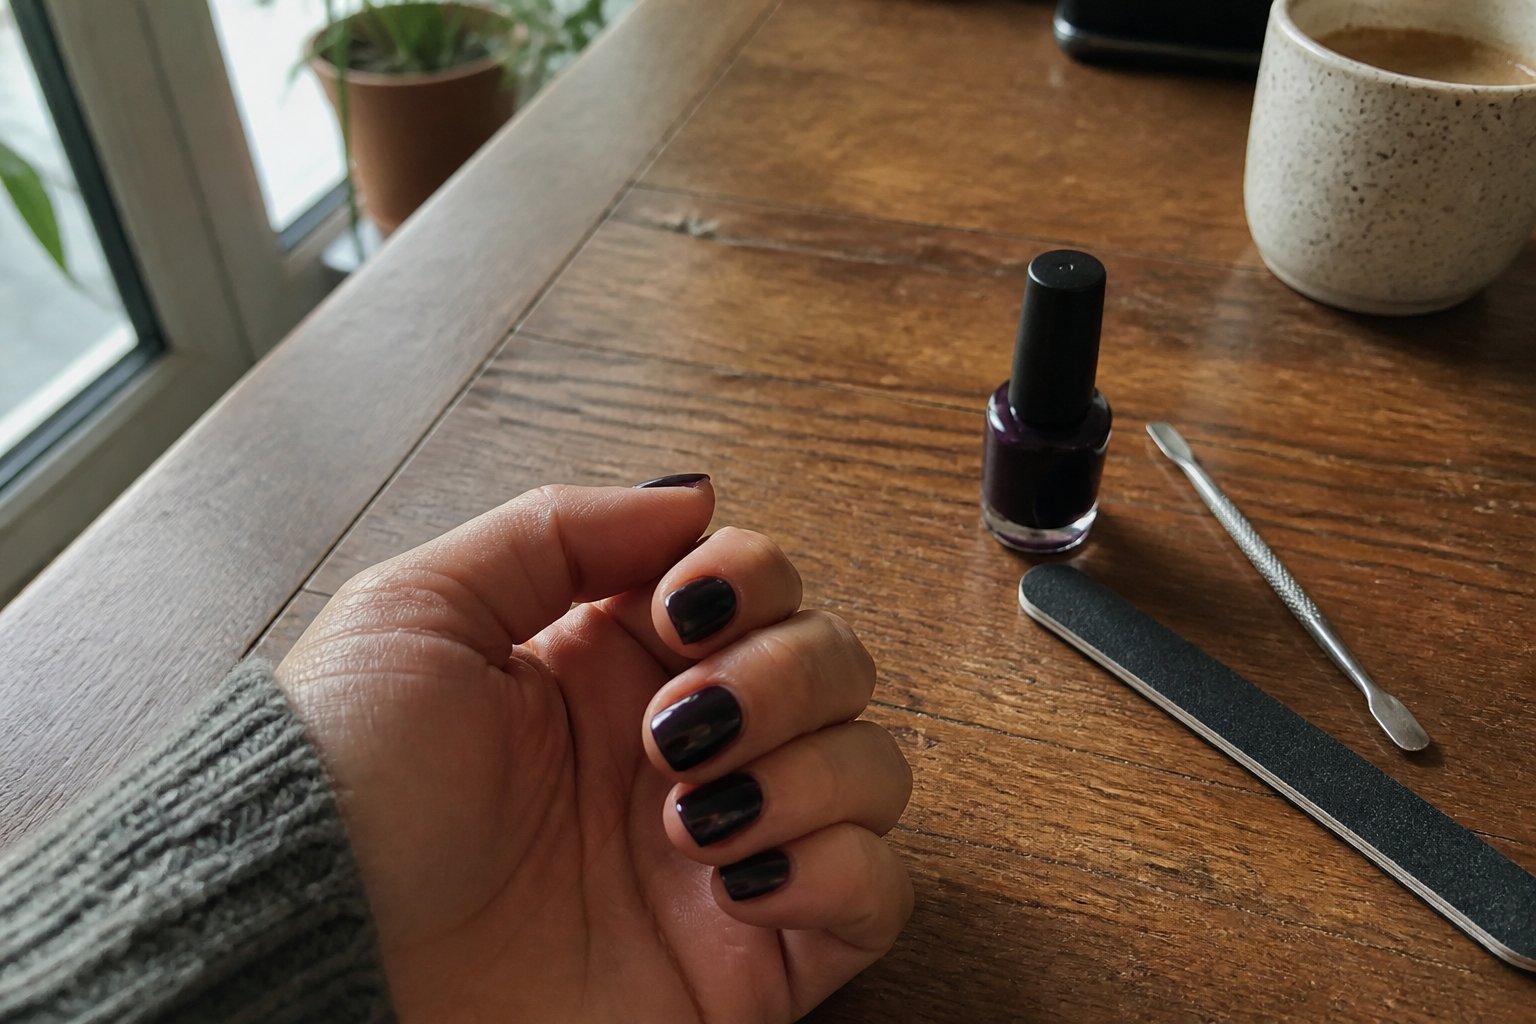
Intent: tutorial and idea. Try an aura gradient that starts deep plum at the cuticle and lifts into an iridescent violet sheen toward the tip. Apply thin layers of translucent plum first, then add a micro-shift violet chrome or iridescent powder for the sheen; buff lightly to avoid streaks.
Use a matte topcoat on one or two accent nails to make the sheen pop on the rest. A common mistake is overloading powder—work in small amounts and seal with a gel topcoat to prevent chipping. For a luxe touch, add a single fine silver flake near the cuticle on the ring finger.
If you do this at home, cure each thin layer fully and keep a small brush handy to clean cuticle edges. Book your appointment if you want a pro finish and longer wear.
6) Plum Noir Marble Accent with Pale Taupe Veins
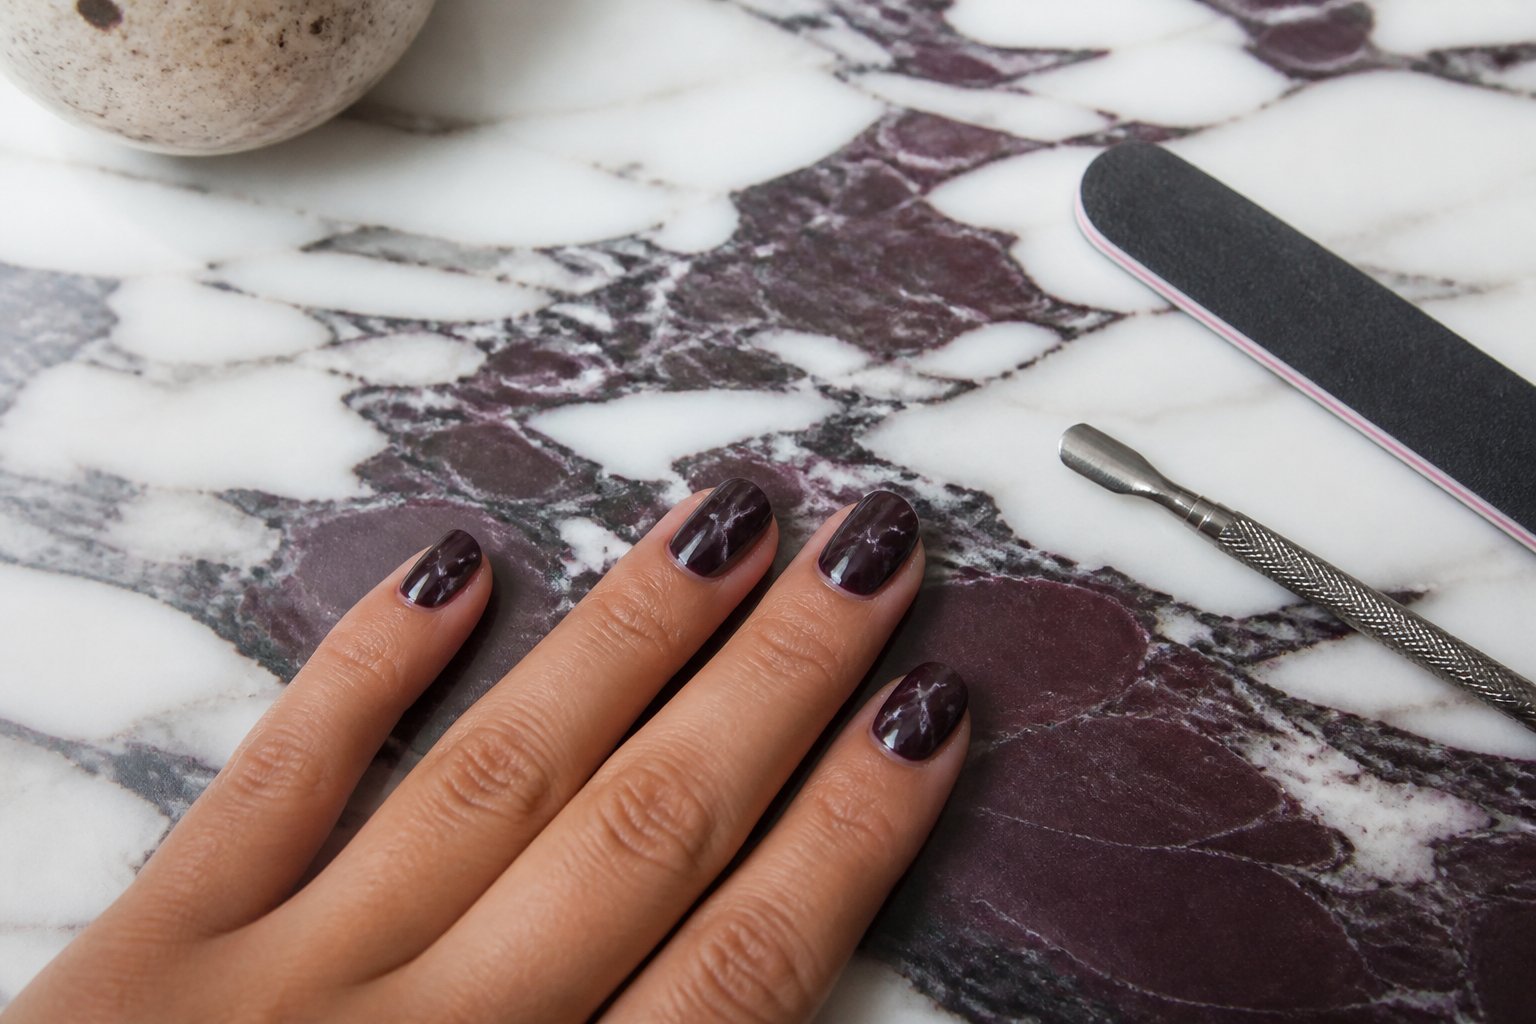
Intent: tutorial. Use this marble accent to add a refined, wearable twist to your plum noir manicure.
Start with a deep plum base and work one or two accent nails. Thin, irregular pale taupe veins create a natural stone look that softens the moody plum without losing drama.
Use a fine brush or a toothpick to drag the taupe through the wet topcoat for organic lines. Mistakes happen; wipe the tool and reshape veins quickly rather than overworking them.
Try pairing the marble accent with a matte topcoat on the plum and glossy finish over the veins for contrast. If you want longevity, seal edges and cure properly to avoid chipping.
Common mistake: making veins too uniform. Keep them varied and slightly blurred for realism. Now pick your tools and try one accent nail before committing to a full set.
7) Sheer Plum Noir Stiletto with Pearl Chrome Half-Moon
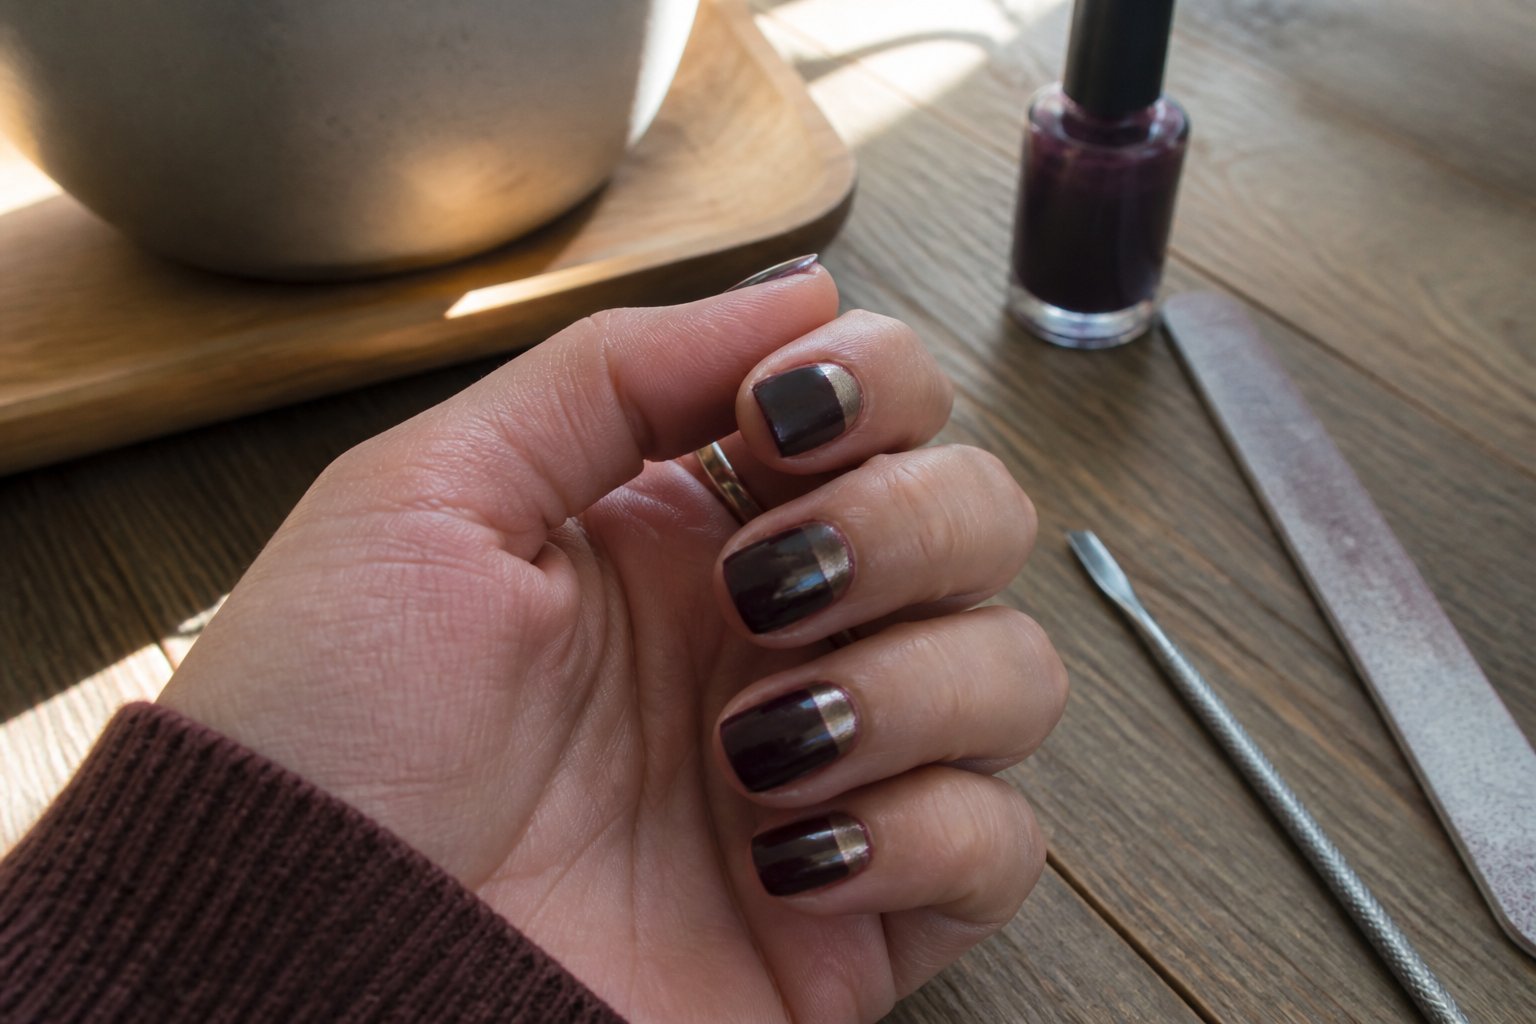
Intent: tutorial and idea.
Choose a sheer plum noir base to keep the look modern and wearable. The translucent shade lets natural nail depth peek through while still reading deep and moody.
Shape your nails into sharp stilettos for drama. Apply a smooth gel to avoid streaks; sheer formulas show every brushstroke so thin, even coats matter.
Add a pearl chrome half-moon at the cuticle for contrast. Use a small brush to paint a precise crescent and press chrome powder gently—avoid overbuffing or the chrome will flake.
Common mistake: rushing curing times. Under-cured gels dull the chrome and lift at the edges. Cure fully and seal with a thin high-shine topcoat.
Try this for an evening look or upscale event. If you want a softer take, reduce the stiletto point to an almond shape.
8) Plum Noir Negative Space Geometry with Sharp Angles
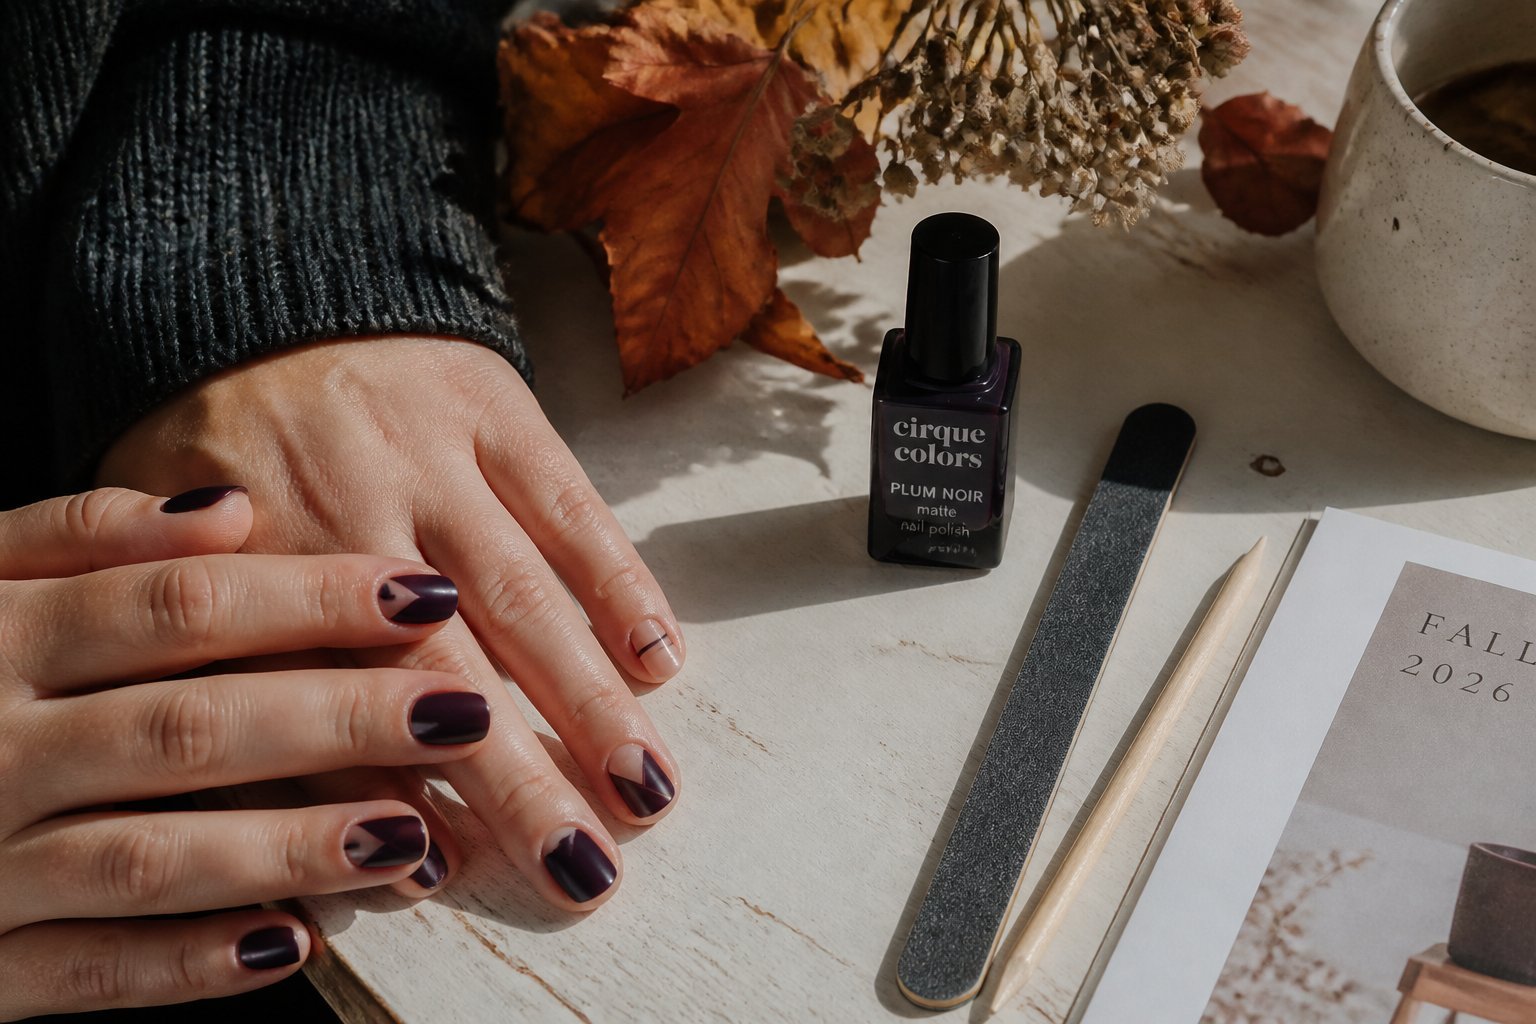
Intent: tutorial and idea. Try a bold negative-space look that mixes deep plum noir with crisp, angular gaps. You paint a glossy plum base, then mask triangles or chevrons before adding a matte top—sharp edges make the color pop.
Start with thin striping tape for clean lines. A common mistake is rushing removal; lift tape while polish is tacky, not fully dry, to avoid jagged edges. Vary angles across nails for rhythm—one nail could have a diagonal triangle, another a V cut out.
Keep shapes small on shorter nails to avoid crowding. Add a tiny metallic pin at an intersection for a luxe touch that reads high-end without clutter. Try this on almond or coffin shapes for maximum impact.
9) Plum Noir Satin Finish with Tiny Rhinestone Cluster at Cuticle
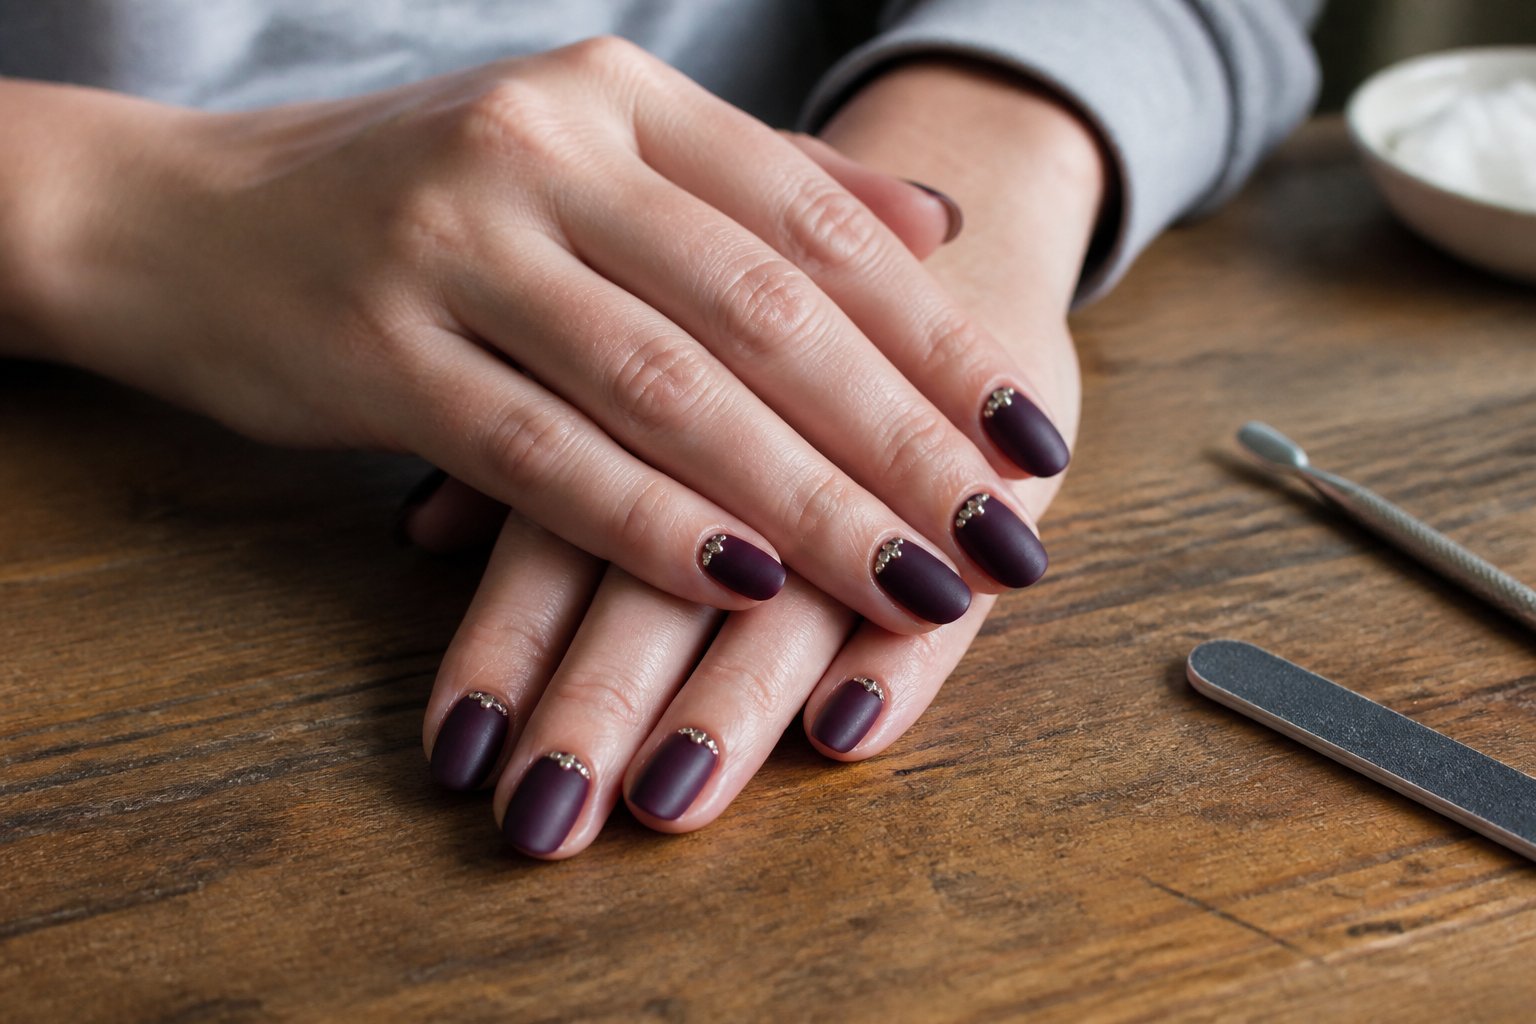
Intent: tutorial and style idea.
Choose a satin plum noir for a luxe, low-shine base that feels modern and soft. The satin finish hides small flaws and gives a velvet look that pairs well with eveningwear.
Place a tiny rhinestone cluster at the cuticle of the ring finger for a subtle focal point. Use 2–3 small stones in varying sizes; glue them close together so they read as one neat accent. A common mistake is using too-large gems or spacing them unevenly—keep the cluster tight and proportional.
Seal with a matte or satin top coat to preserve the soft sheen and lock the stones in place. If you want more drama, mirror the cluster on the thumb. Try this on press-ons or natural nails; both give a high-end feel without overdoing the sparkle.
10) Plum Noir Tortoiseshell Accent on Short Rounded Nails
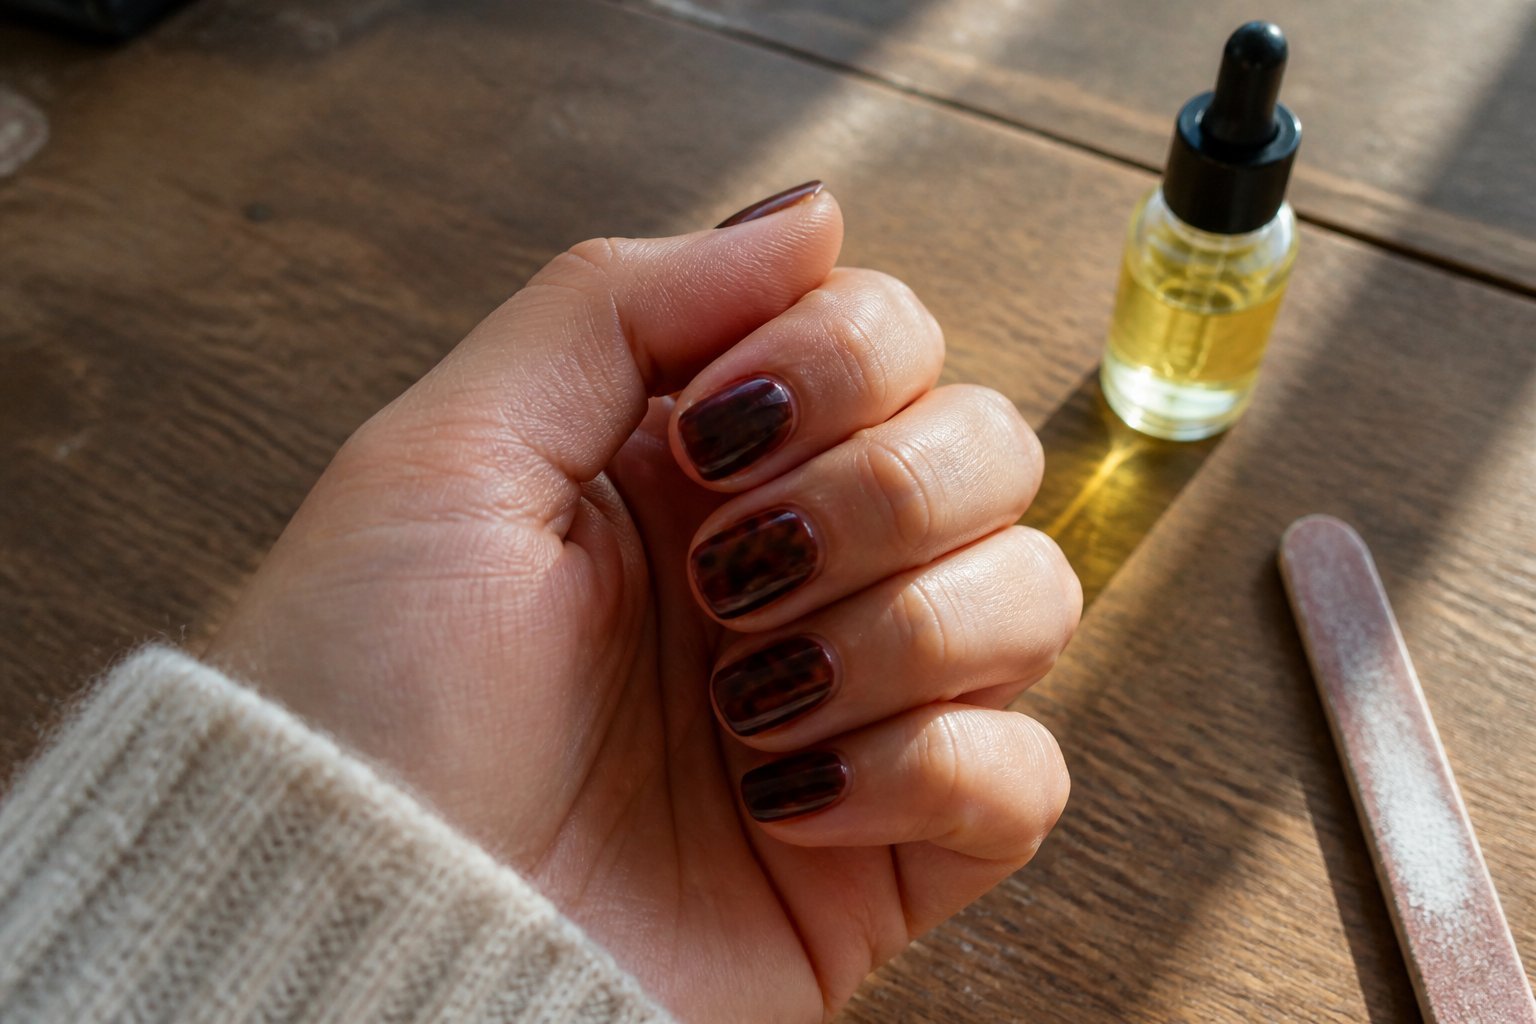
Intent: idea and tutorial. Use a deep plum base and add small tortoiseshell accents on one or two nails for a luxe, wearable look.
Start with a glossy plum noir polish on short, rounded nails. Keep layers thin for even coverage; two coats usually give rich color without bulk.
For tortoiseshell accents, paint irregular amber and dark brown spots over a sheer caramel base. Use a thin brush or toothpick to make natural, random shapes. A common mistake is making spots too uniform—vary size and spacing for an organic effect.
Finish with a high-gloss topcoat to fuse the colors and add depth. If you prefer matte, seal the design with matte topcoat and then gloss the tortoiseshell spots only. Try this on an accent nail first to test scale and placement. Give it a go on your next mani and tweak the spot size until it feels balanced.
Choosing the Perfect Plum Noir Shade
Pick a Plum Noir that flatters your skin tone, matches the finish you like, and pairs with the clothes you wear most this season. Think about undertone, shine, and how the shade reads next to browns, camel, and black.
Understanding Skin Undertones
Intent: guide. Start by testing two shades on visible nails—one with blue-red depth and one with brown-red depth.
If your skin has cool undertones (veins look blue, jewelry favors silver), choose Plum Noir with a bluish base. That shade reads vivid and clean on cool skin and prevents the polish from looking muddy. Try a deep eggplant or plum with a cool berry tint.
If your skin has warm undertones (veins look greenish, gold jewelry suits you), pick a Plum Noir with red-brown warmth. It harmonizes with warm tones and looks rich rather than ashy. Think plum with a hint of chestnut or wine.
Neutral undertones can wear both. Test in daylight and on the index finger only; wear each for a day to see how it complements your usual makeup and outfits. Common mistake: choosing under dim light—natural light shows true pigment.
Glossy vs. Matte Finishes
Intent: tutorial. Decide finish by how long you want wear and how bold you want the color to read.
Glossy Plum Noir intensifies depth and reflects light, making nails look healthier and richer. It works with metallic accents and evening looks. Use a gel or high-shine topcoat for longer wear and fewer chips.
Matte Plum Noir mutes shine and gives a luxe, velvety look. Matte can make a complex shade appear more understated and modern. Beware: matte chips show differently; apply a quality matte topcoat and press cure if you can.
Hybrid option: glossy tips with matte base, or satin topcoats that bridge both worlds. Try a swatch wheel or small tester to compare how the same shade changes with finish before committing to a full manicure.
Pairing With Seasonal Wardrobe Colors
Intent: guide. Match your Plum Noir to the main colors in your fall wardrobe for a cohesive look.
With camel, beige, or caramel coats, choose a warm Plum Noir that echoes brown-red undertones to create a sophisticated, tonal outfit. Against black leather or charcoal knits, pick the deepest bluish Plum Noir to create contrast and polish.
For jewel-toned pieces—emerald, mustard, or deep teal—select a mid-tone plum that doesn’t compete; it should sit quietly but still read as a statement. If you wear patterned pieces often, test the nail color against the dominant pattern color to avoid clashing.
Practical tip: bring fabric swatches or a photo of your go-to outfit to the salon. That prevents surprises and helps your nail artist match the Plum Noir precisely. Take action: swatch before booking a full set.
Maintaining Your Luxe Manicure
Keep your manicure looking fresh by protecting cuticles, avoiding harsh chemicals, and touching up chips quickly. Small daily habits extend wear and keep plum noir pigment deep and even.
Prepping Natural Nails for Longevity
Guide: tutorial. Start by trimming and filing to a uniform shape—square-oval or short almond holds polish better than long tips. Gently push back cuticles; avoid cutting live skin to prevent lifting and infection. Buff lightly only to remove shine; over-buffing thins the nail plate and shortens wear.
Clean the nail with isopropyl alcohol or a non-acetone cleanser to remove oils. Apply a thin ridge-filling base coat and cure fully if using gel. For regular polish, use a protein-rich base or a peel-off base for easy removal when you want to switch shades.
Common mistake: slapping on thick layers. Thin, two coats of color last longer and dry more evenly. If you get a chip, file the edge and seal with top coat immediately to stop peeling. Treat your hands to weekly cuticle oil and a vitamin-rich hand cream to keep nails flexible and prevent breakage.
Best Top Coats for Rich Pigments
Guide: guide. Choose a top coat that enhances depth and prevents dulling of deep plum shades. For salon durability, use a high-gloss gel top coat cured under an LED lamp; it seals color and resists wear for 2–3 weeks. If you prefer non-gel, pick a wet-look, chip-resistant top coat marketed for dark or glitter polishes.
Look for these features:
- Quick-dry formula to reduce smudges.
- High-viscosity to self-level and lock pigment.
- UV-resistance to prevent fading or yellowing.
Apply a thin first layer and a slightly thicker final layer, sealing the free edge each time. Reapply a fresh thin coat every 5–7 days to restore shine and patch tiny chips. Avoid oil-heavy products right before applying top coat, and keep a microfibre cloth handy to remove dust before sealing. If shine dulls, buff lightly with a soft buffer and recoat rather than stripping and repainting.